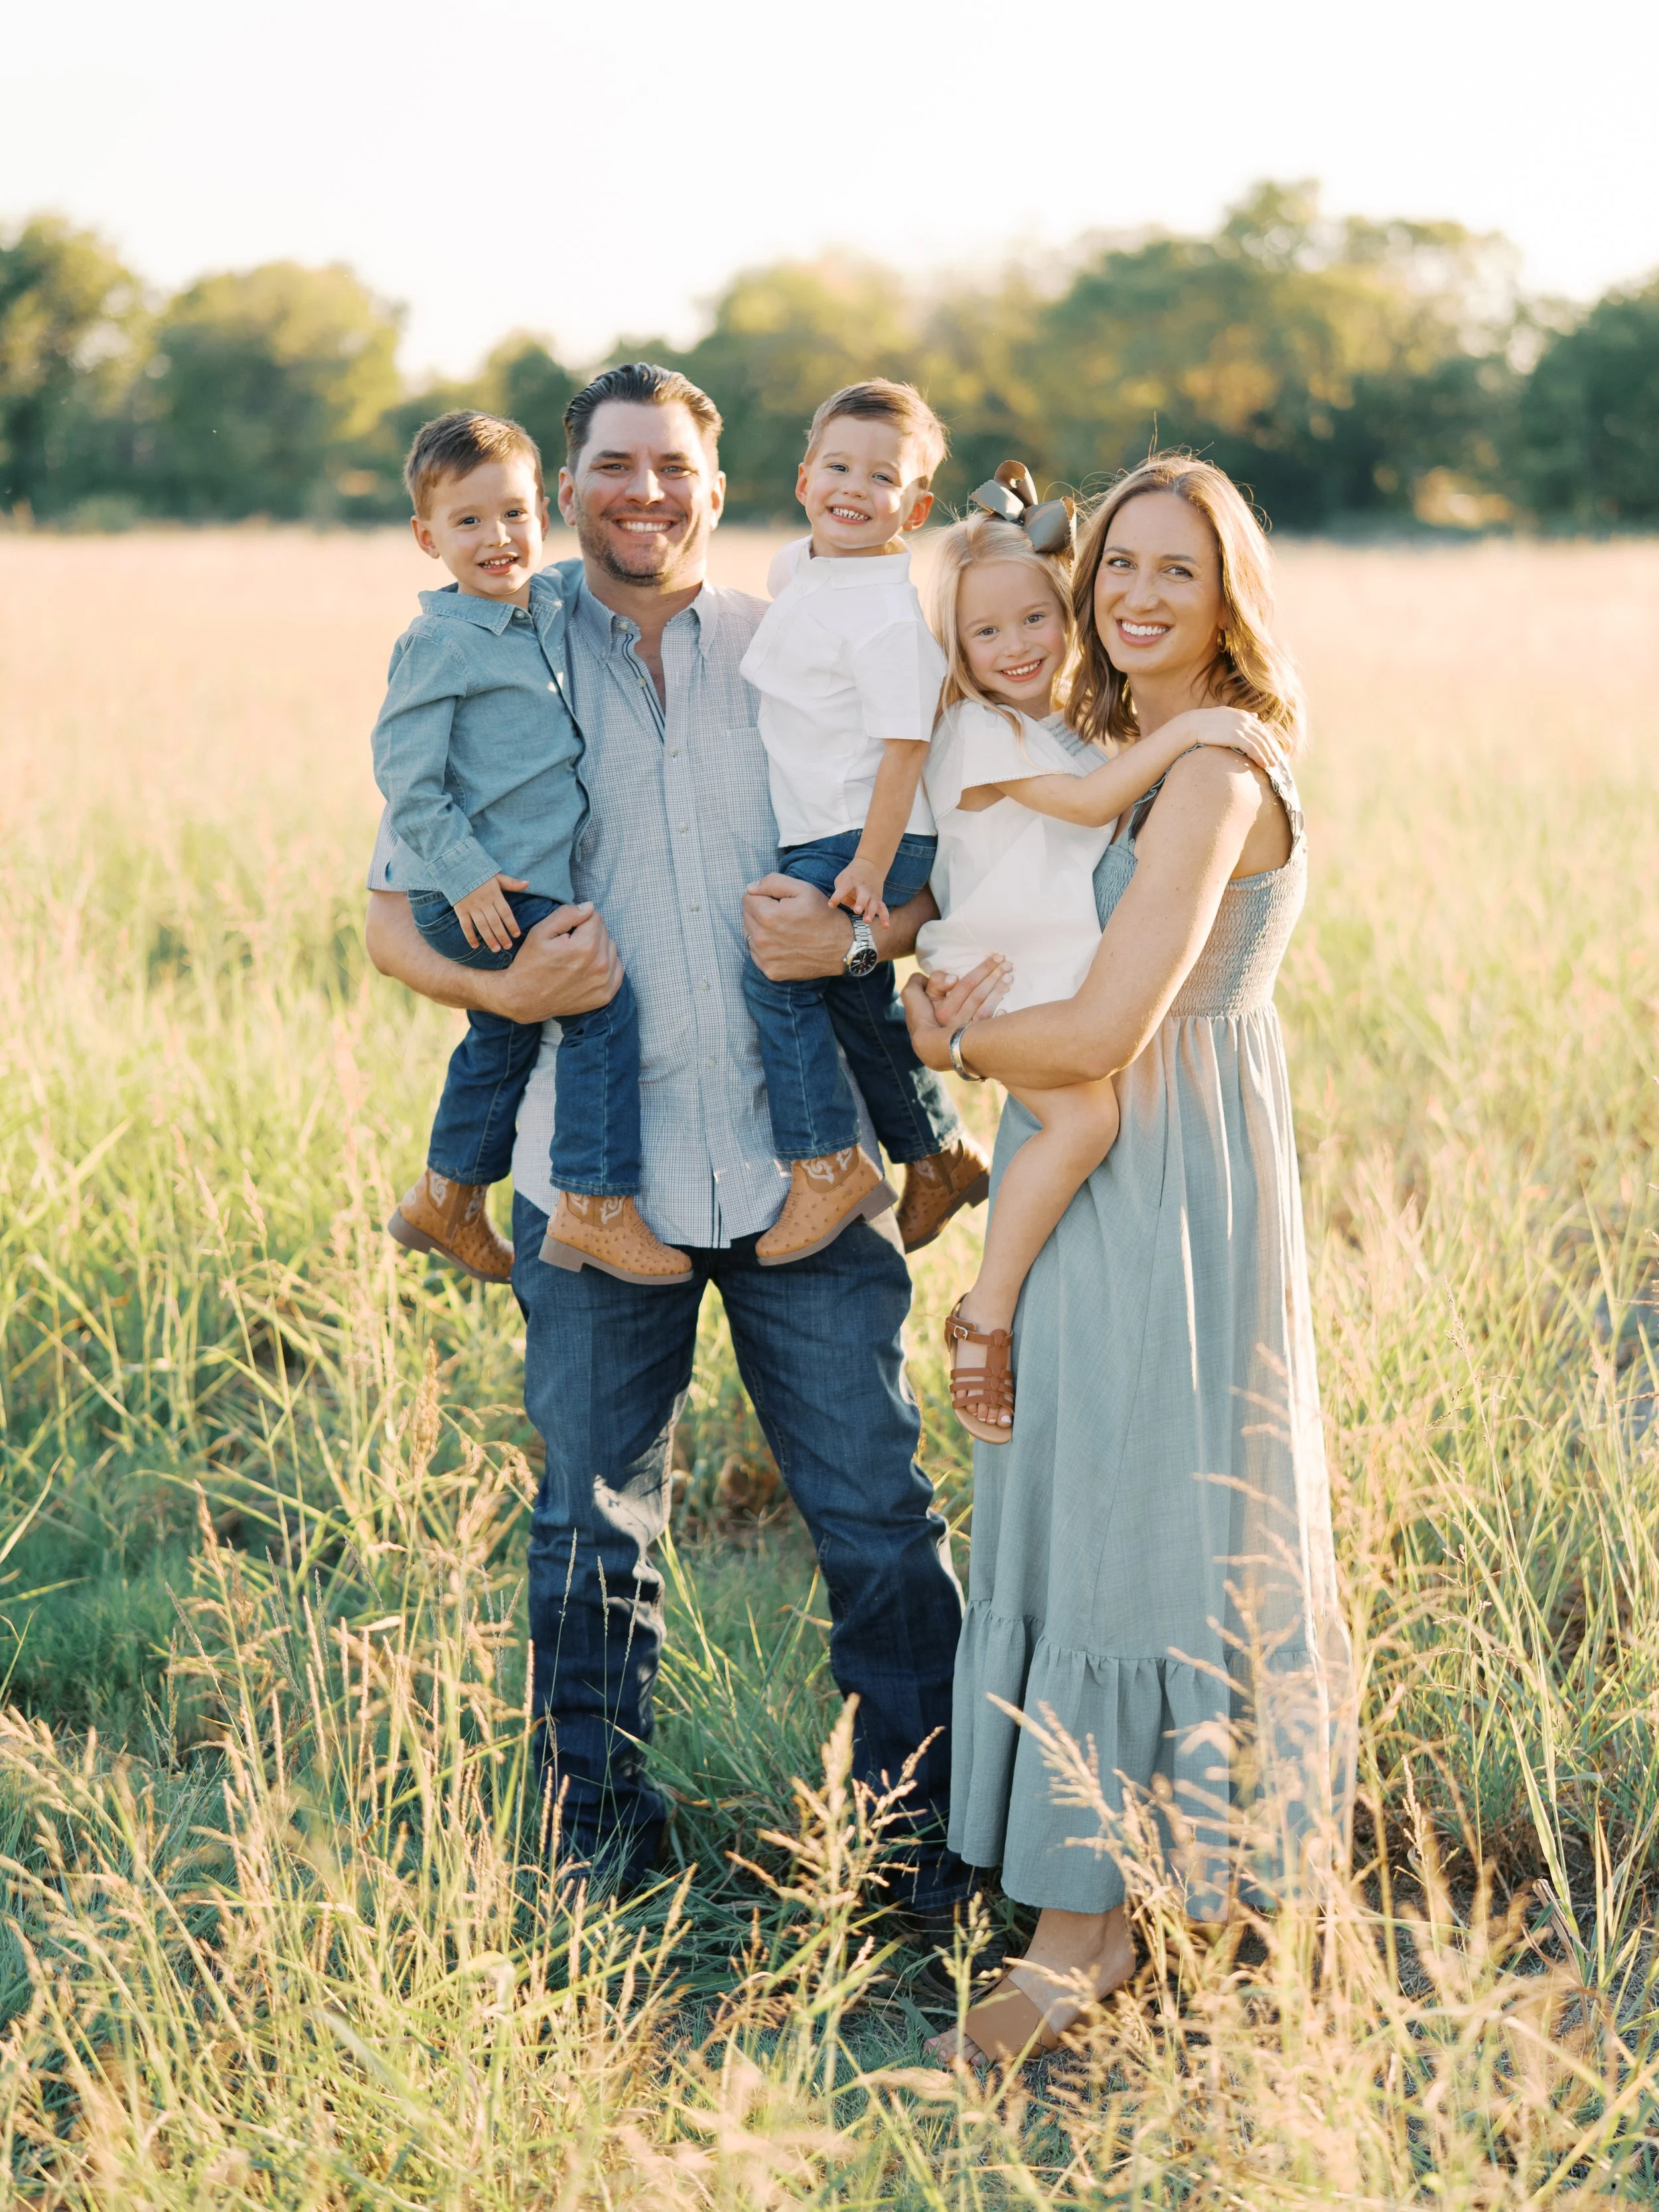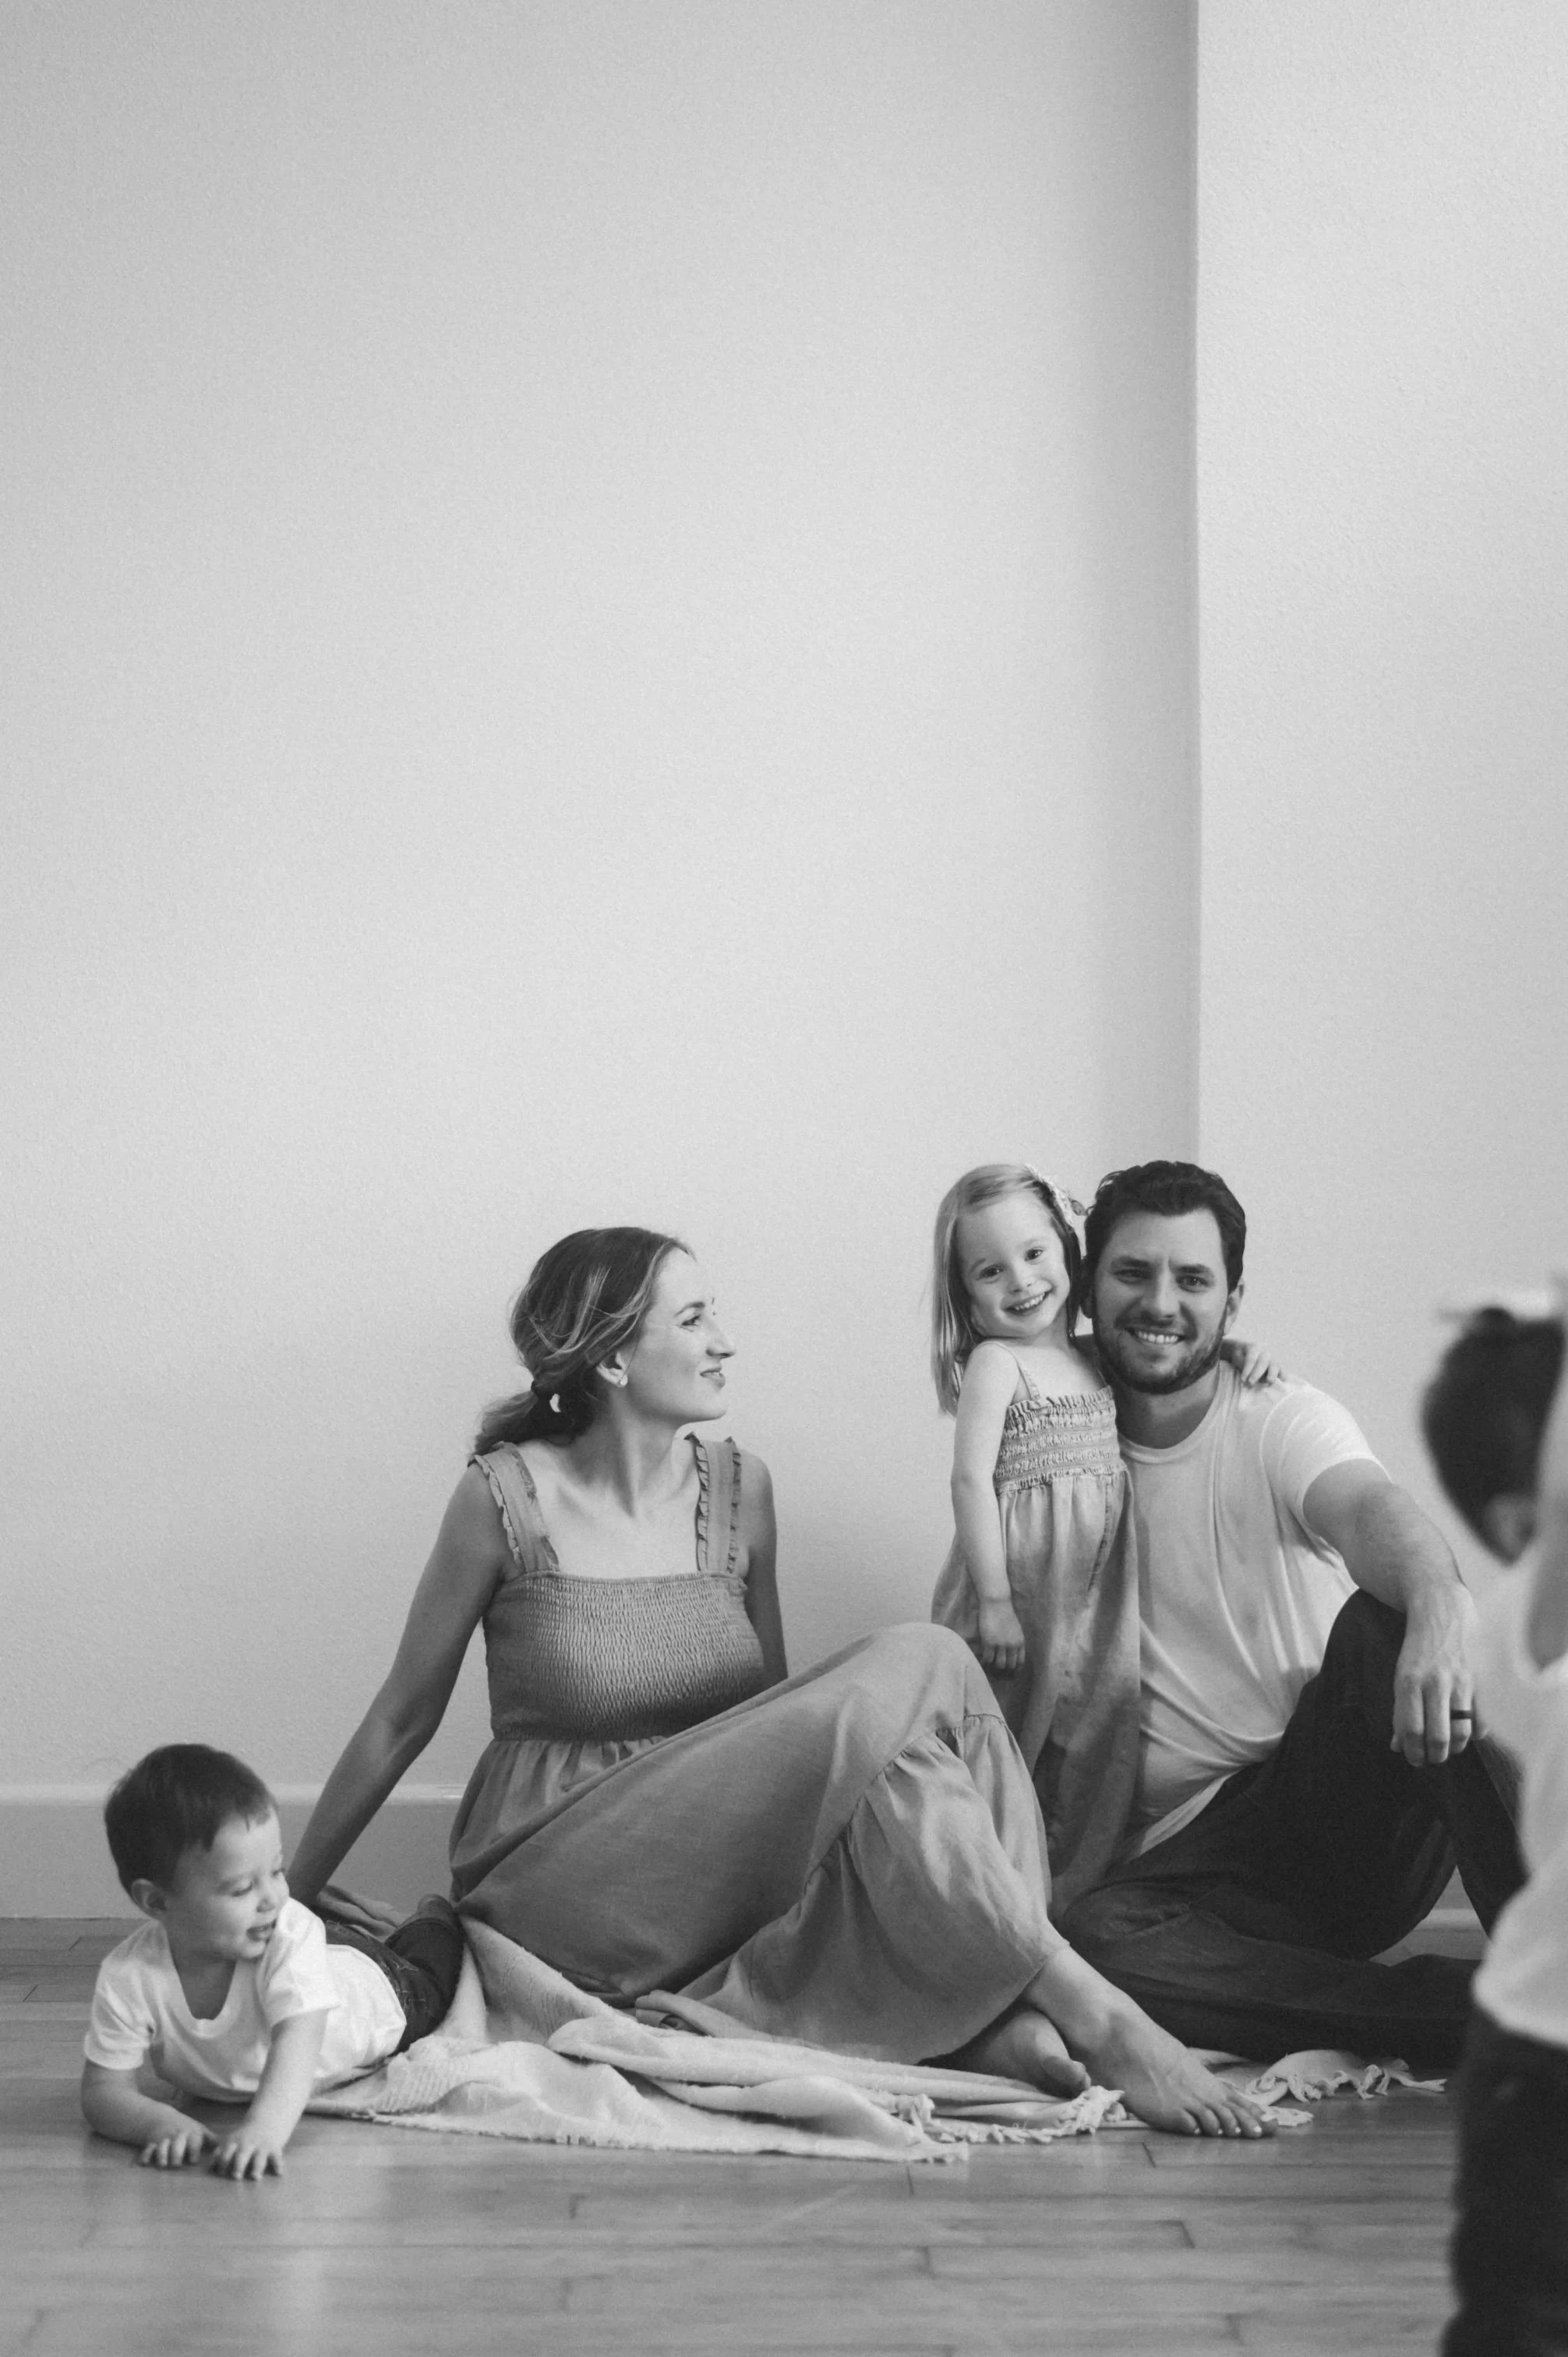
Ten Year Anniversary Trip | Spain on Film
/The highlight of 2025: our ten year anniversary trip to Spain. We visited Mallorca and Barcelona and packed so much into seven short days back in June. This was a dream trip and I’m so glad I brought along a little Kodak disposable camera (yes, the kind from the 90s!) to document it. All the photos below are from that camera, not edited in any way. I was blown away by what it captured! Scroll through for some of our favorite bits and pieces of Spain on film.
I went back and forth about taking my big Canon with me, but ultimately decided I didn’t want to worry about keeping up with it or lugging it around (it’s heavy!). I looked into other small digital cameras like the G7X and film-look cameras like the CampSnap, but you just can’t beat the look of real film. I’m so happy with how these images from a good ole Kodak Fun Saver turned out, and while the price ain’t what it used to be, it was absolutely worth buying a 4-pack for our trip. I had the film processed by mPix (same lab I use for our family yearbooks) with a prepaid mailing label and the scans hit my inbox the day they received the cameras – great service as always. I highly recommend a disposable film camera to document your next vacation! I prefer the look of Kodak film (more golden tones vs. Fuji’s striking greens) but you can’t go wrong with any of the options below.

I did err on the side of caution and told the airport security agents I had film cameras with me – at DFW and Barcelona they told me not to worry about it; in Mallorca they did a quick hand check – not sure if that really made a difference but I didn’t want to find out the hard way if the scanners could damage the film or not. Worth the extra minute at security to be careful!
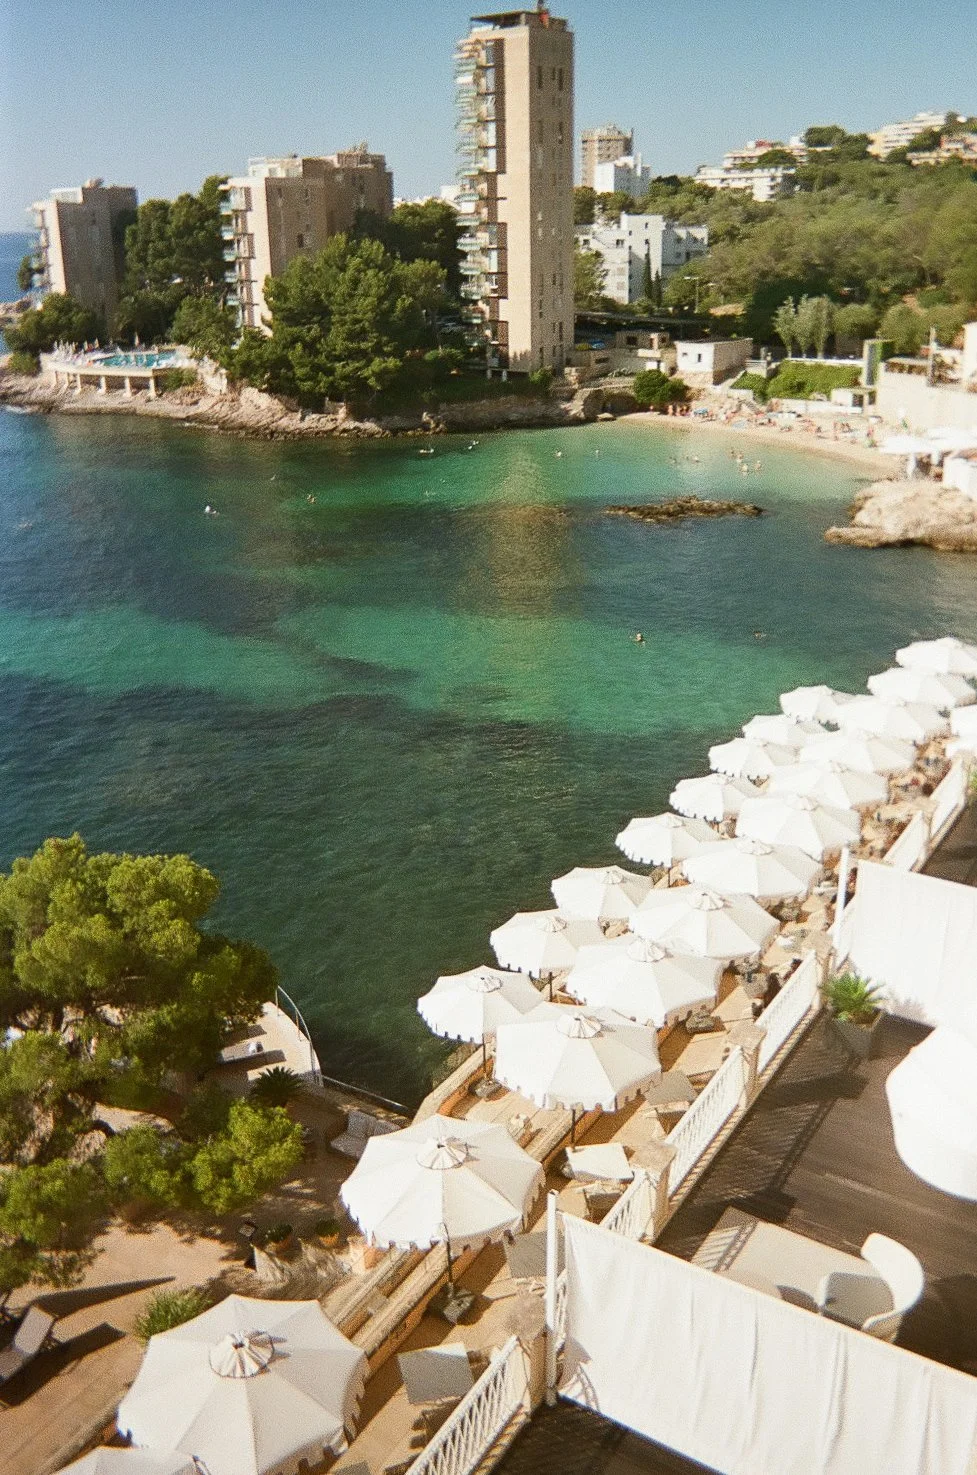
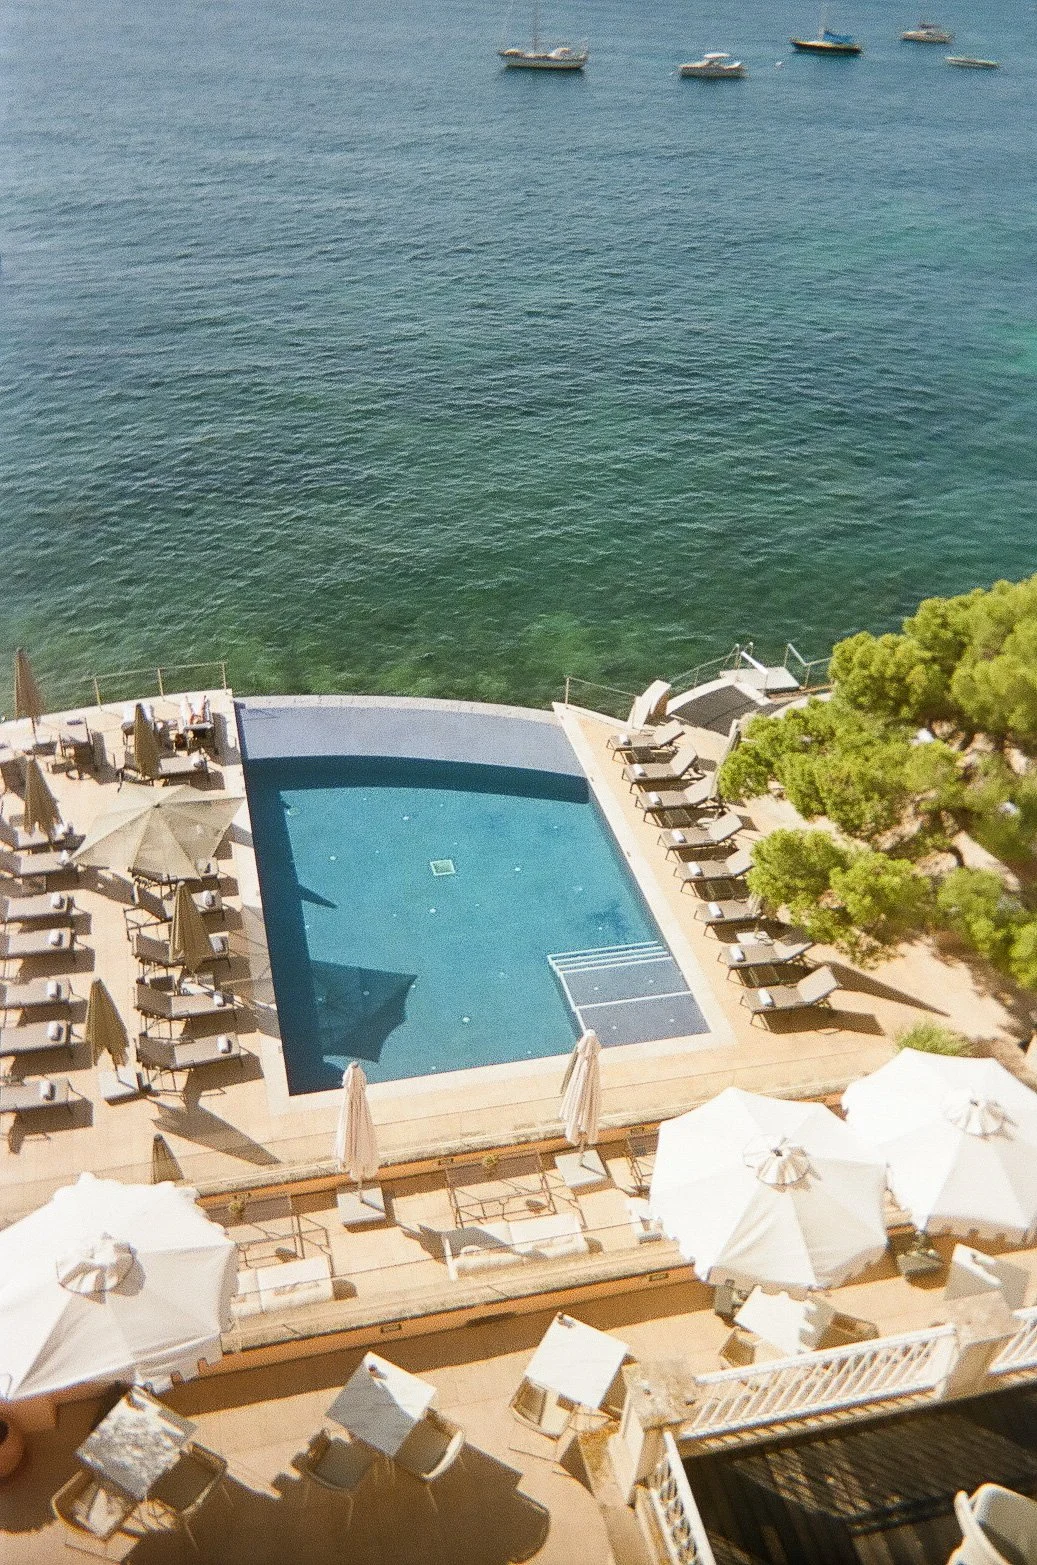
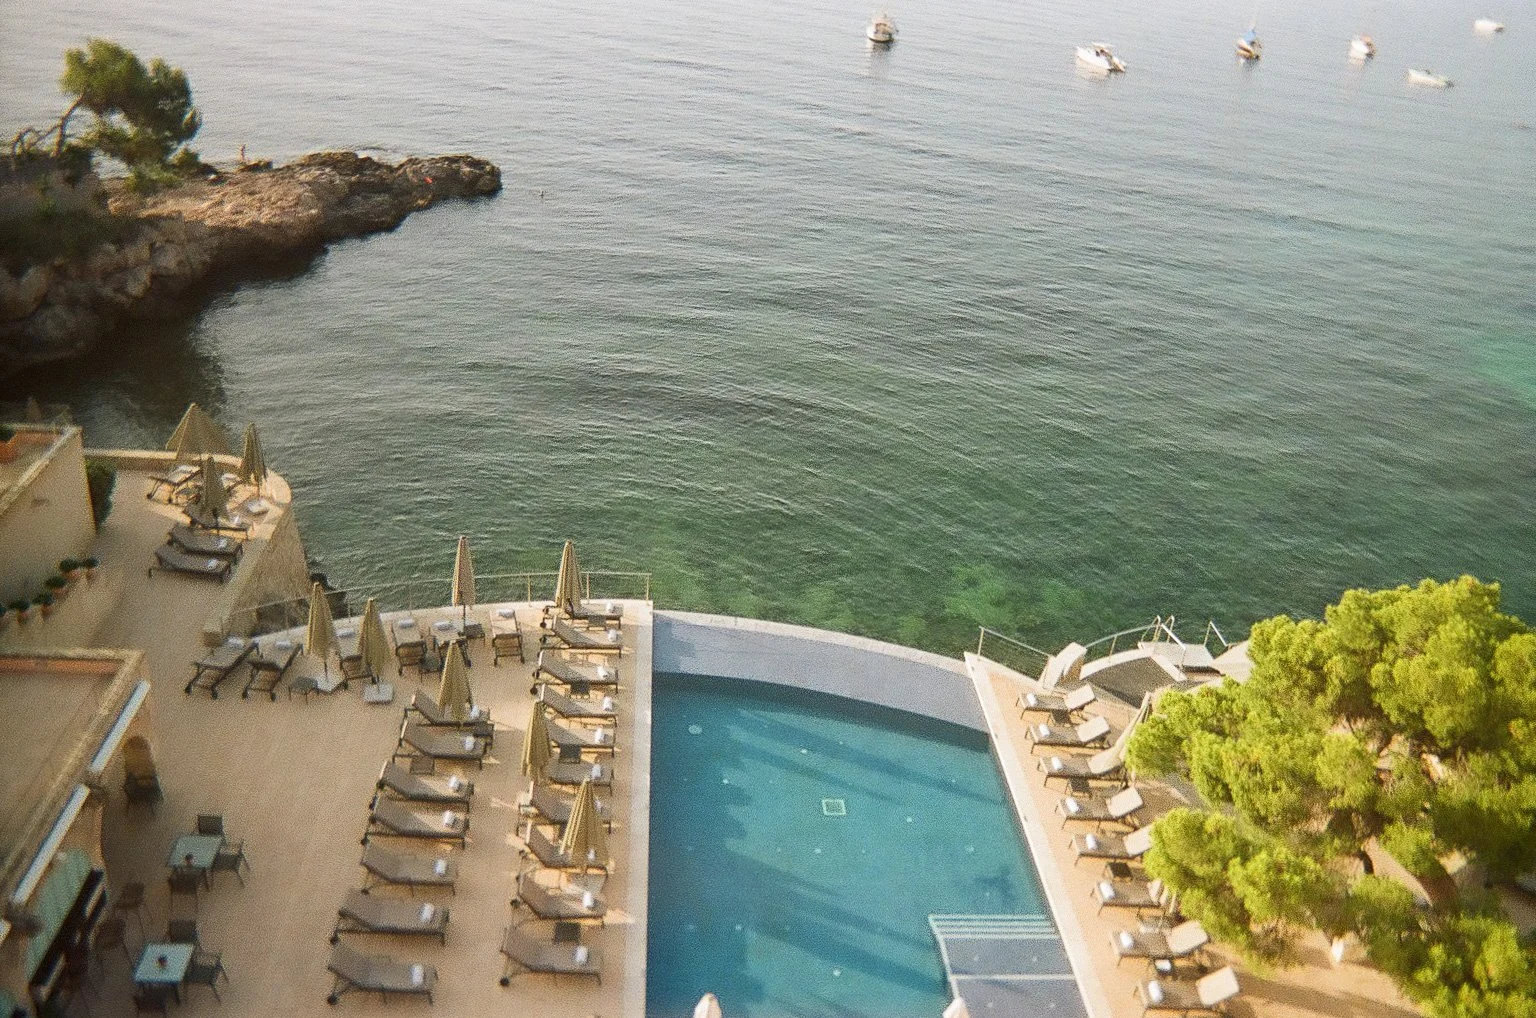
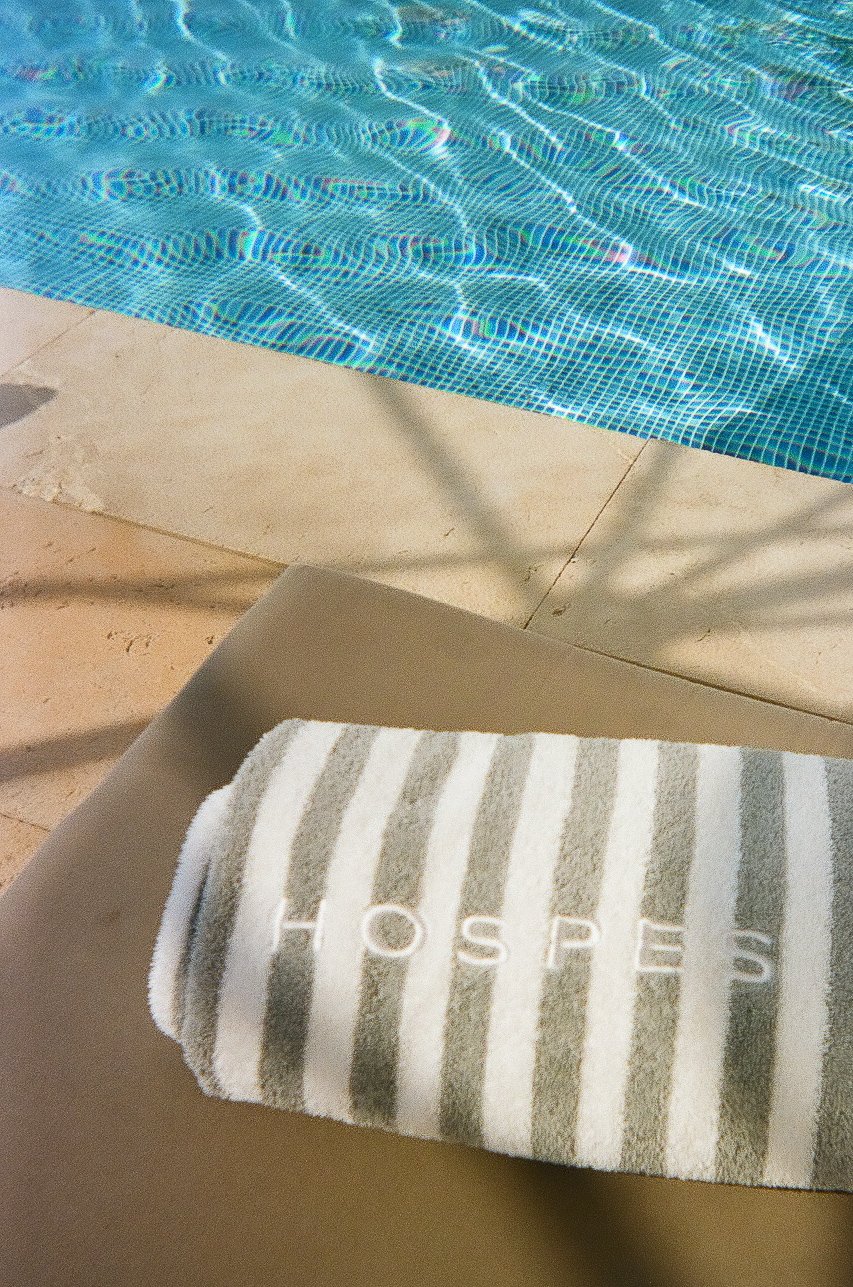
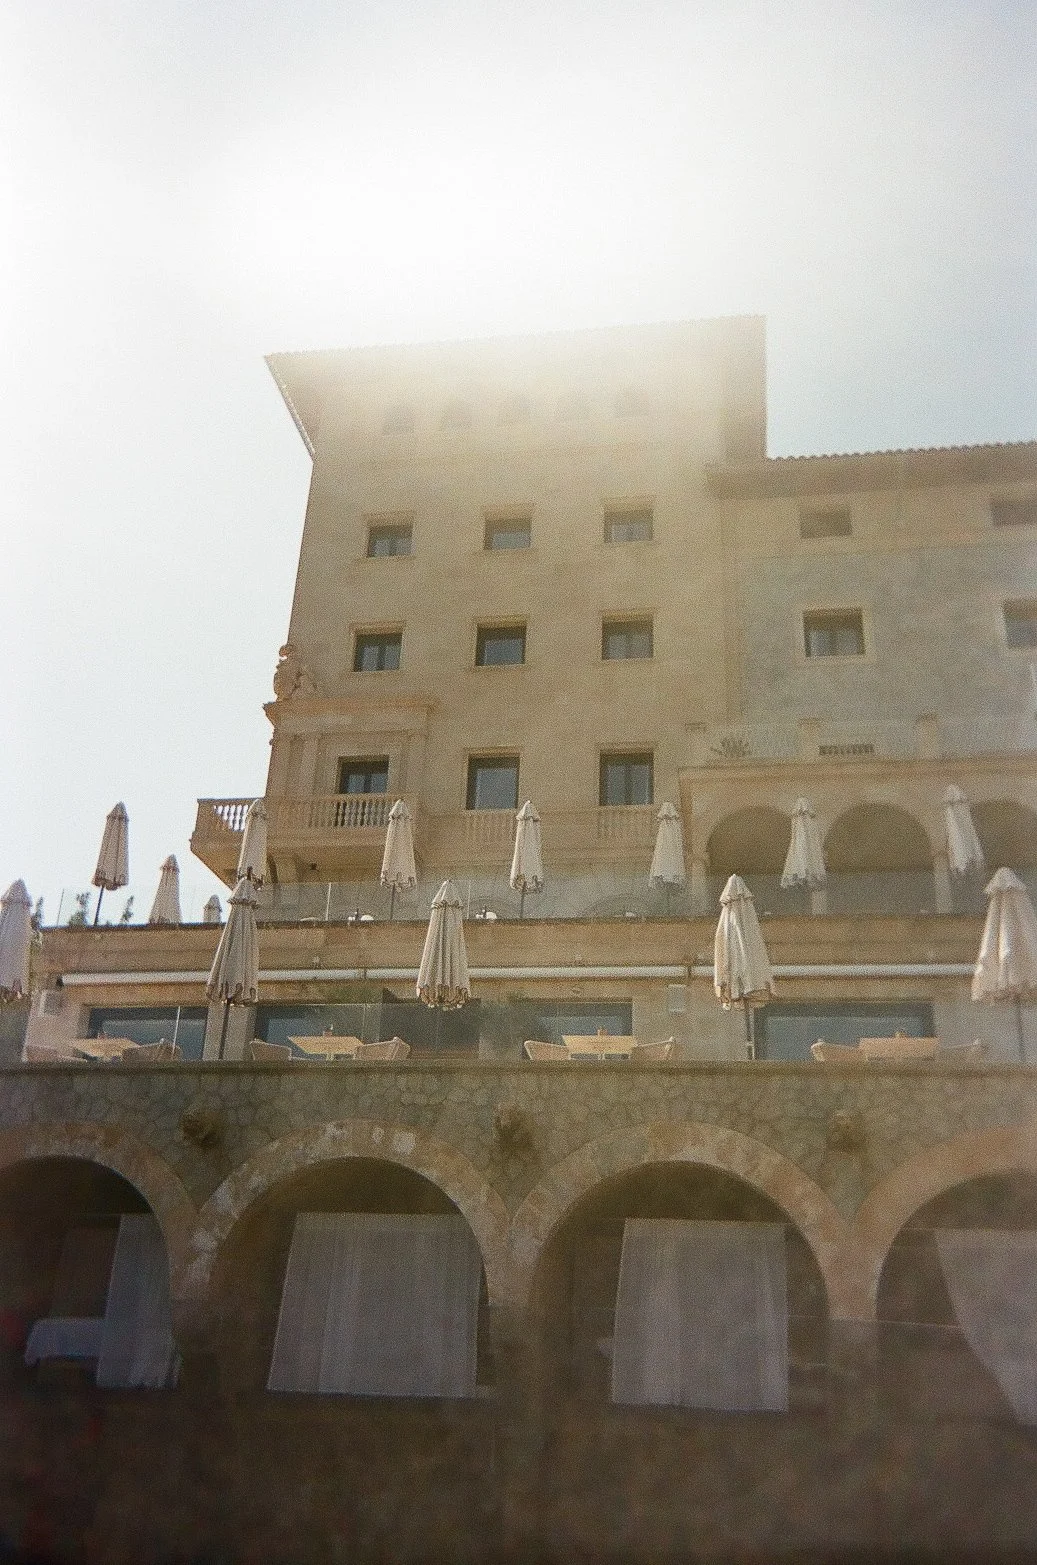
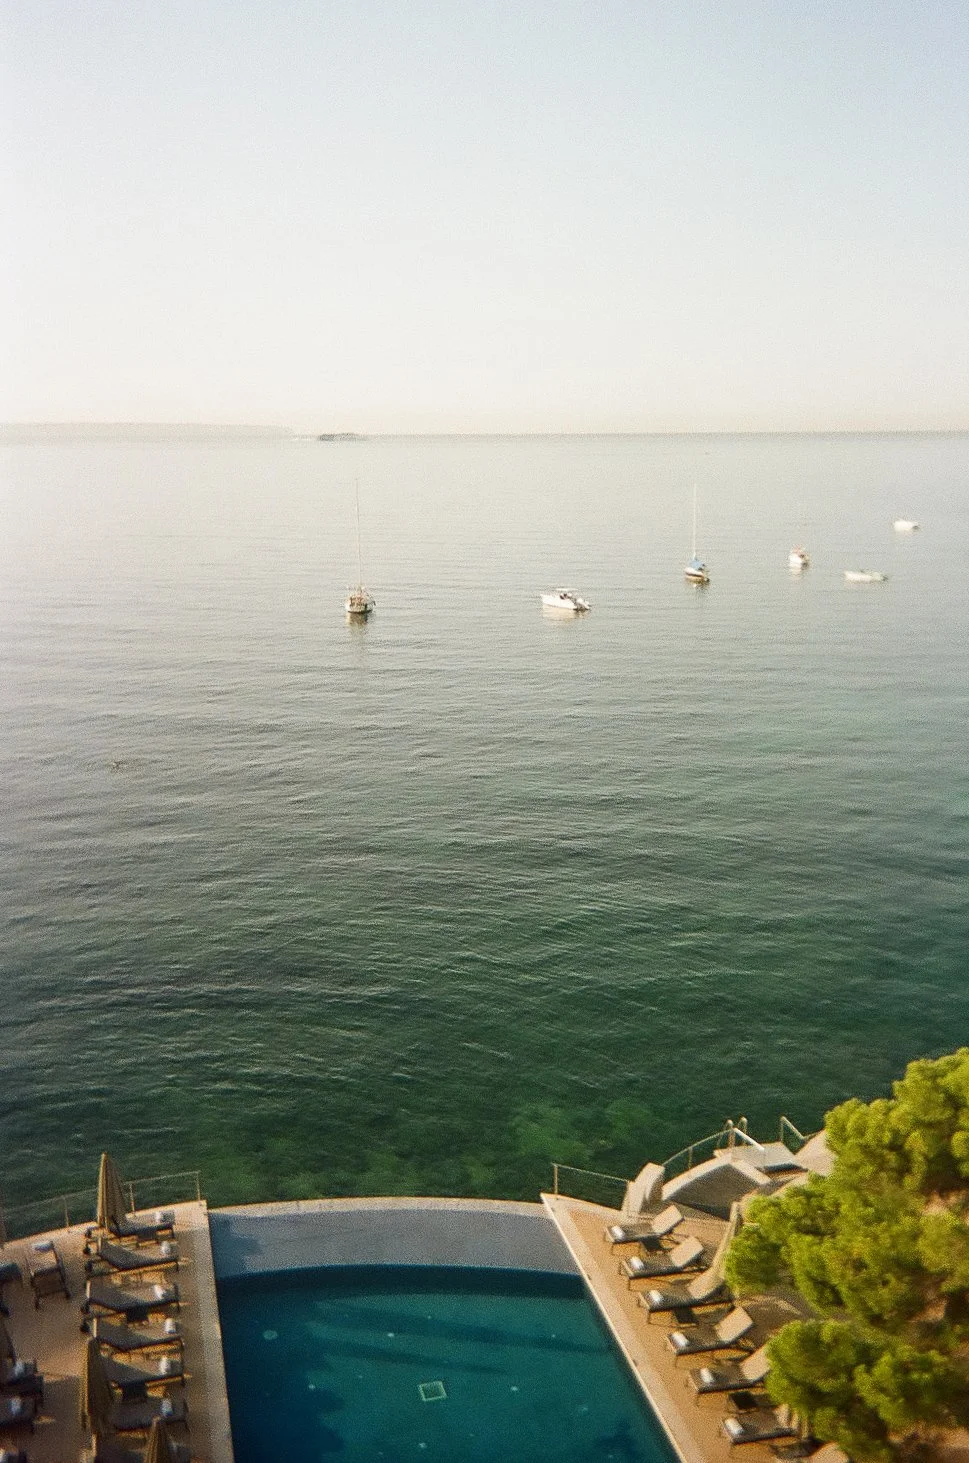
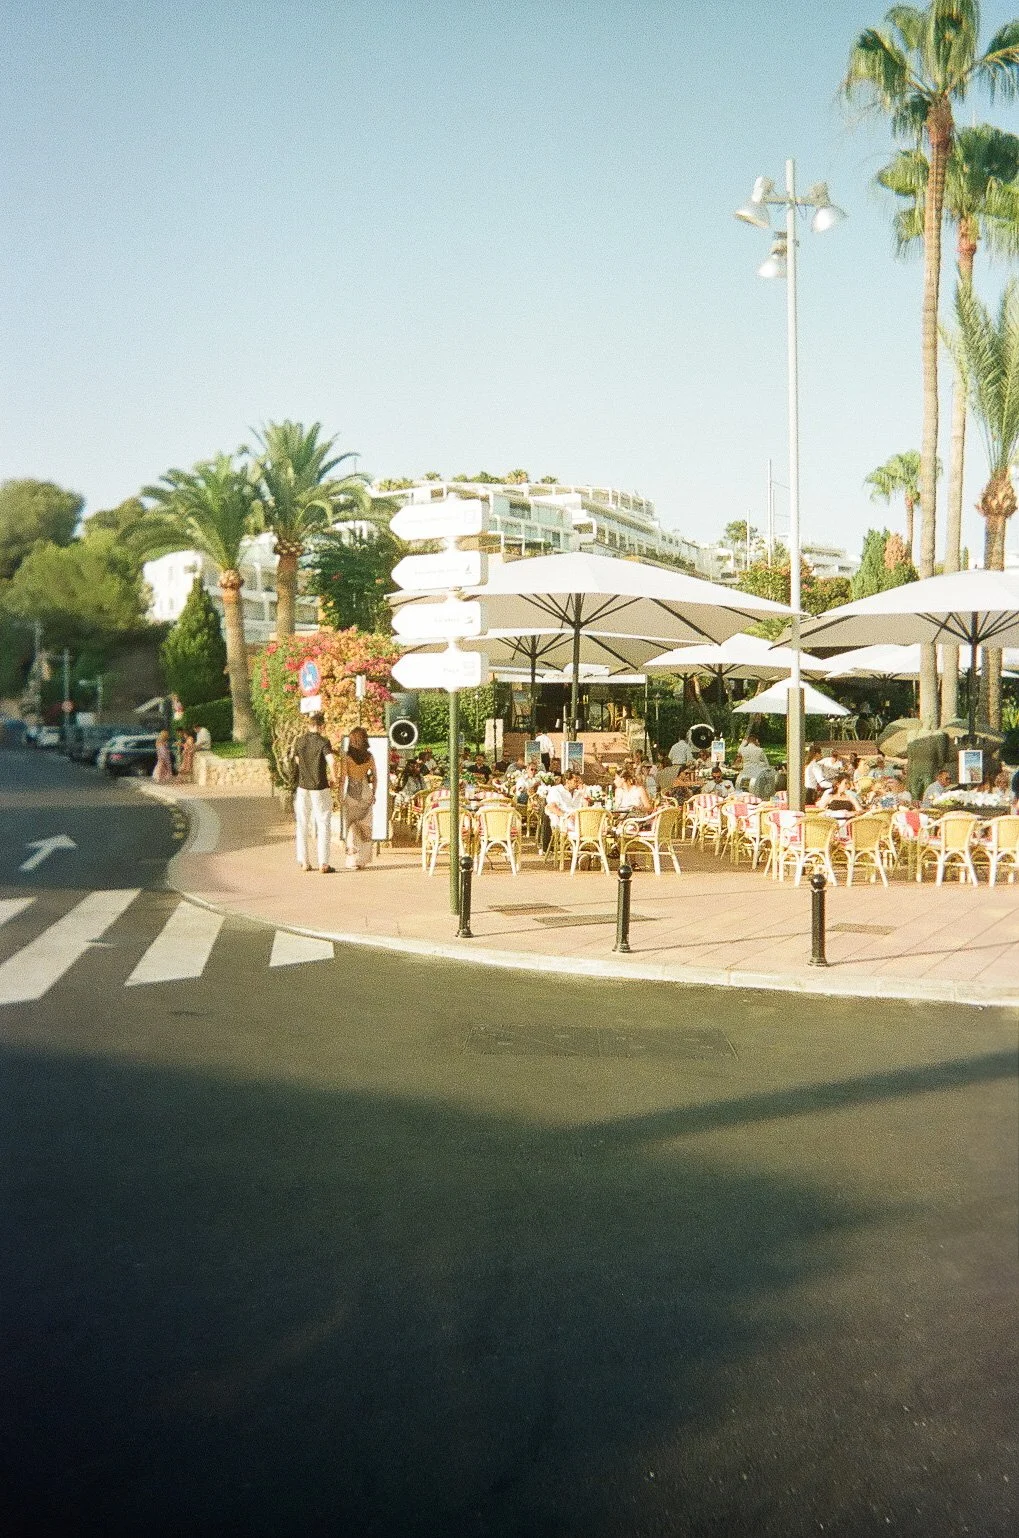
Our hotel in Mallorca, Hospes Maricel, blew us both away. The views of the pool and the ocean from our room, the service and spa, the food and drinks – we’d be back in a heartbeat. The Shameless Tourist found this gem for us – travel plans are not our forté so we decided to leave that to the experts for such a special trip and we are so grateful for the care and attention to detail they put into our itinerary. From restaurant recommendations and reservations to meaningful experiences like a tennis lesson at Rafa Nadal’s tennis academy, a sailing trip up the coast of Mallorca, a guided tour of the Sagrada Familia, and a tapas tour with a Barcelona local, they absolutely made the most of our budget and made this trip so incredibly enjoyable.


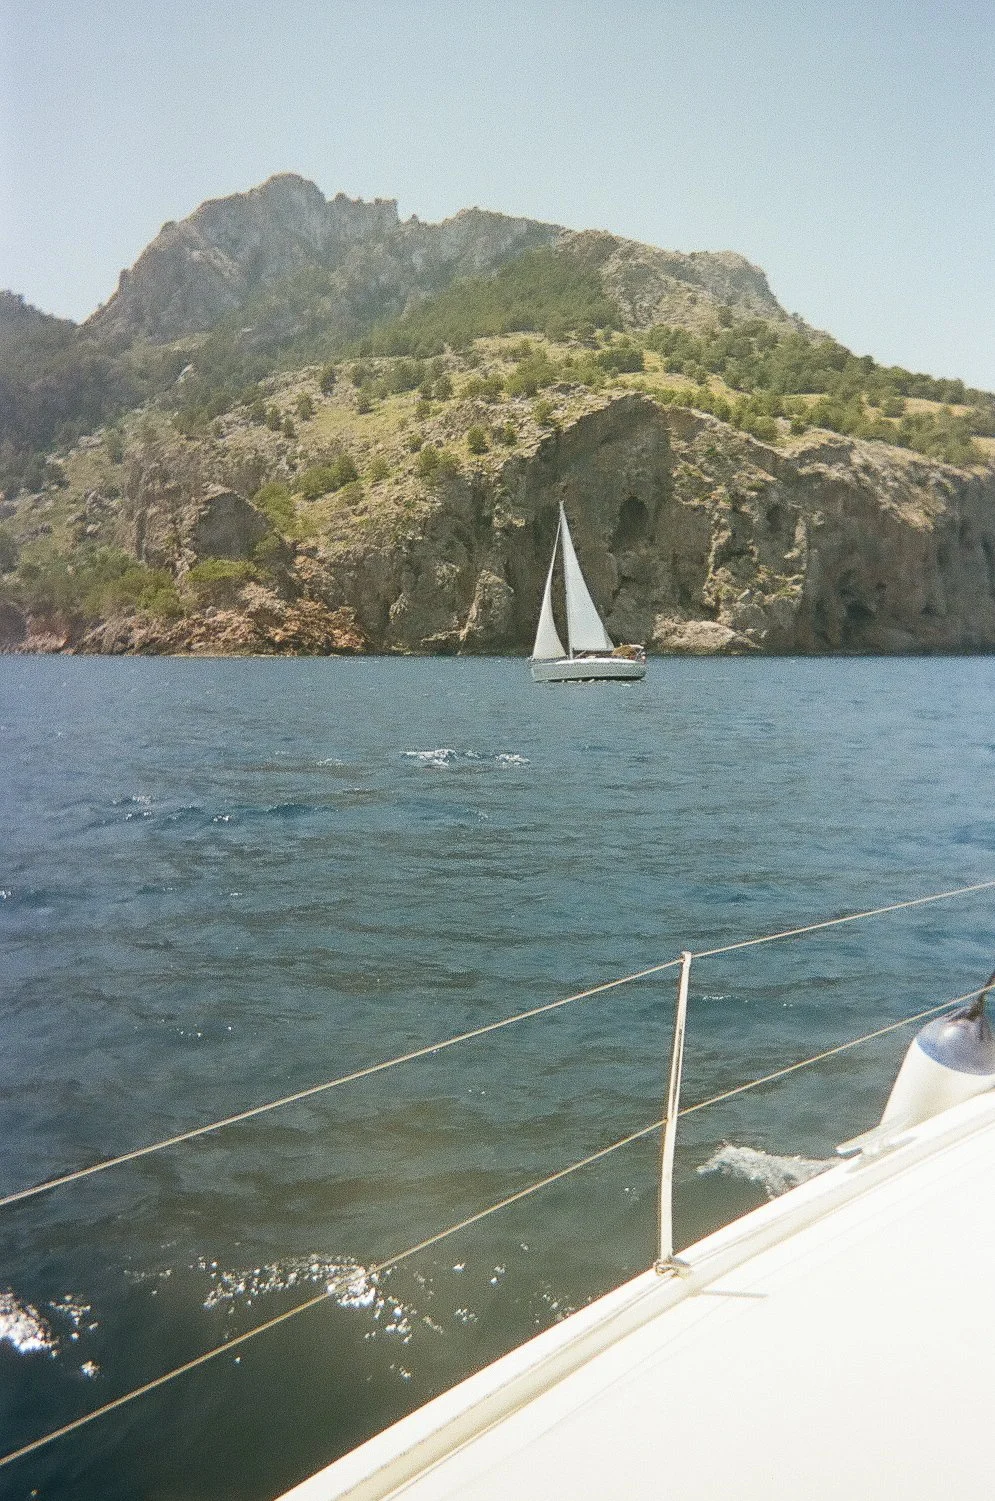


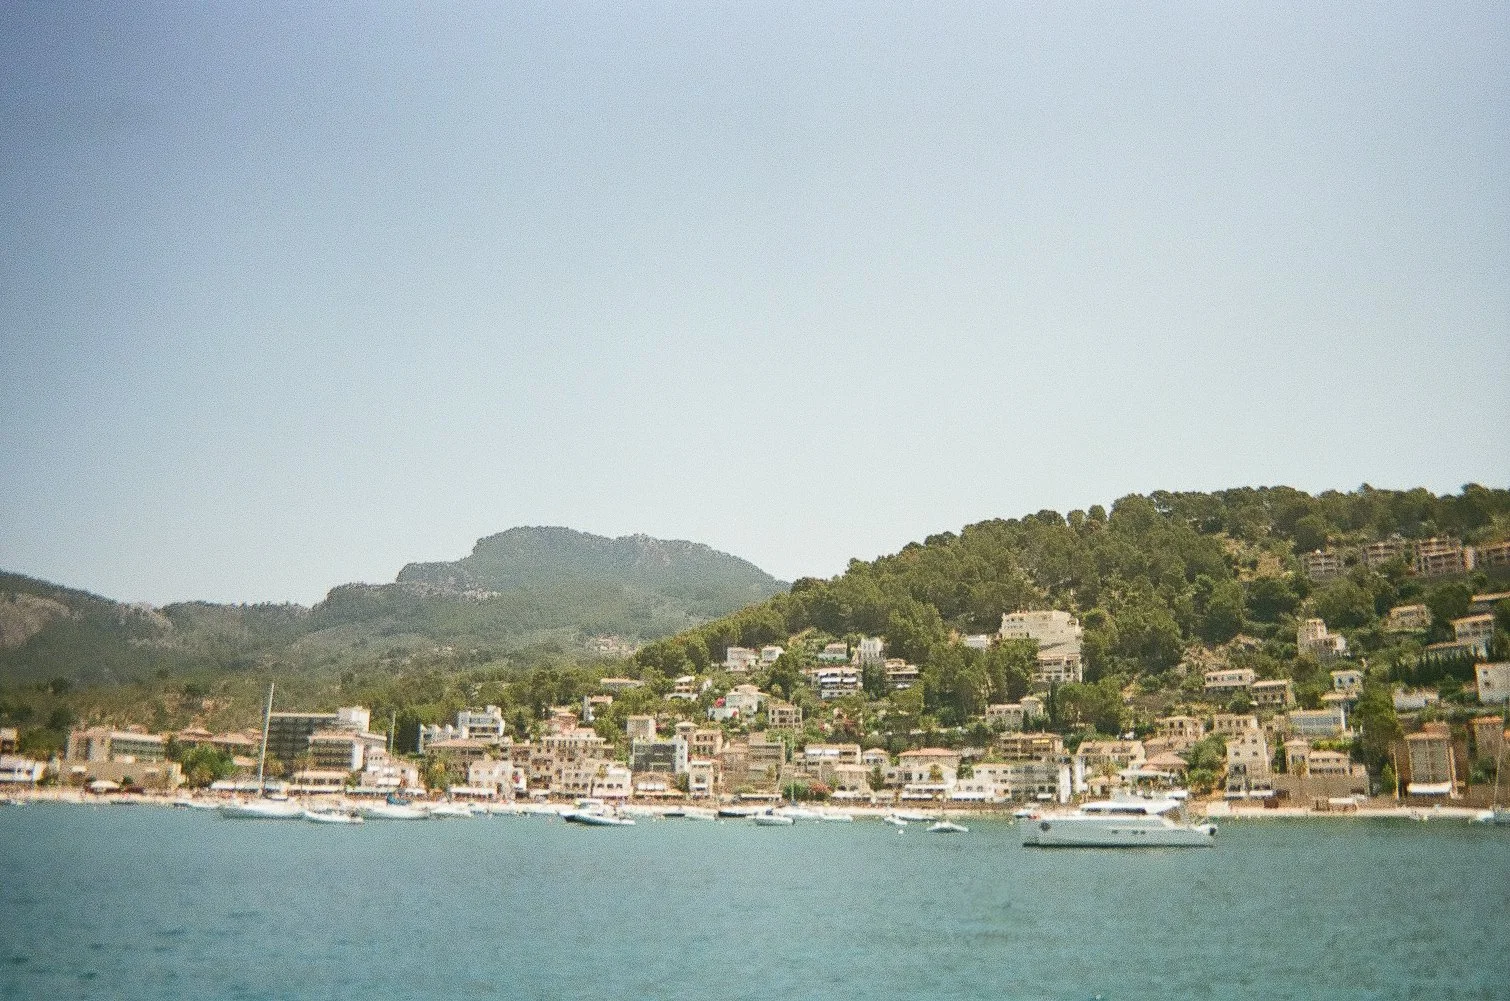
We ventured to Port de Soller for our sailing excursion and had the most beautiful day on the water with our guide. We stopped at 4 different spots to snorkel, paddleboard and explore but did plenty of relaxing, sunbathing, snacking and Cava sipping on the boat, too.
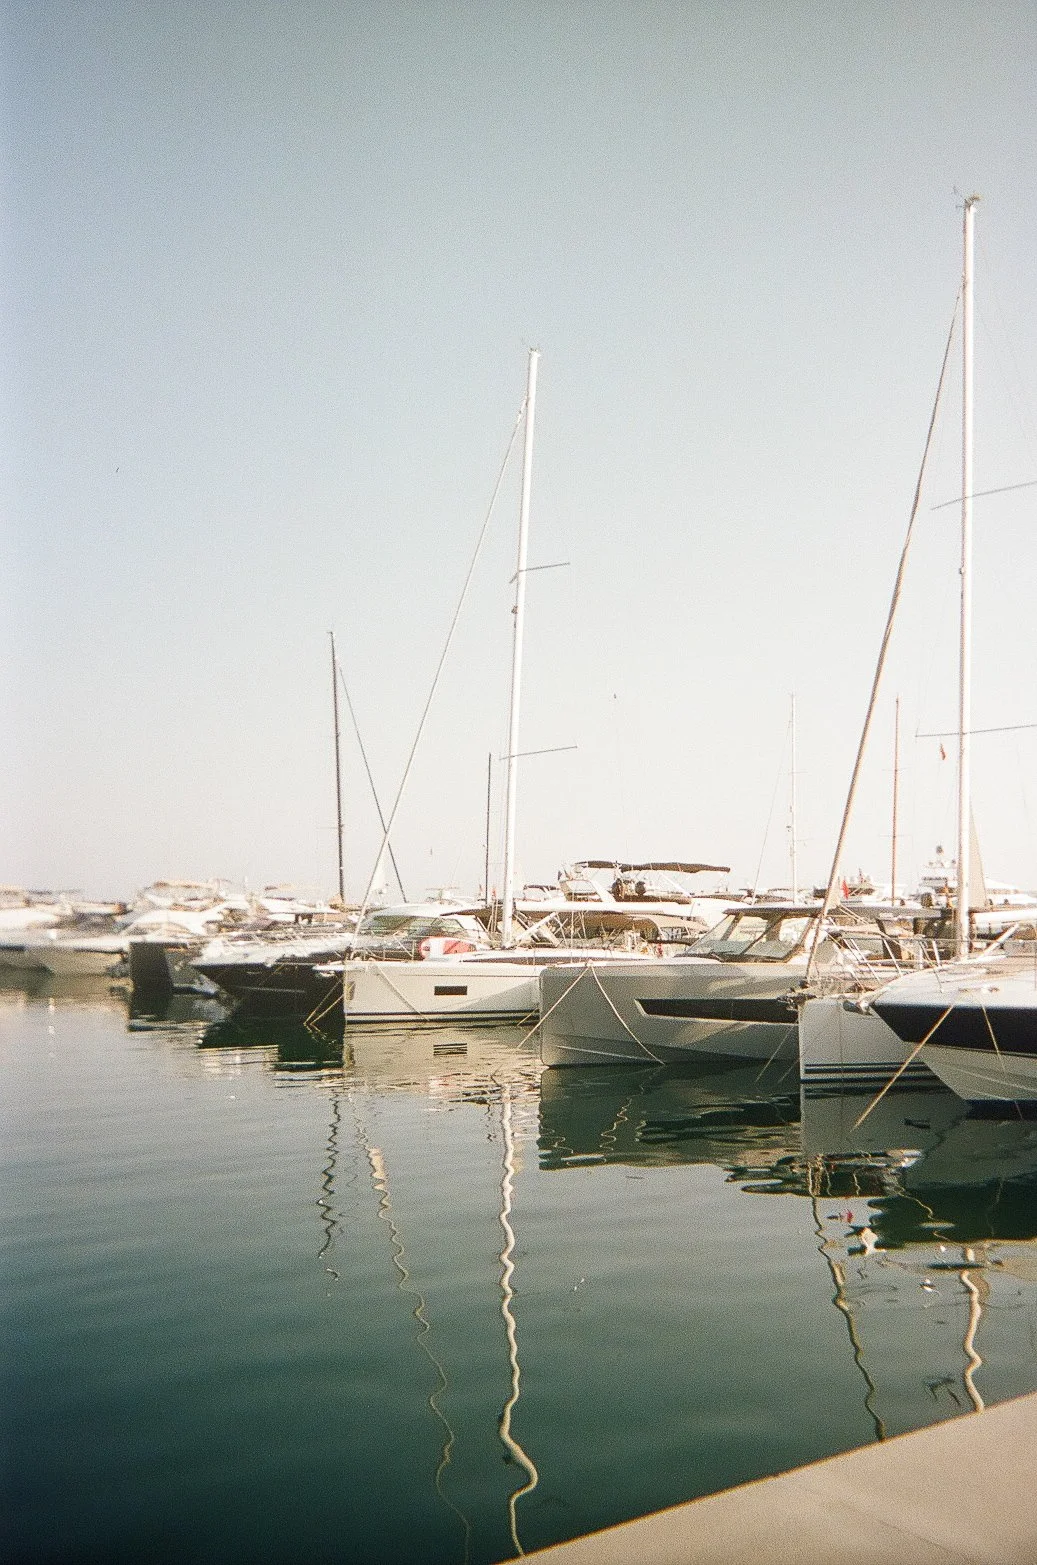


After a sailing day, a day of tennis at the Nadal Academy, and a day to relax and enjoy massages at our hotel, we had dinner at the marina in Palma on our last night in Mallorca before heading to Barcelona.
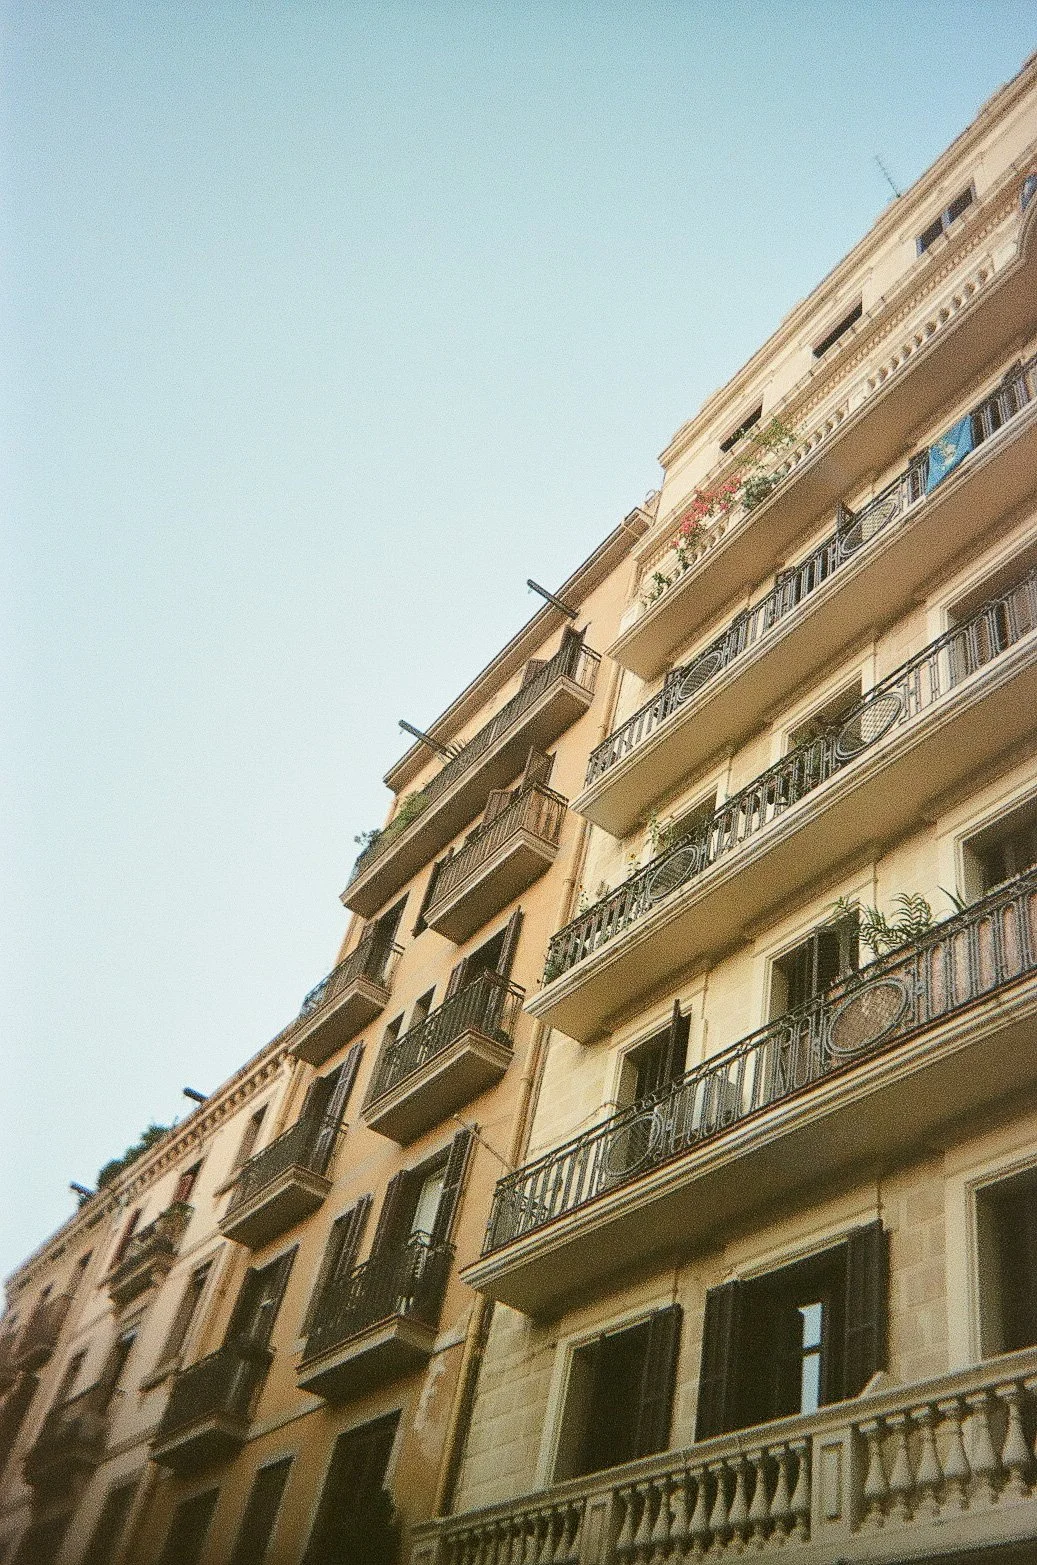
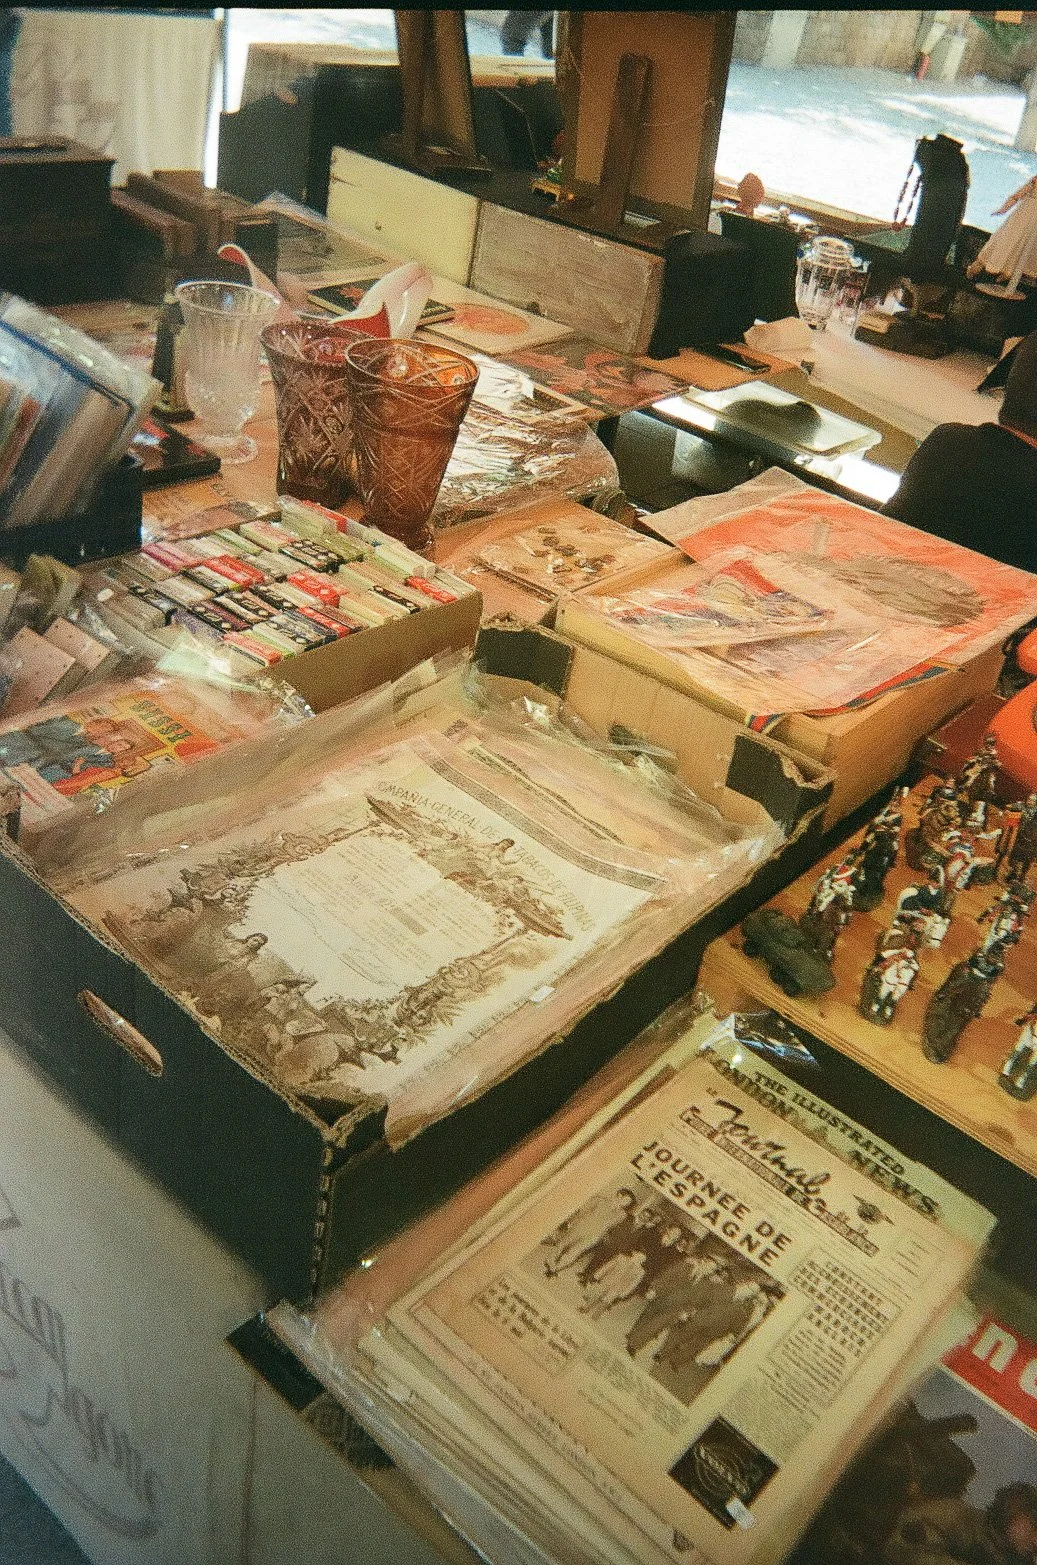

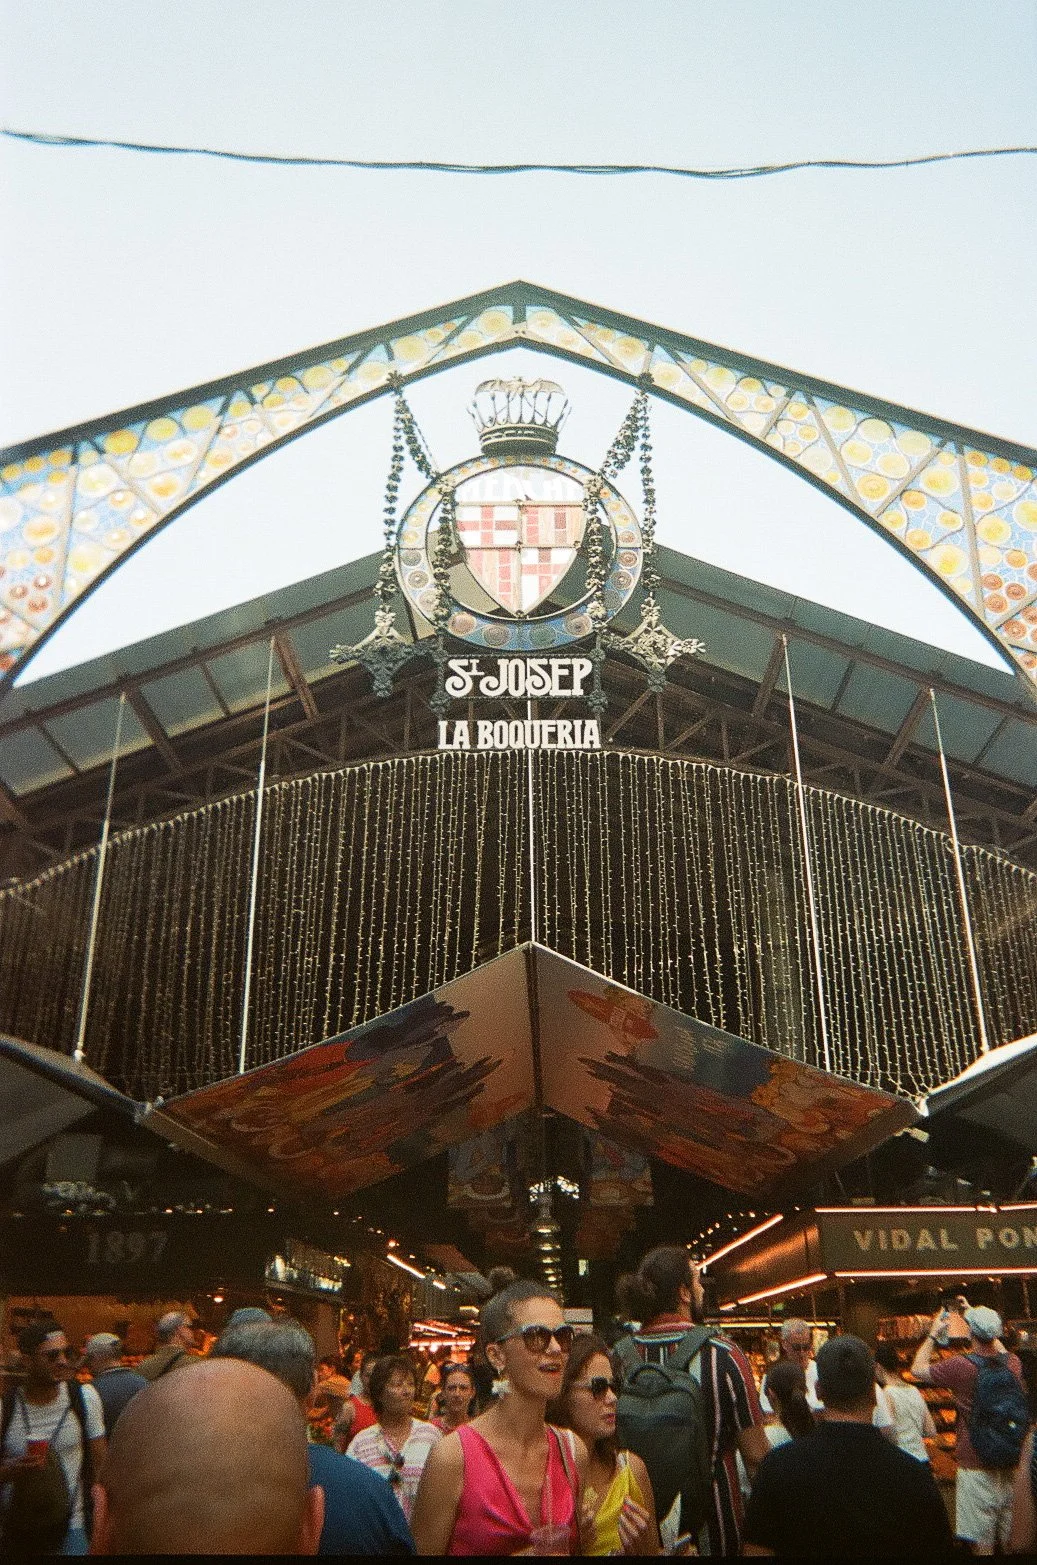
Street markets filled with treasures, sky-high cathedrals many centuries old, Gaudi’s mindblowing designs dotting the city, and quaint corner cafés abuzz at midnight… Barcelona was something special. We had one of those meals that leaves you speechless in this little spot at the back of Babula Restaurante after a day of exploring the city.


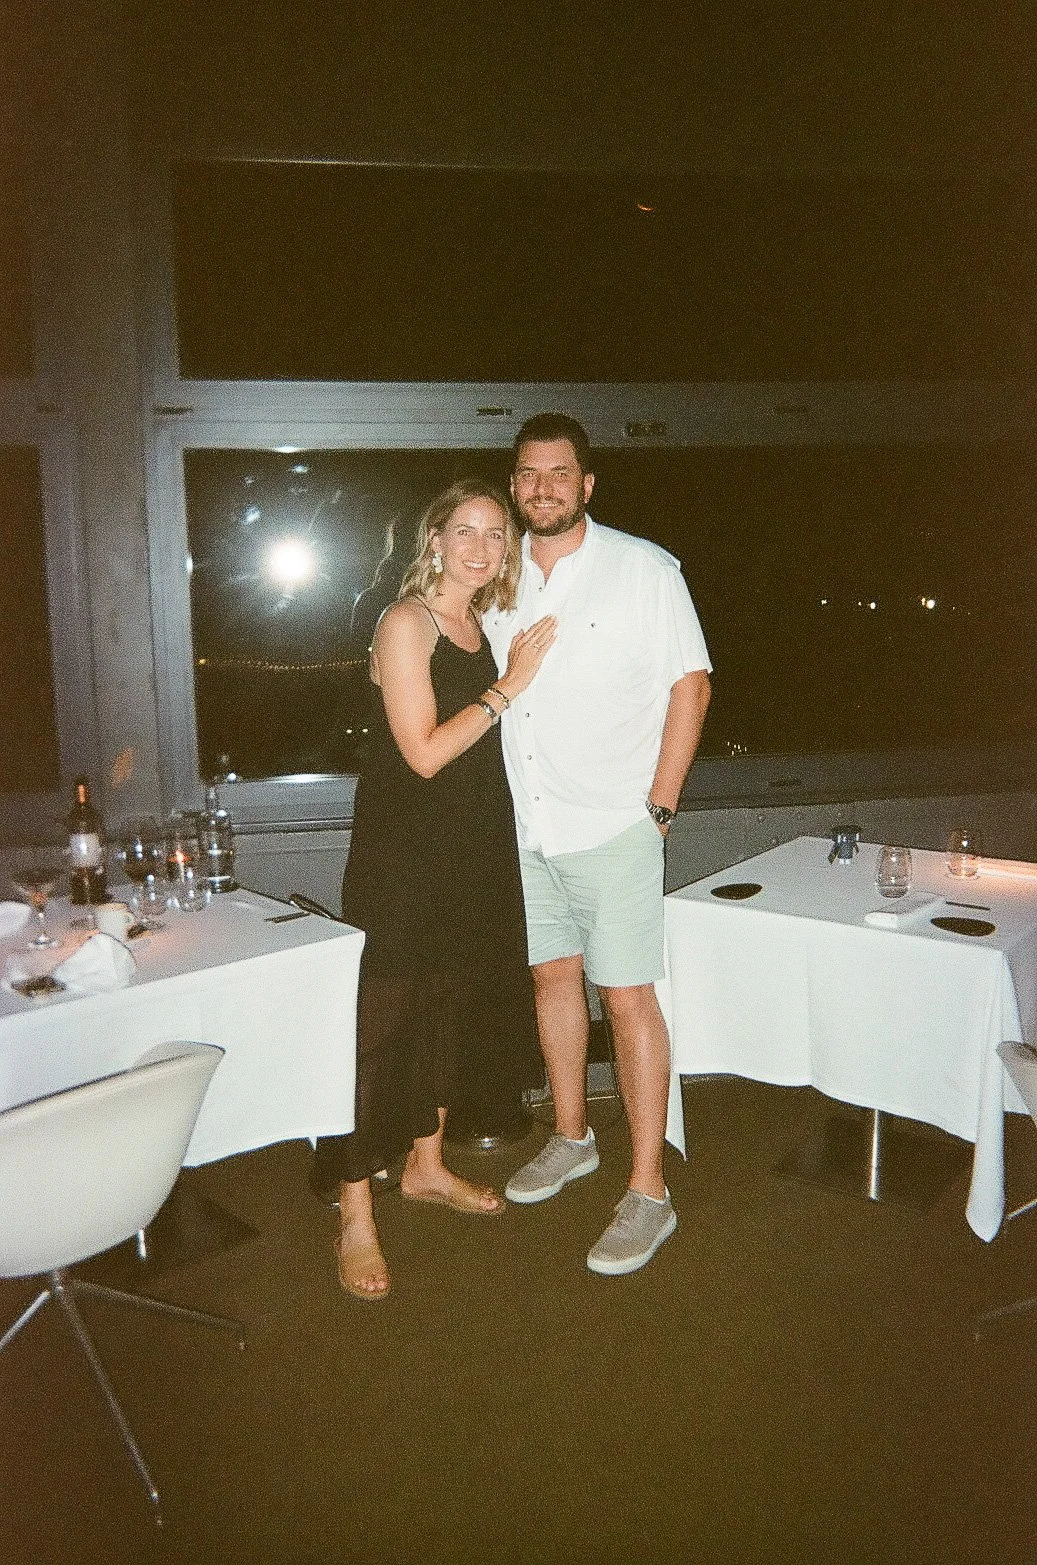
For the last night of our trip on our actual ten year anniversary (6/27), we enjoyed dinner with a view 250 feet above the city, overlooking Mount Tibidabo, the 1992 Olympic sites, the Sagrada Família, and everything in between. The menu at Altamar Barcelona was incredible, but watching the sunset with my husband, reminiscing on our trip and on ten years of marriage, talking about our hopes and dreams for the next ten and beyond… I’ll never forget it.
I’ll cherish all the photos from our trip, but these film images will forever be special to me. Grab a few disposables to toss in your carry-on the next time you travel – you won’t regret it!