Show and Tell 03.18.26
/Back with another installment of my Show and TELL series – here’s what I’m trying, eyeing, loving and learning this spring.
TRYING
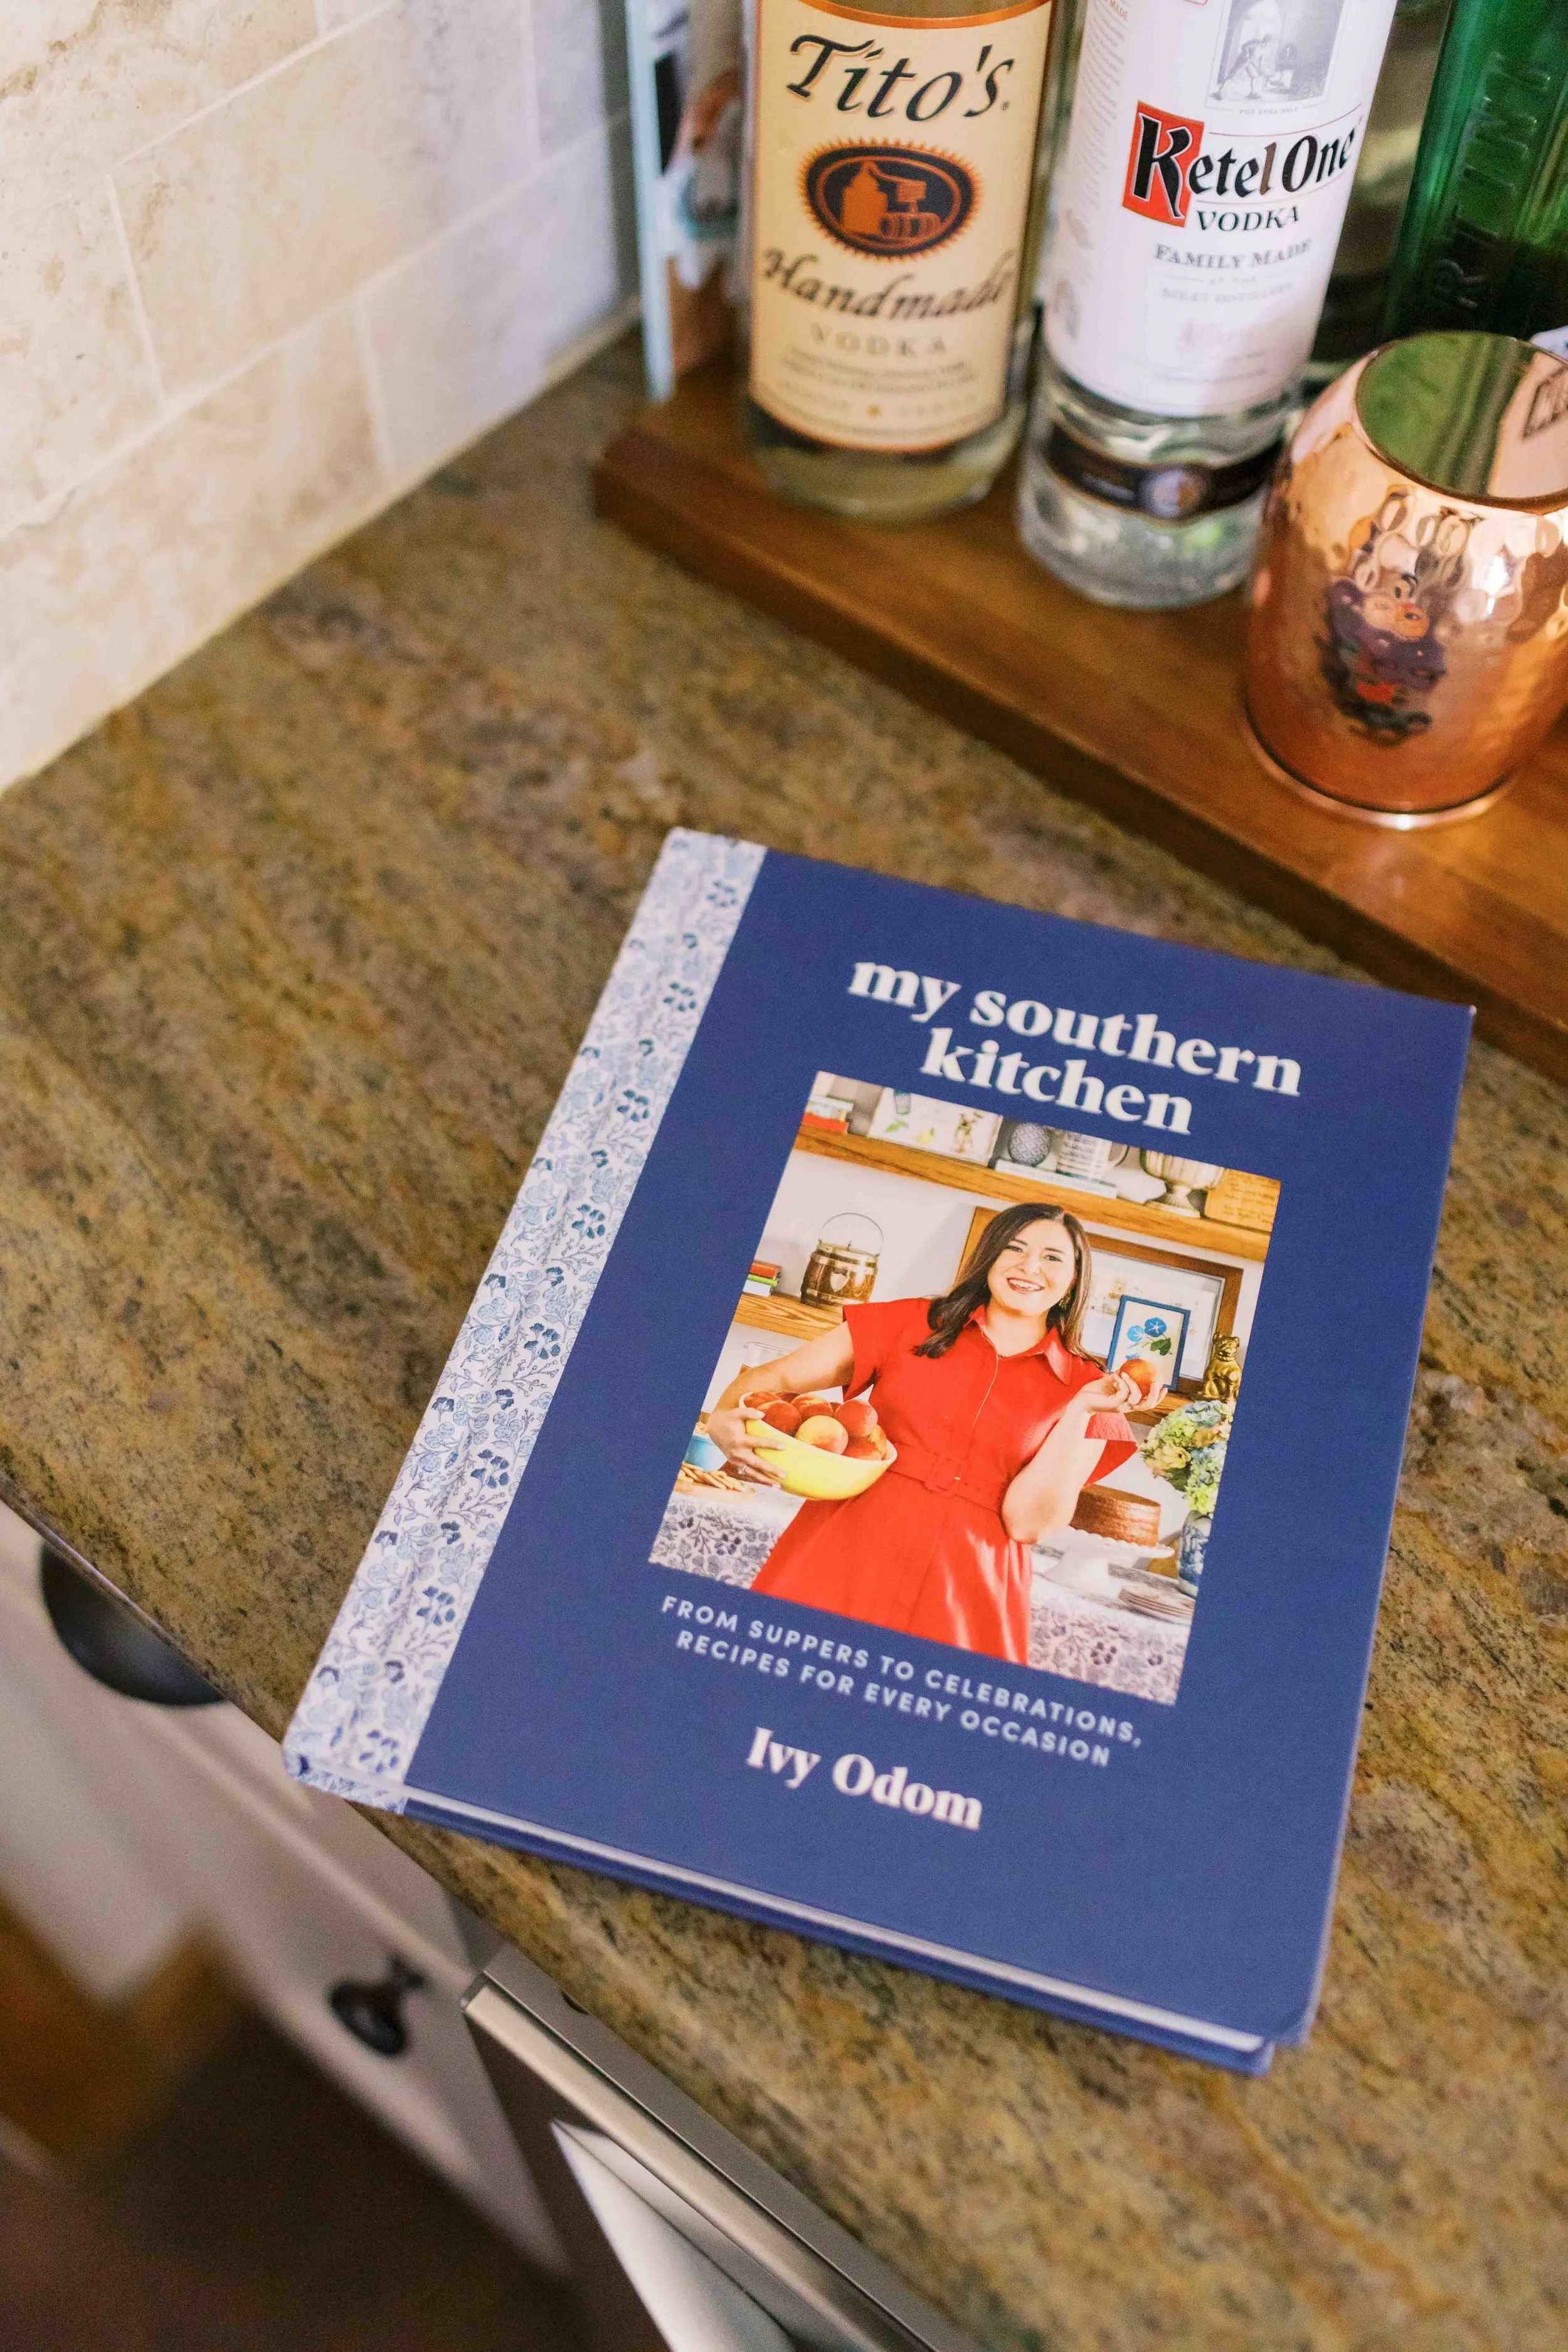
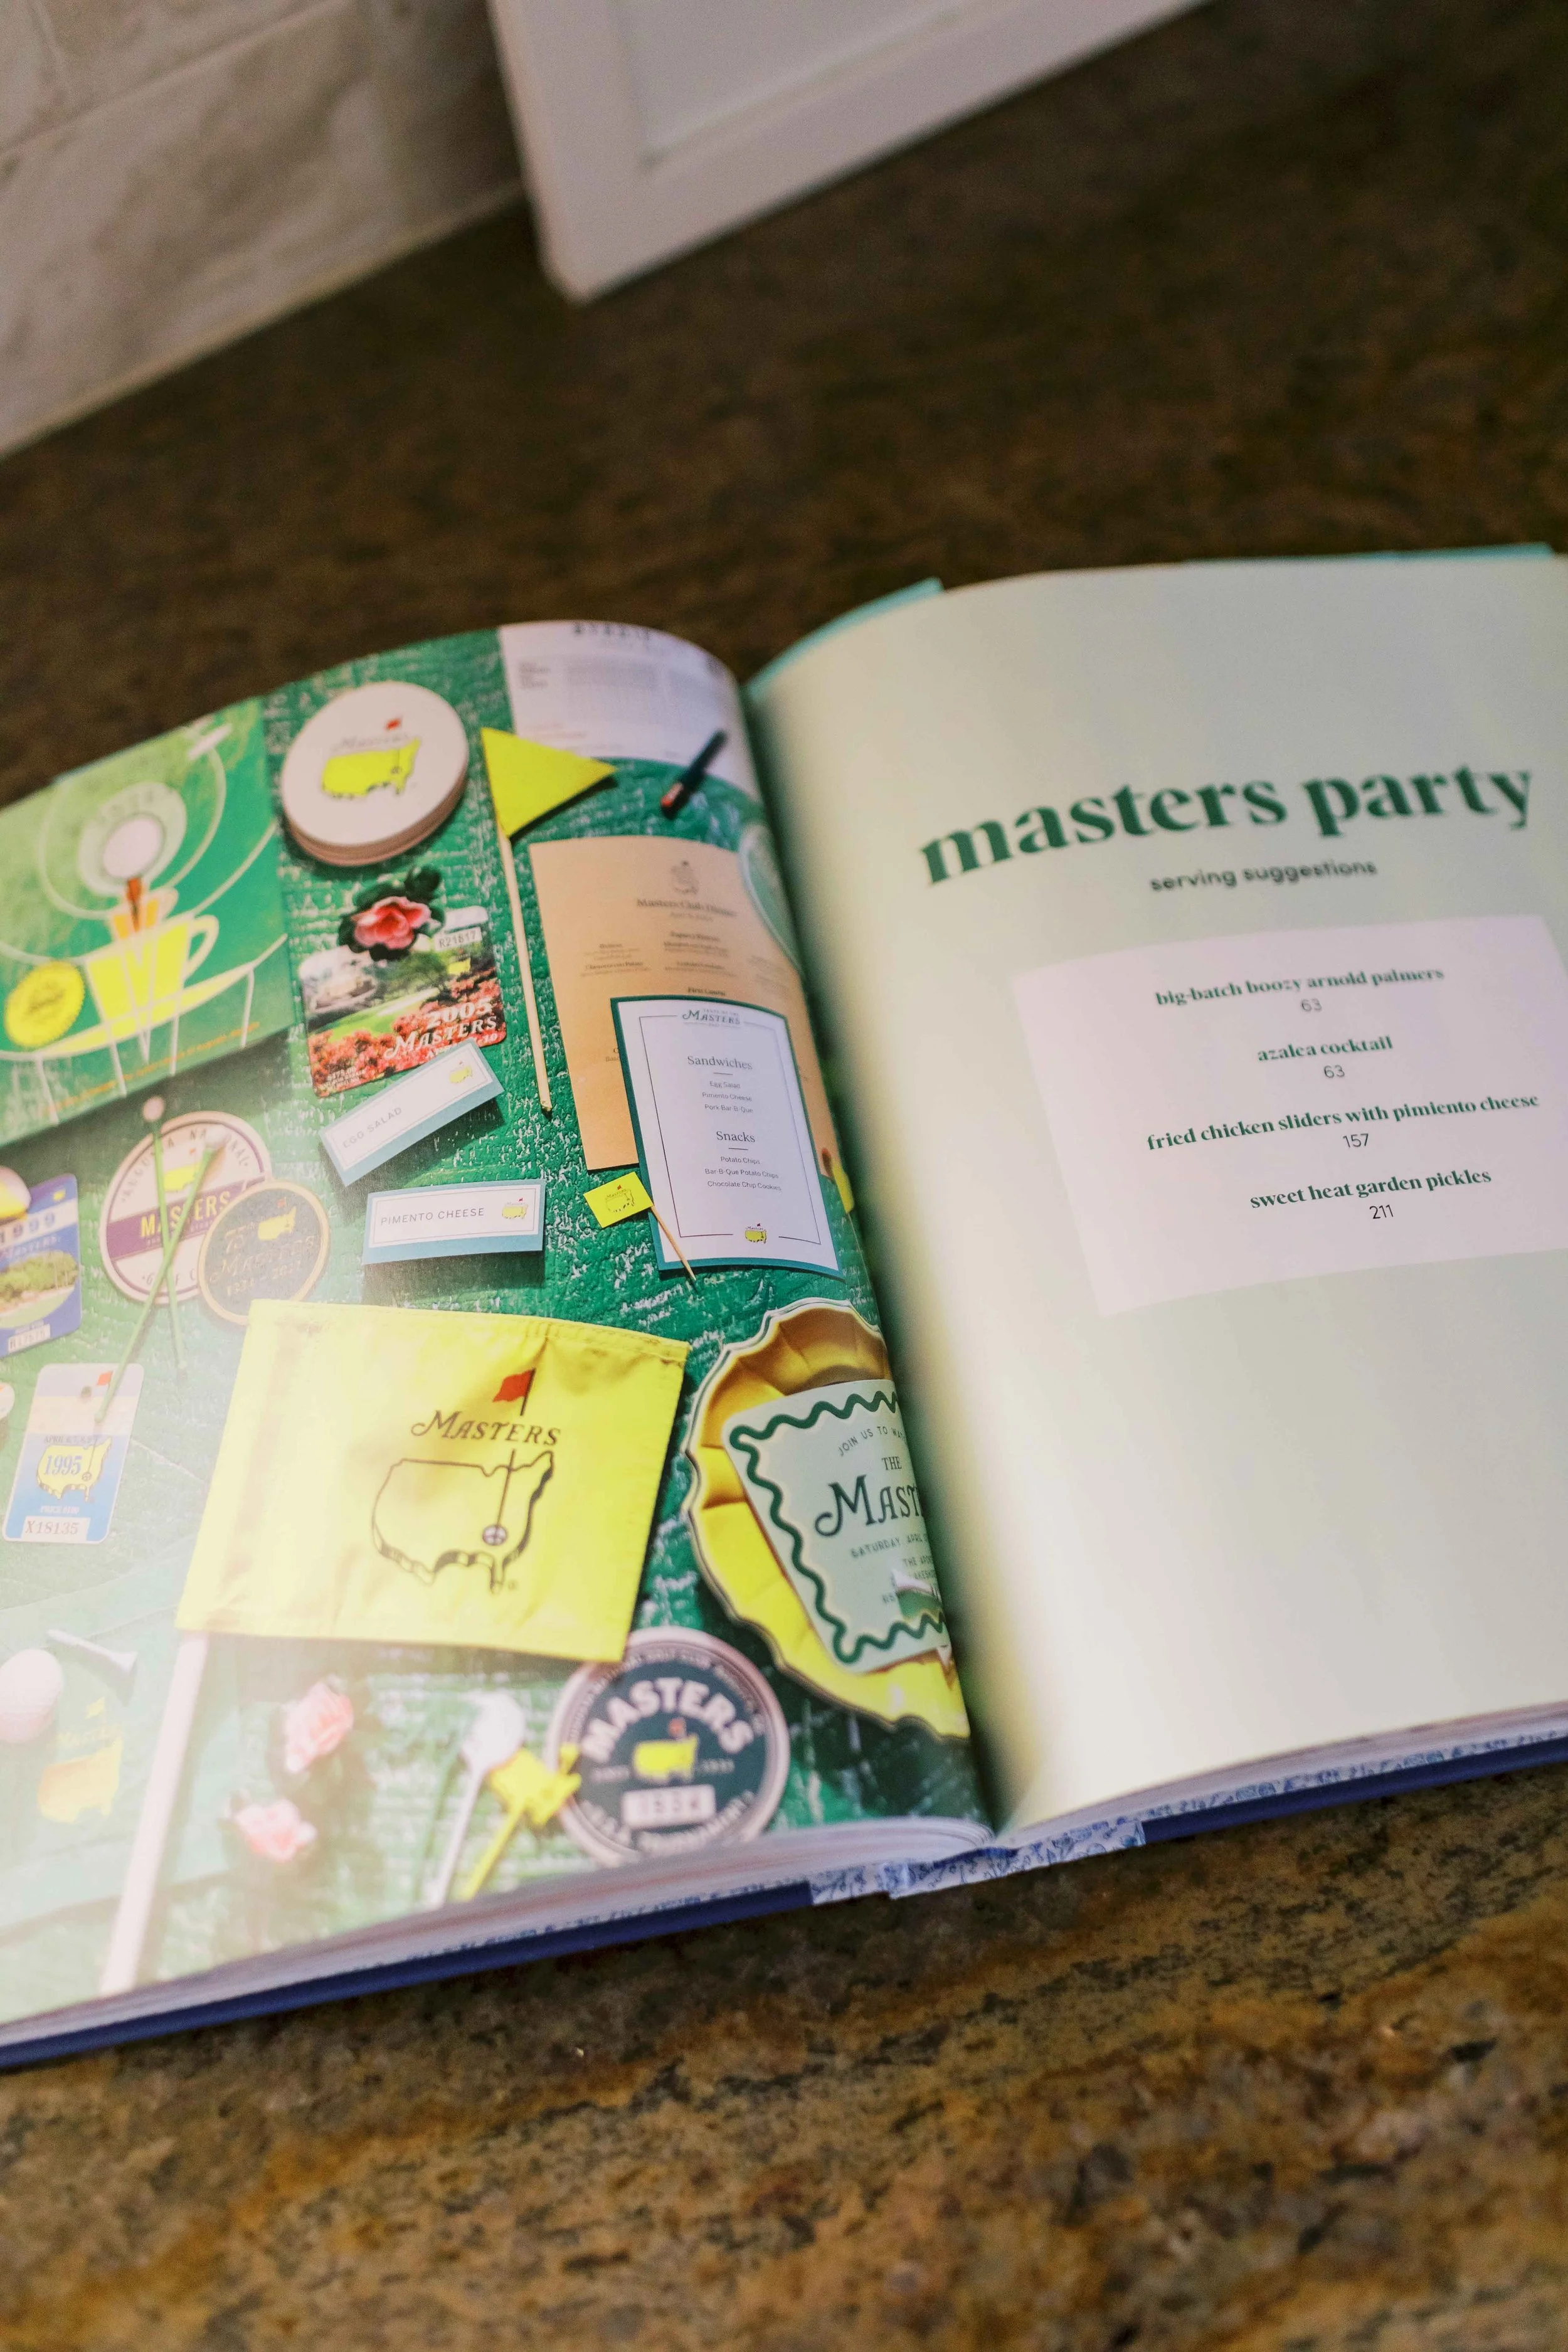
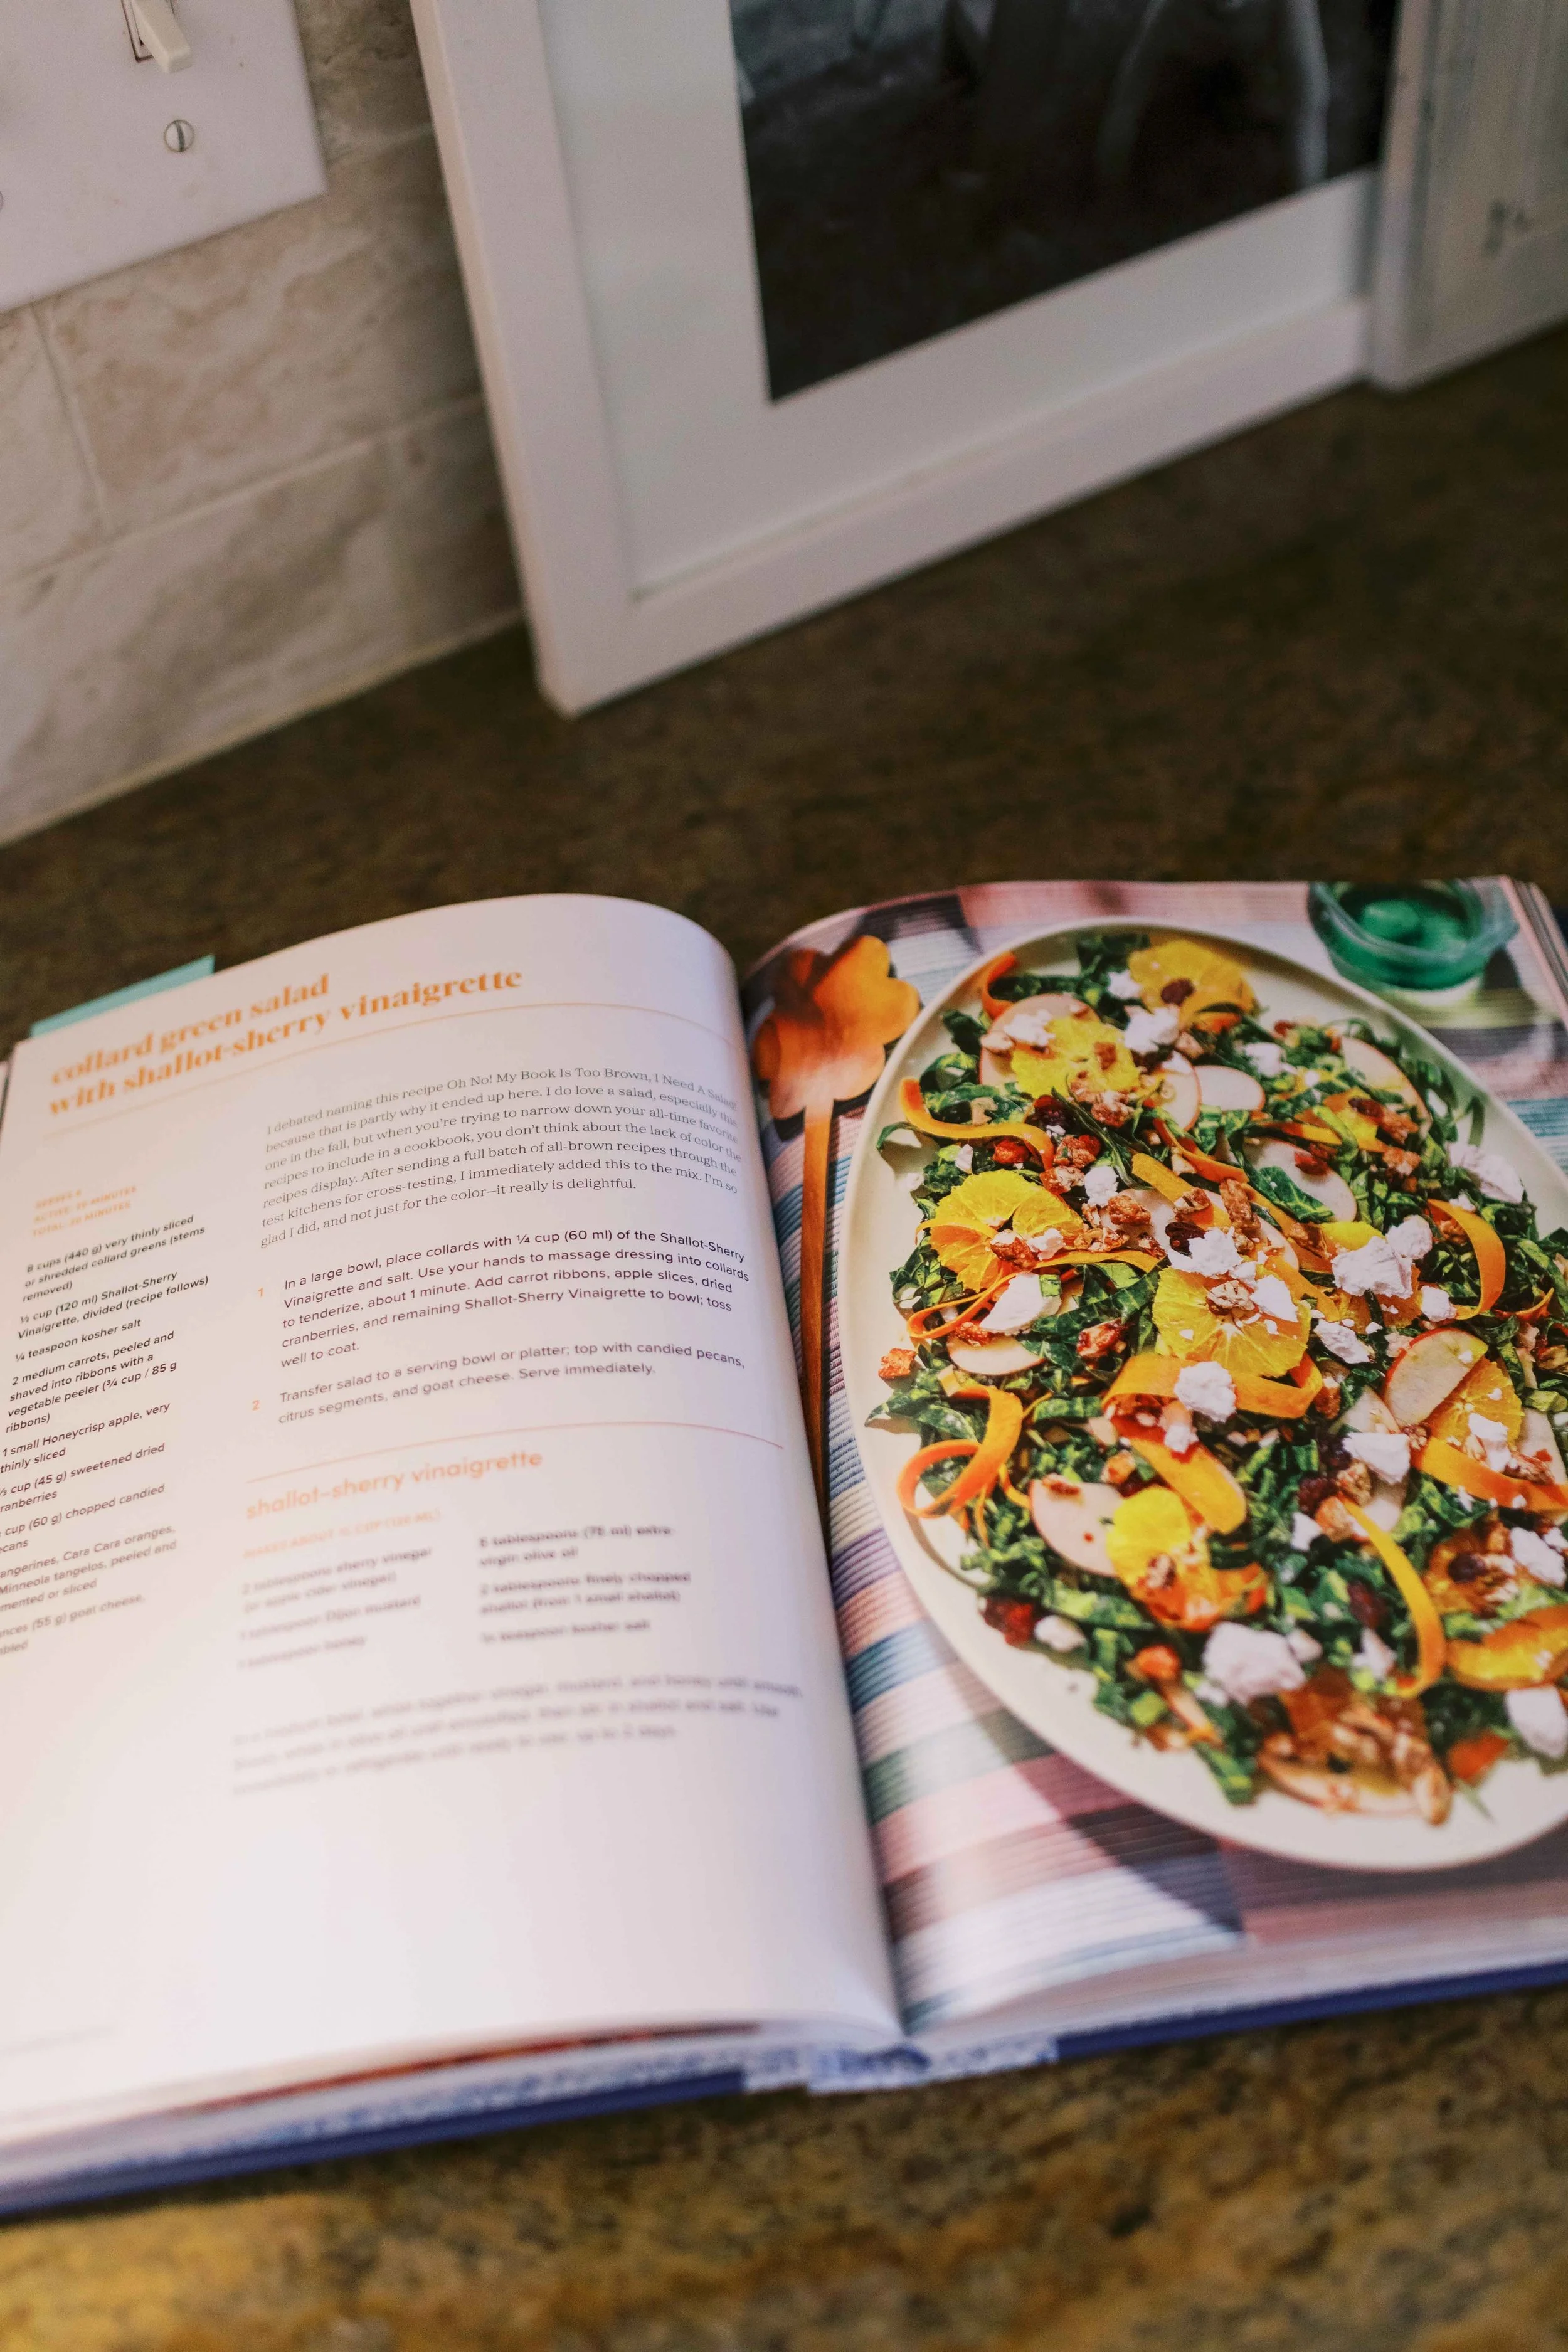
My Southern Kitchen recipes | If you follow Southern Living on Instagram, you’ve seen Ivy Odom’s videos. I ordered her cookbook, My Southern Kitchen, a few weeks ago and ended up bookmarking about 2 dozen recipes I want to try this year. As I was poring over the text, Andrew said “Are you… reading? A cookbook?” But her write-ups for each recipe are so fun and nostalgic! This cookbook is more for get-togethers and occasions, not so much for simple weeknight dinners, but I’m excited to challenge myself in the kitchen and try some things out of my comfort zone. Plus, there are some twists on some southern classics that I want to become more familiar with. Fried chicken, banana pudding, homemade sweet tea – there’s no excuse for me not to have at least attempted some of these at this point in my life.
These last few years I’ve really forced myself to try more things in the kitchen and it’s been so gratifying, so I’m excited to make my way through these recipes and hopefully have a few more excuses to host friends in the process.
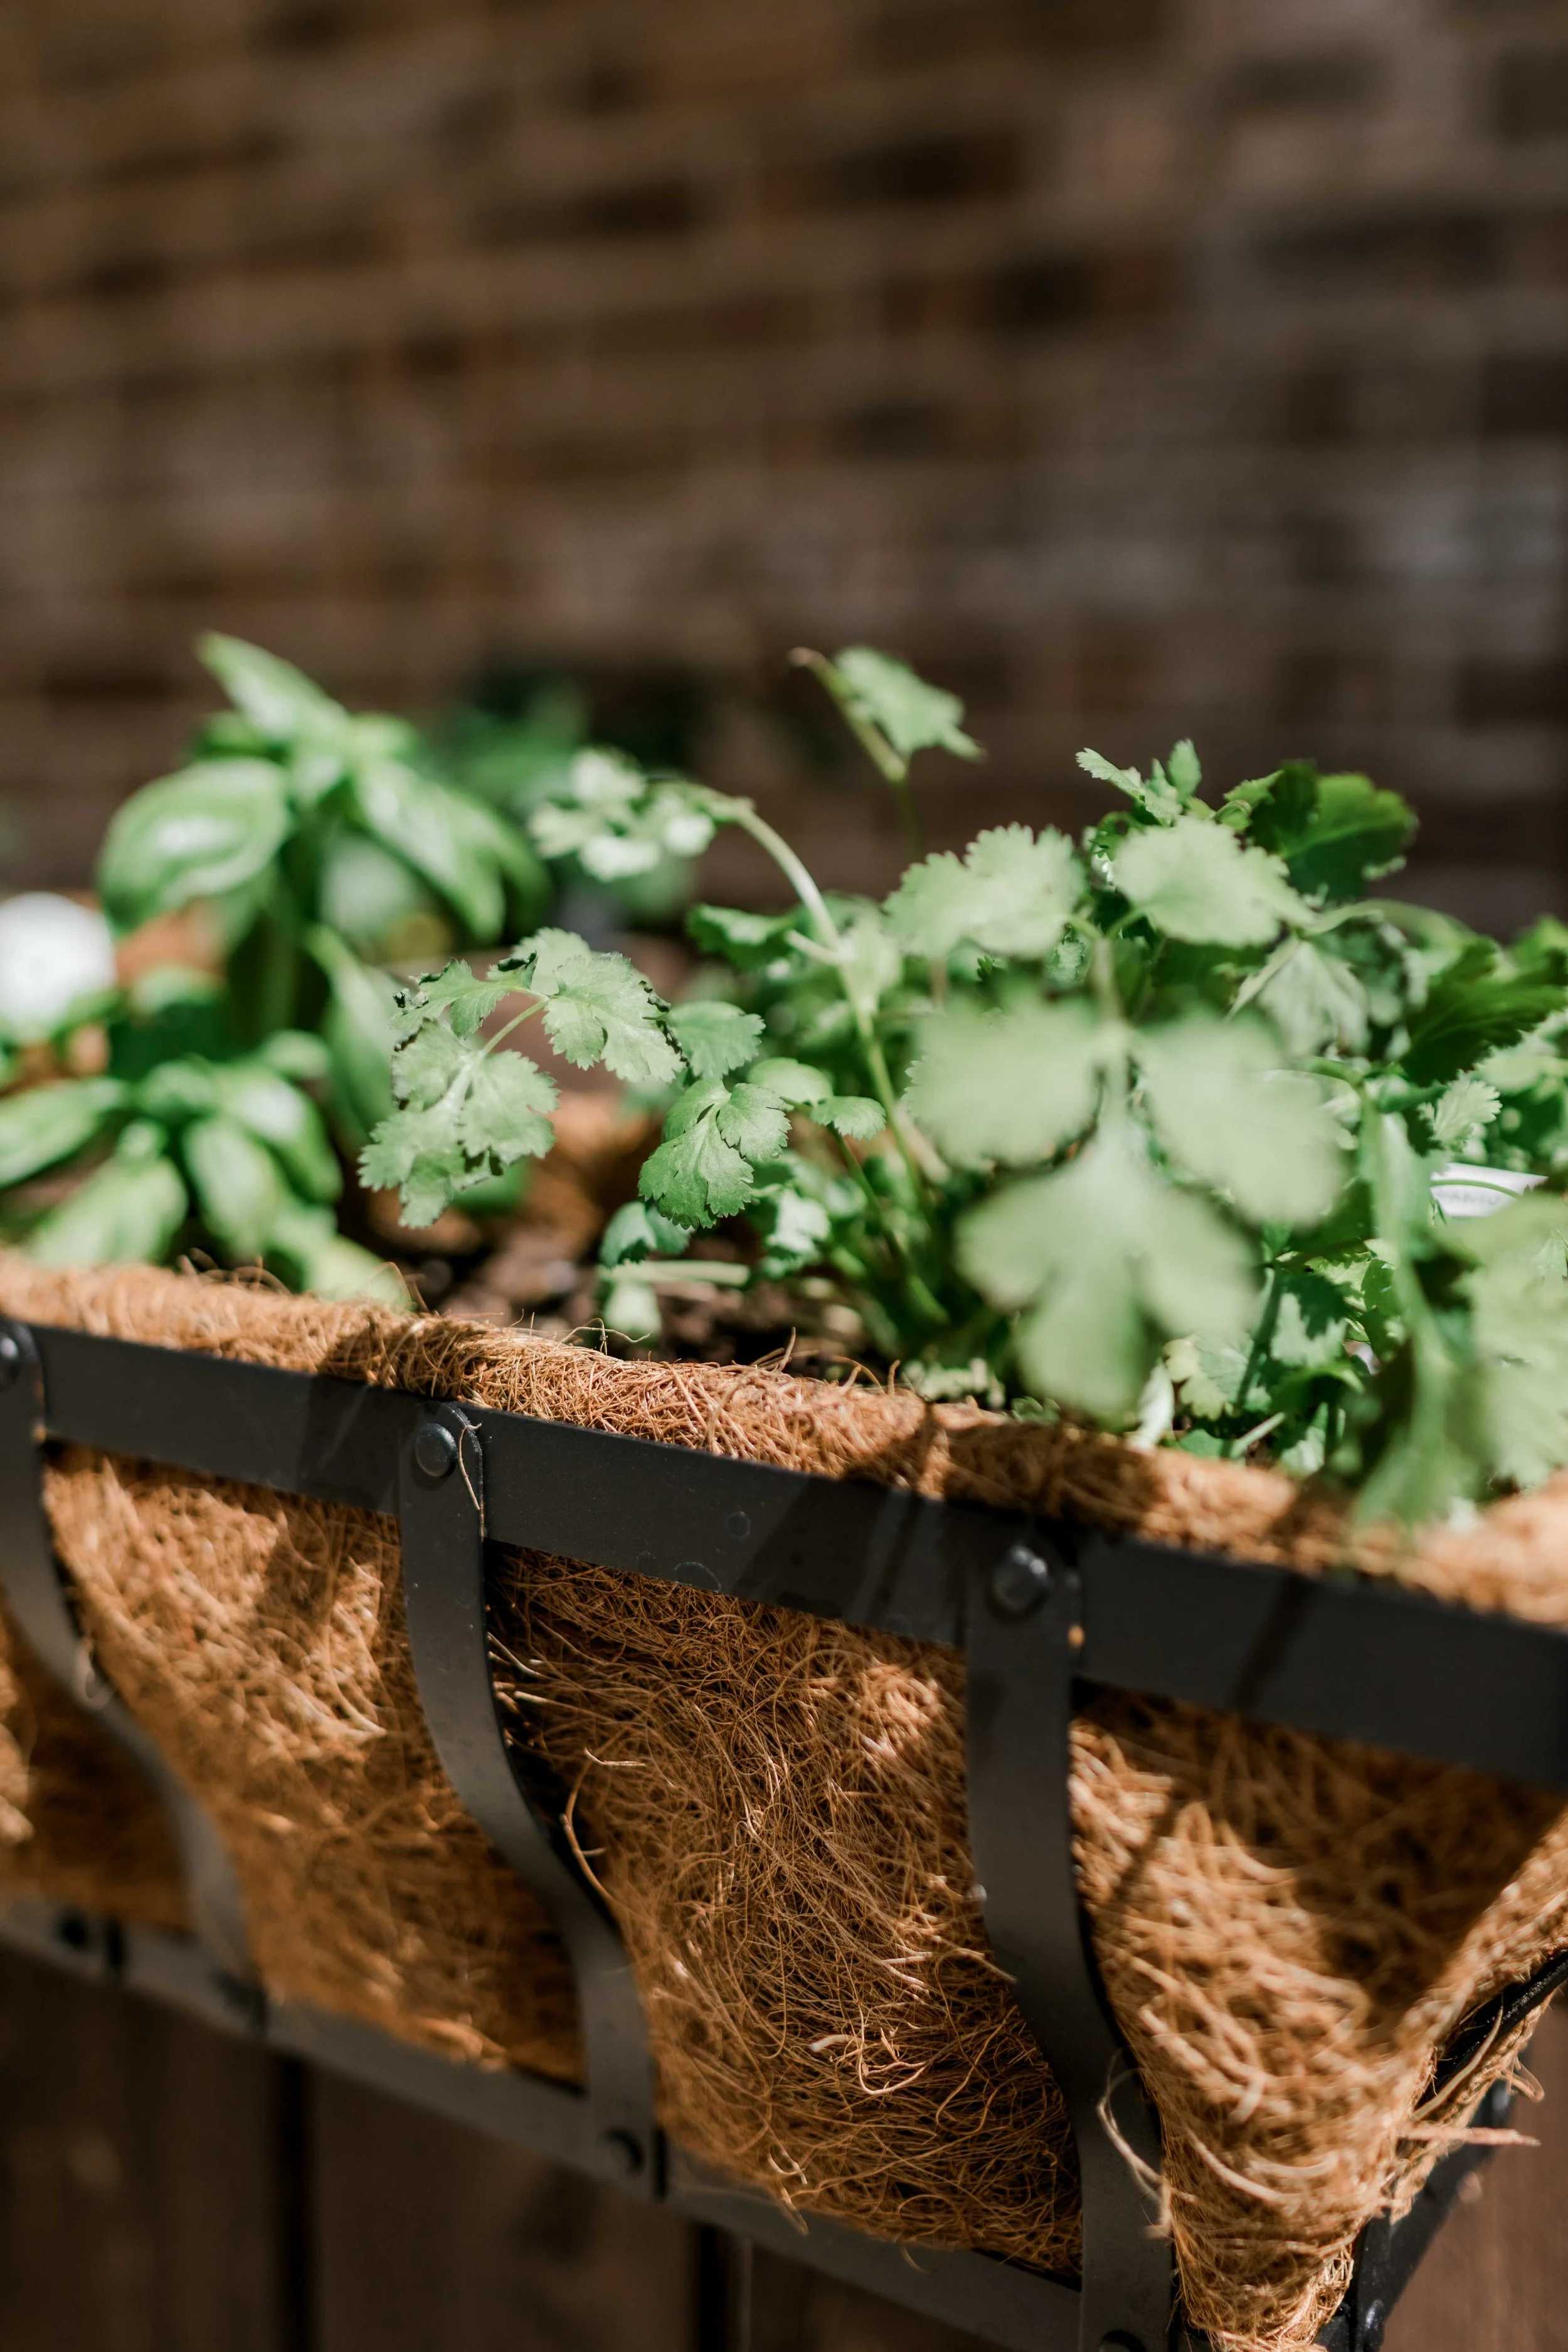
Growing herbs and cherry tomatoes | We’re trying our hand at some different herbs this year, along with some cherry tomatoes from seeds. Attempting to not overwater things this time around (my biggest gardening downfall) by remembering a little nugget from Joanna Gaines’ children’s book We Are the Gardeners – herbs have manners. They like to sip, not gulp!
EYEING
For the first time in our entire marriage, I actually sent my husband links for things I’d like when he asked me what I wanted for my birthday. I know – huge. I’ve always been a birthday minimalist but this year, I’ve got my eye on a few things and wouldn’t mind opening any of them for the big 3-6! I sent him these earrings, this cap (so I’ll quit stealing his), and this velvety Jo Malone perfume. I haven’t worn perfume since high school, and especially not since I’ve been trying to be more conscious of what I put in and on my body, but this smells so good I don’t even care.
Speaking of gifting – I needed to get a gift for a friend a few weeks ago, and it was someone I’d never bought a gift for. I texted her sister for gift ideas and she sent back a screenshot of a Note on her phone: Gift Ideas for ___. It had things she likes and is into (baking, gardening, champagne), things she’s not into (coffee, for example), things she does for hobbies and relaxation – it was just ten or so things but it pointed me in the right direction and was SO incredibly helpful. I think everyone needs to keep a list like this! Especially for kids, too. I love when I text another parent to ask what their child might like for their birthday and they say “They’re really into ___ or they would love ___ toy.” THANK YOU. We’re gonna give the gifts anyway, so let’s just make it easy on each other and get what we actually like and will use!
LOVING
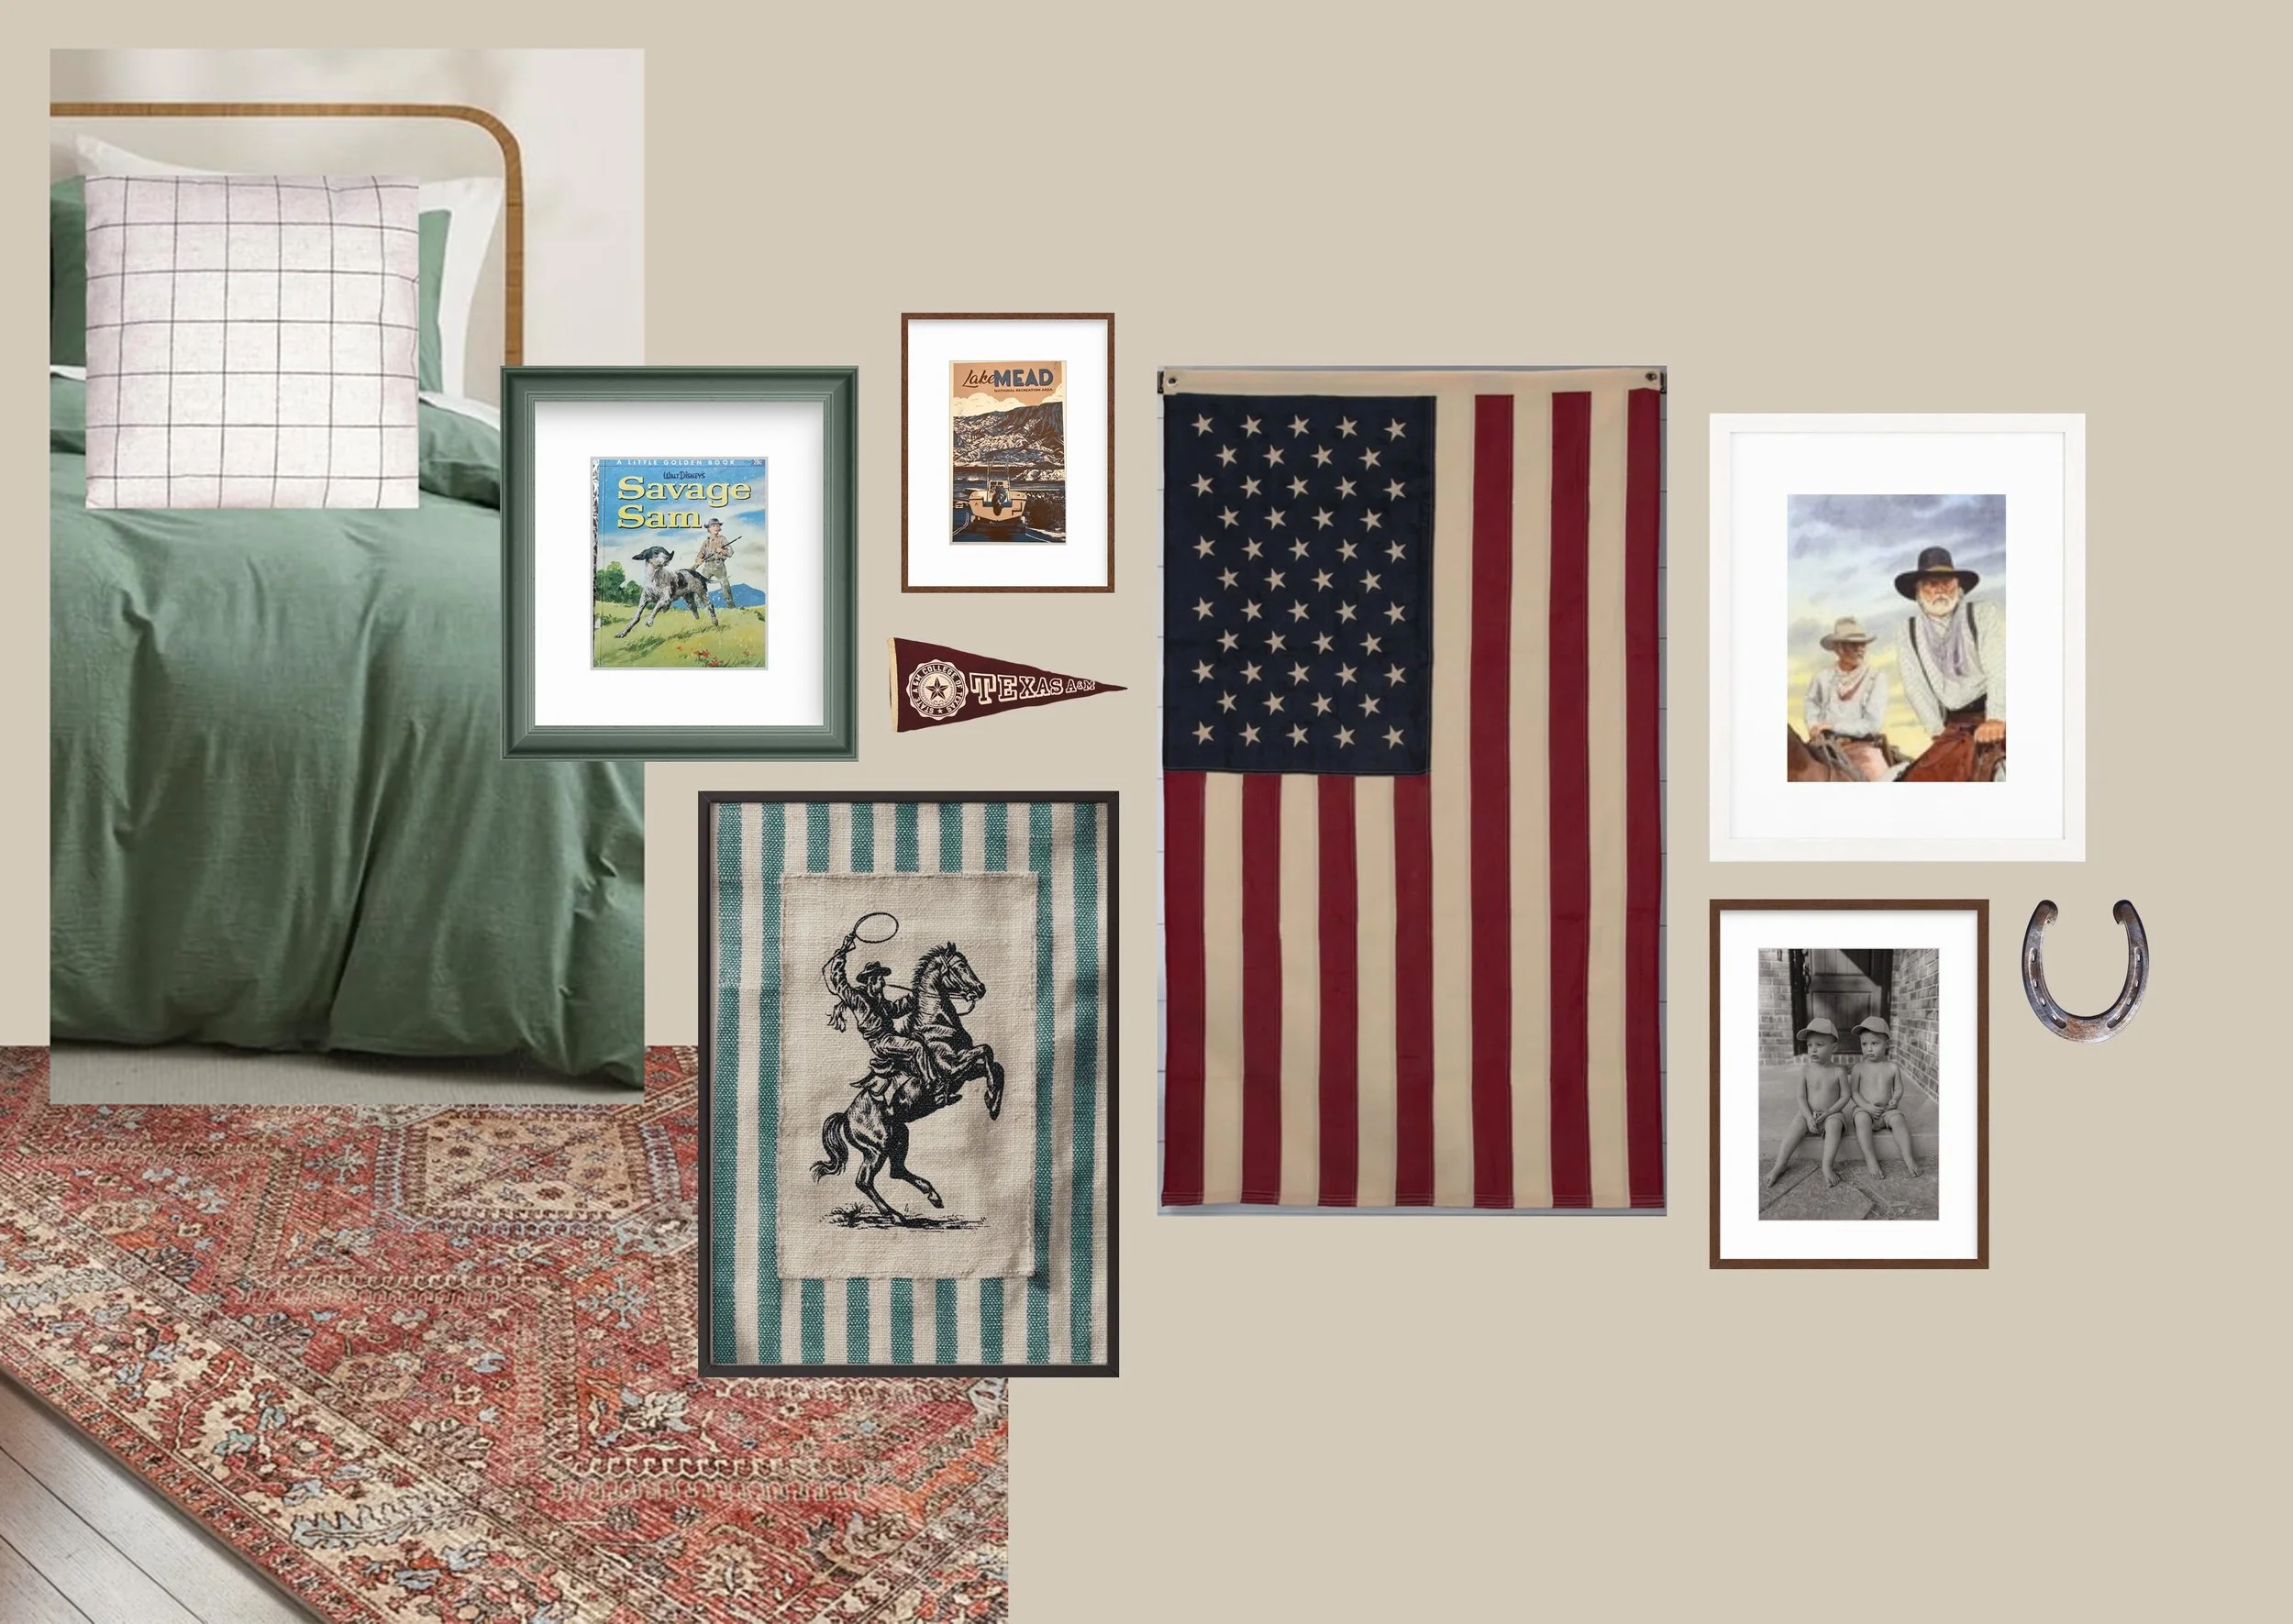
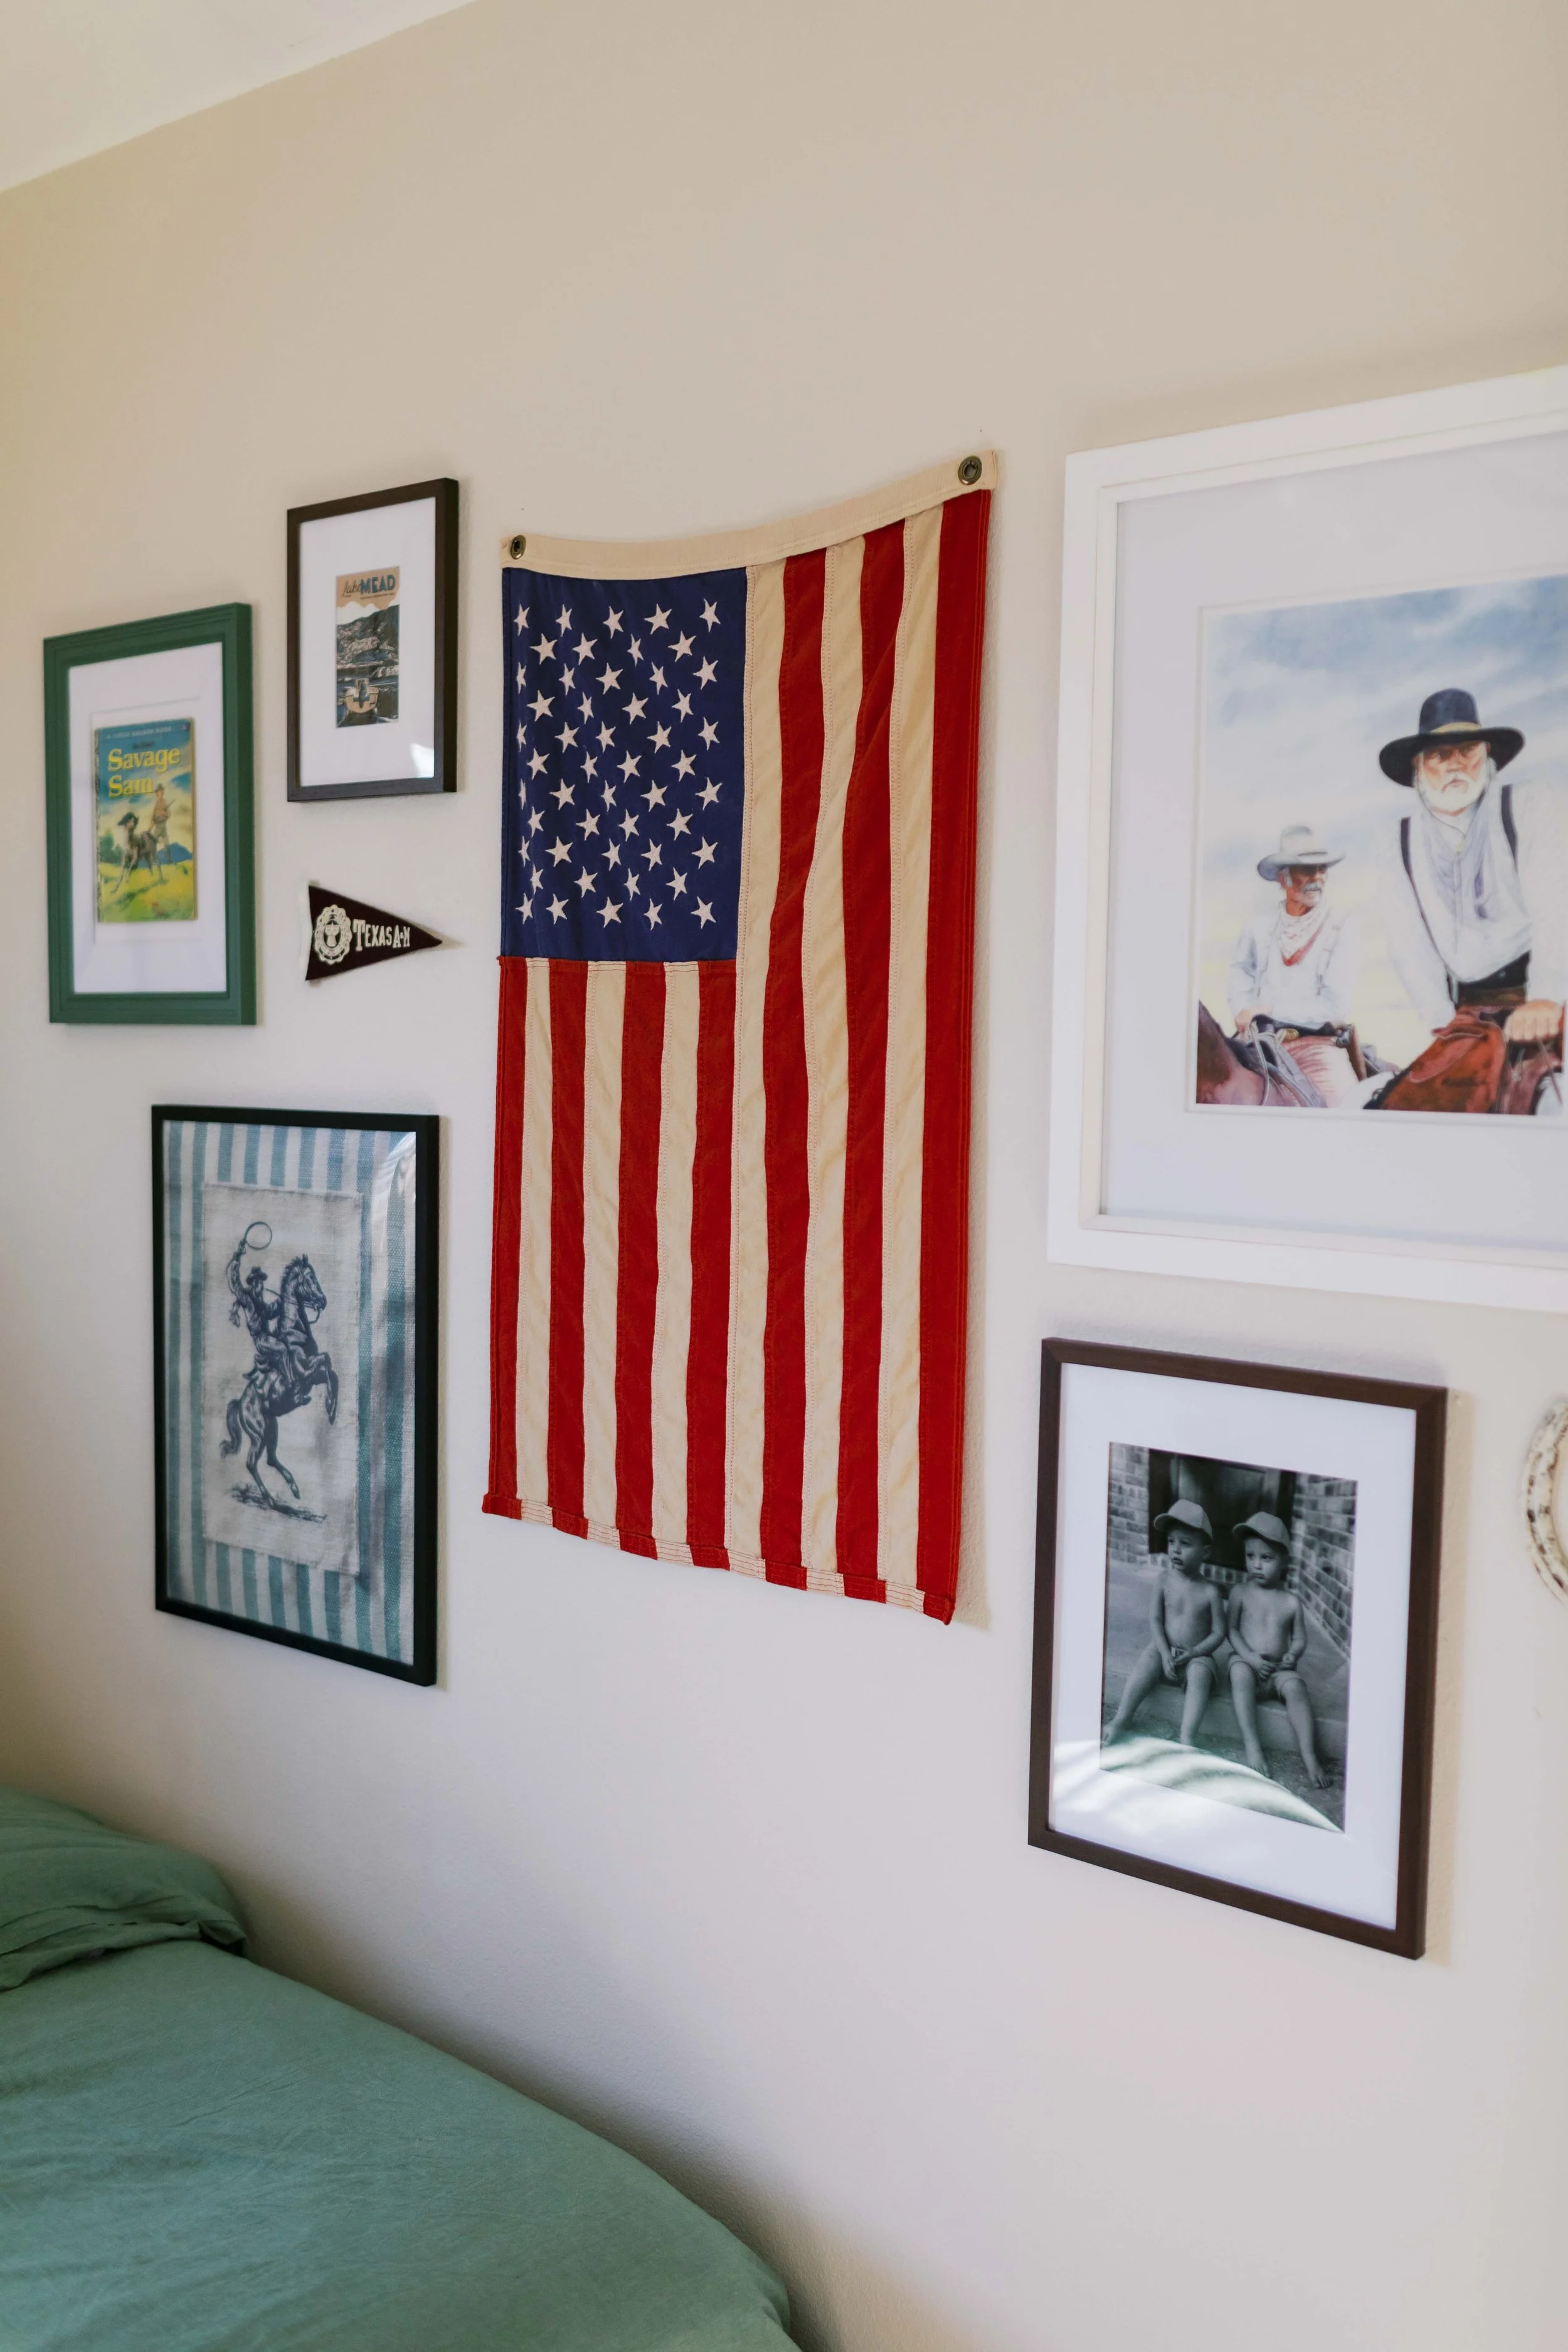
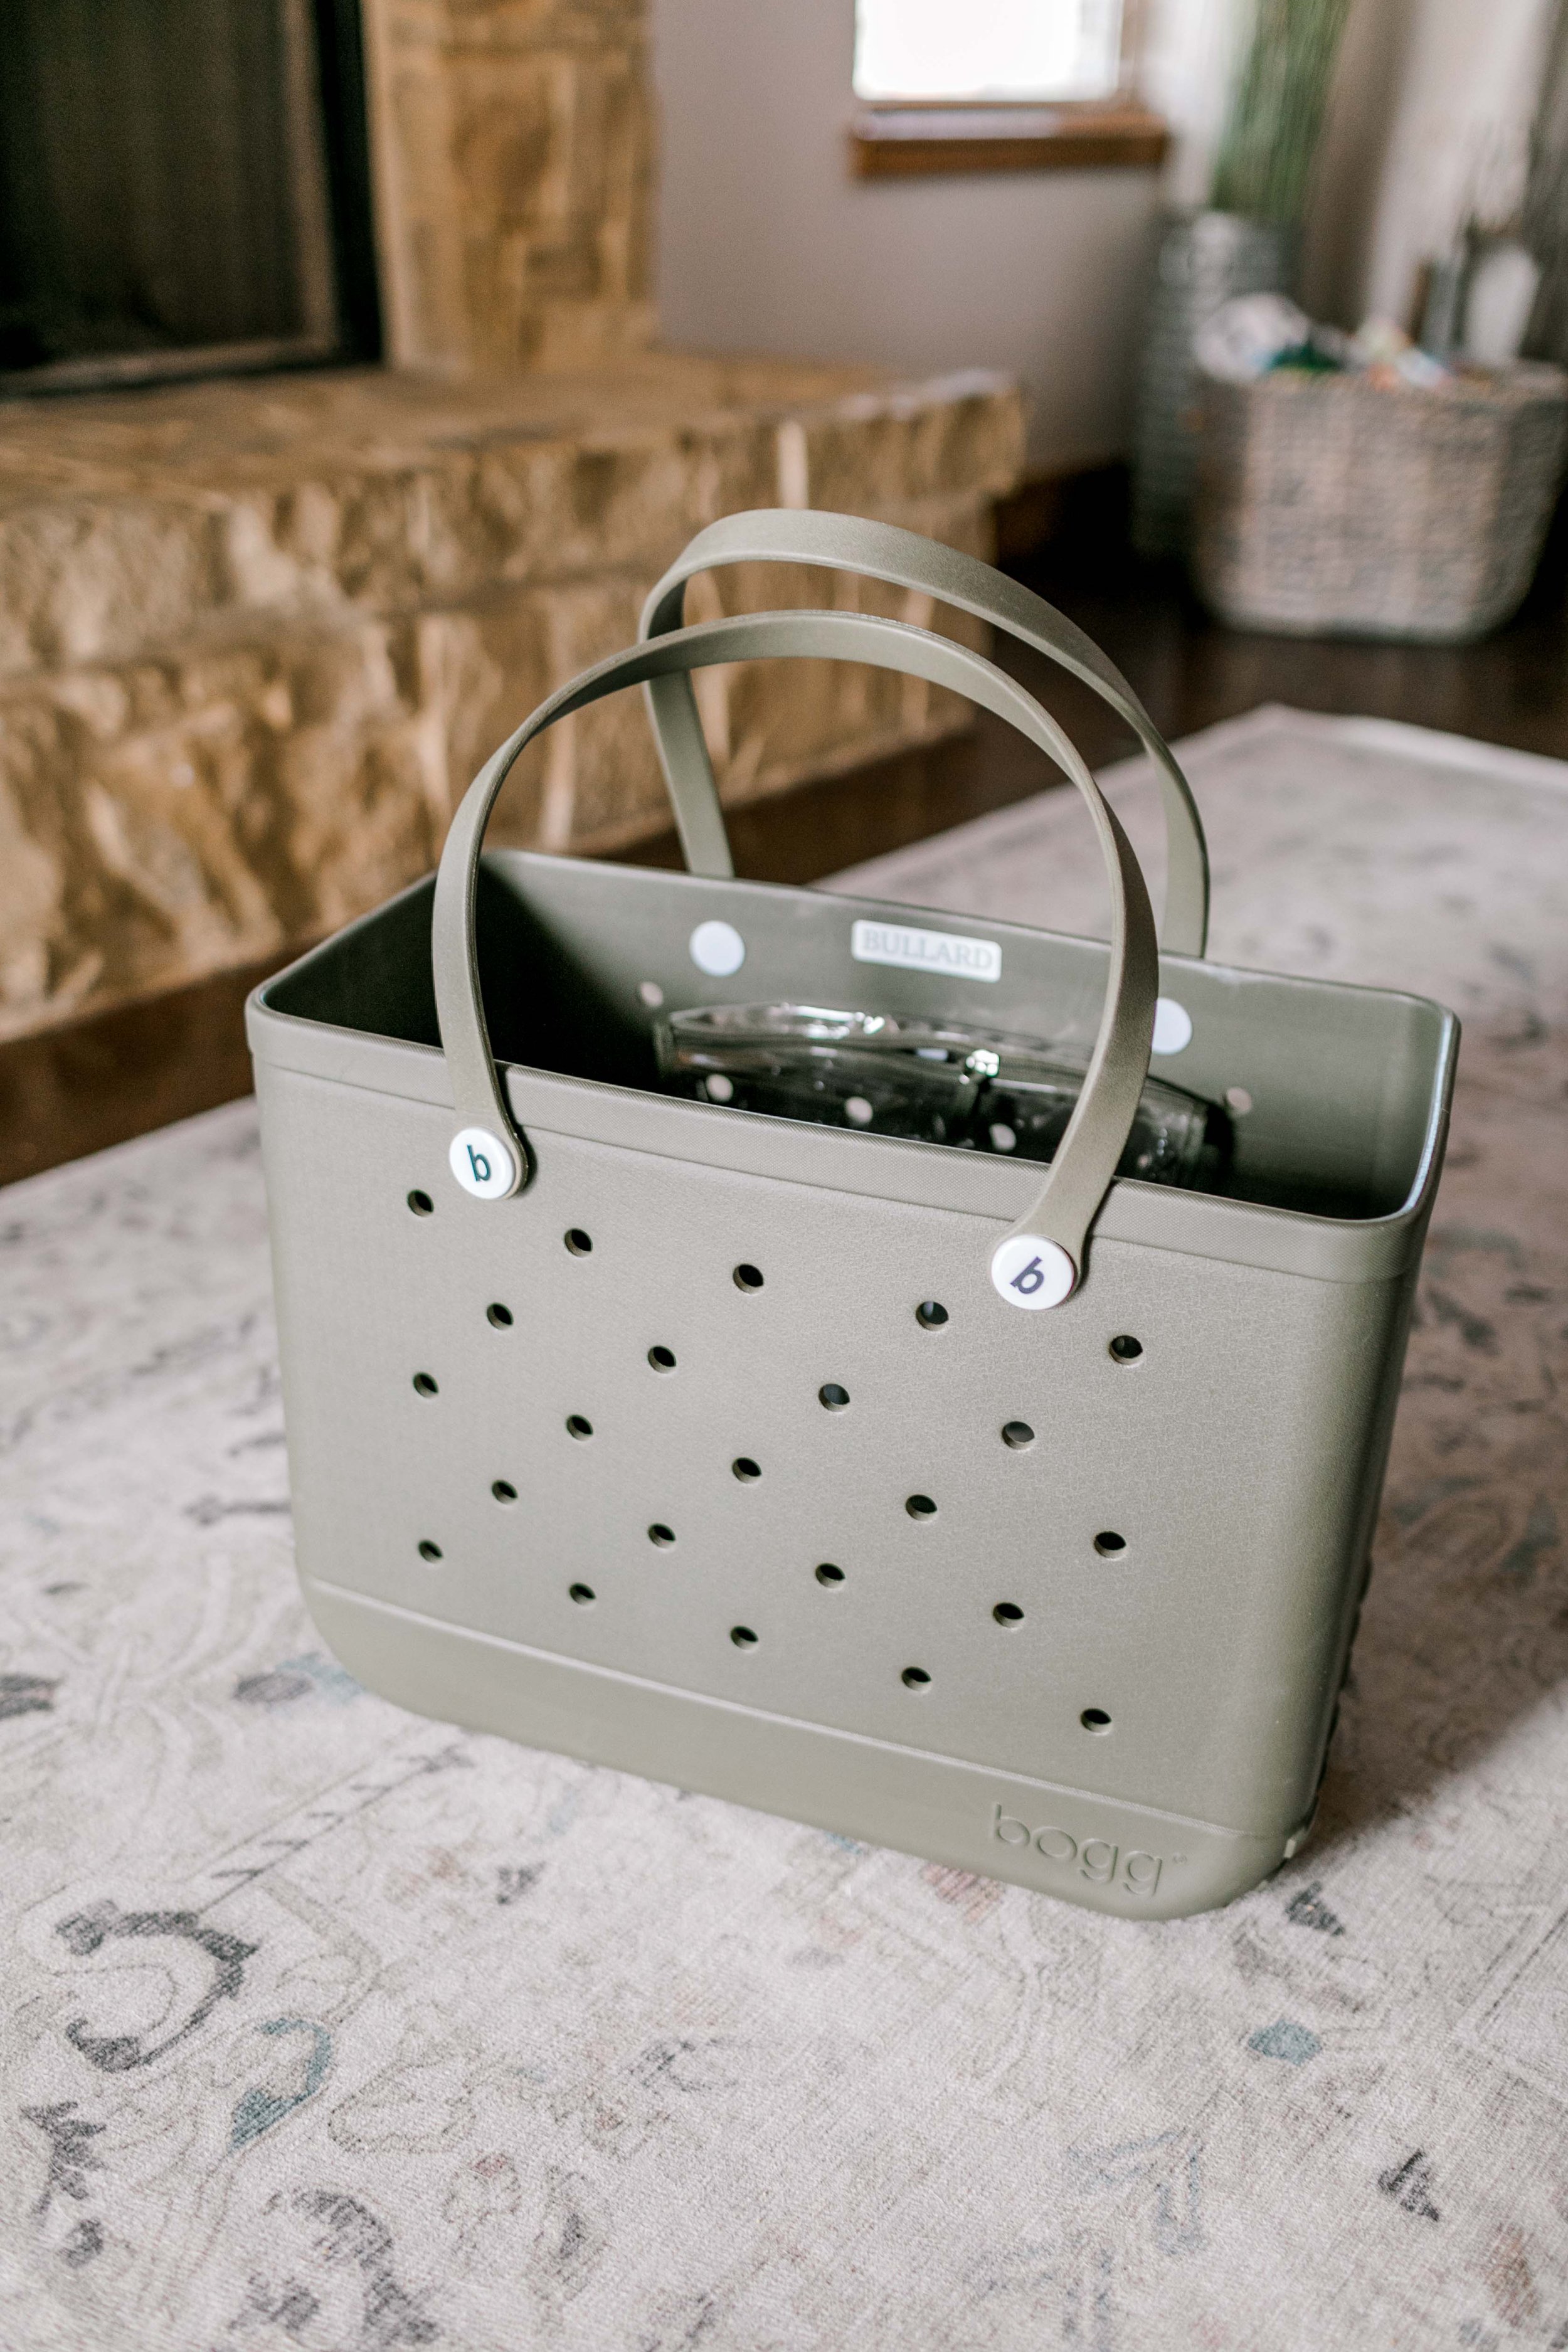
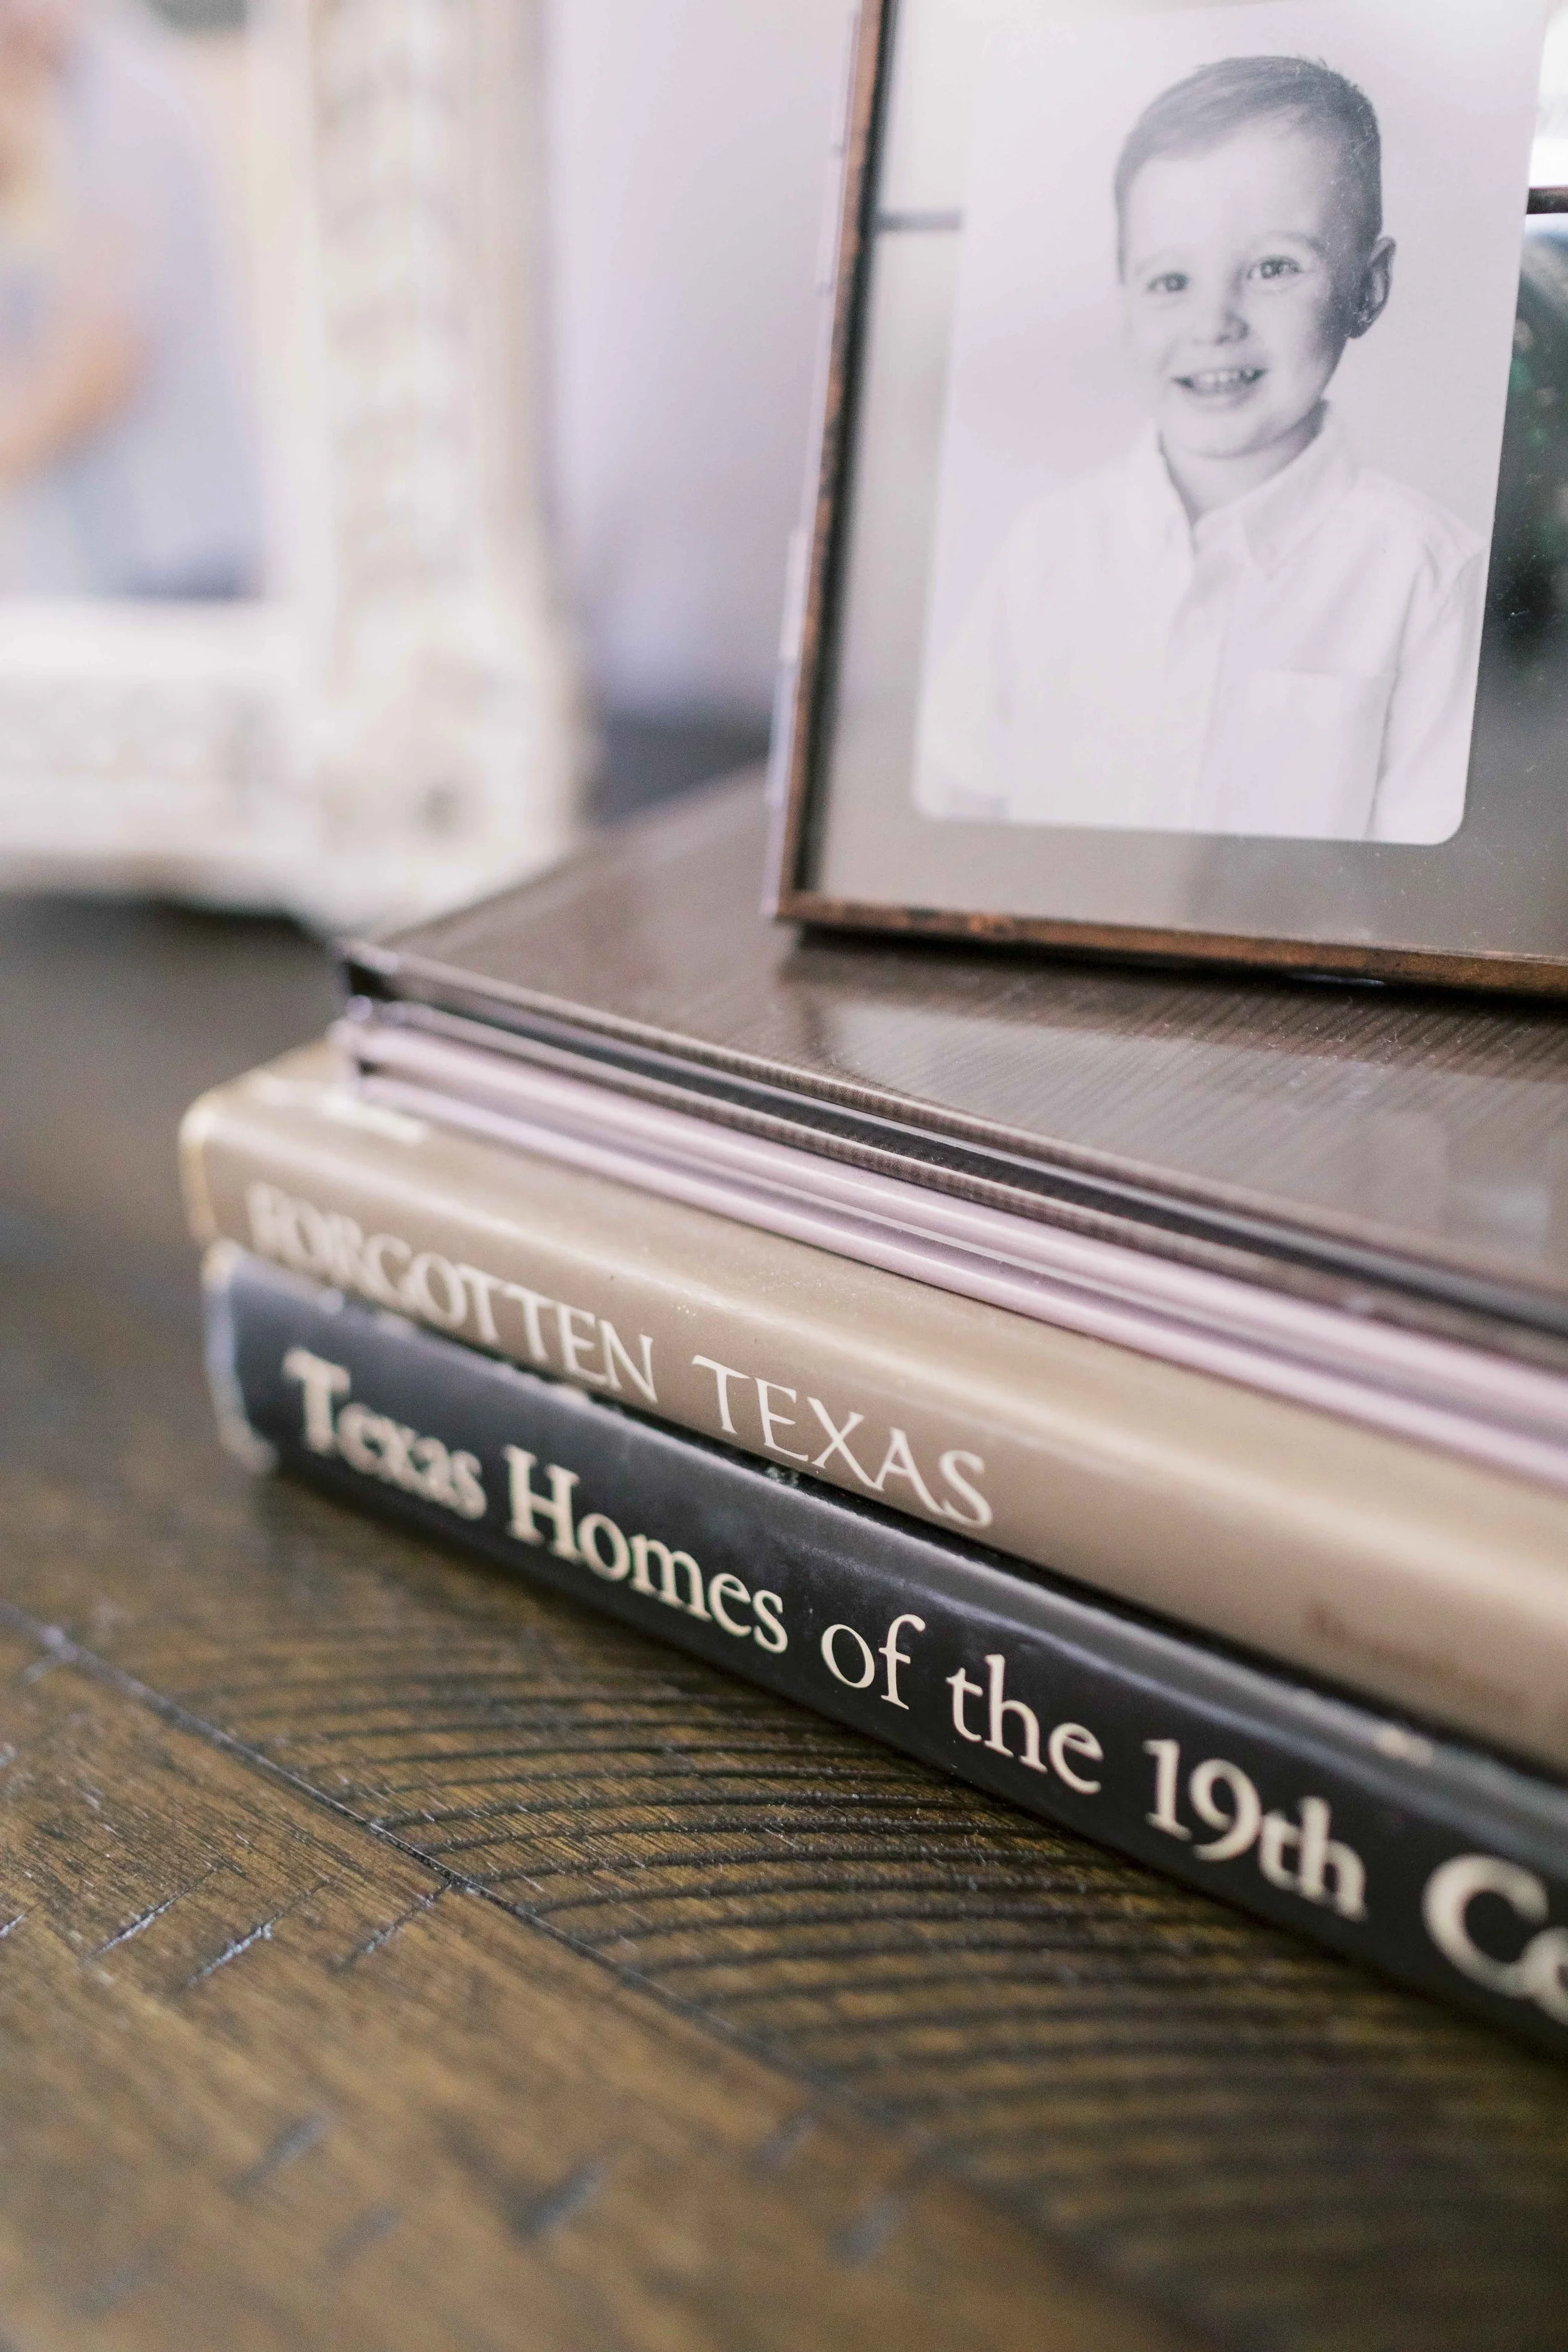
Home finds | A new living room rug that finally feels like the rug we should’ve had in there all along, and vintage Texas coffee table books I found at a precious little antique store in Johnson City when I stopped on a whim on the way to Fredericksburg. Things that make our home feel more us!

Hilmy Cellars winery in Fredericksburg | Speaking of Fredericksburg, when I went with my girls in February I stopped by this winery on my way into town. Andrew and I had done a tasting at Hilmy Cellars back in 2018 and both agreed their wine was the best of any we’d tried that trip, so I wanted to stop in again and grab a few bottles to take back home for him. When we opened a bottle of their cab after dinner and poured ourselves a glass, we both just sighed that sigh when something’s almost too good for words.
I don’t know what’s different about their grapes or their process, but the difference is stark. I already can’t wait to go back for more (or maybe I’ll just join their wine club?) plus now they have a full kitchen – with a shakshuka pizza on the menu! We started making shakshuka at home a few years ago – a pizza version sounds amazing. If you’re in Fredericksburg anytime soon, make a stop at Hilmy.
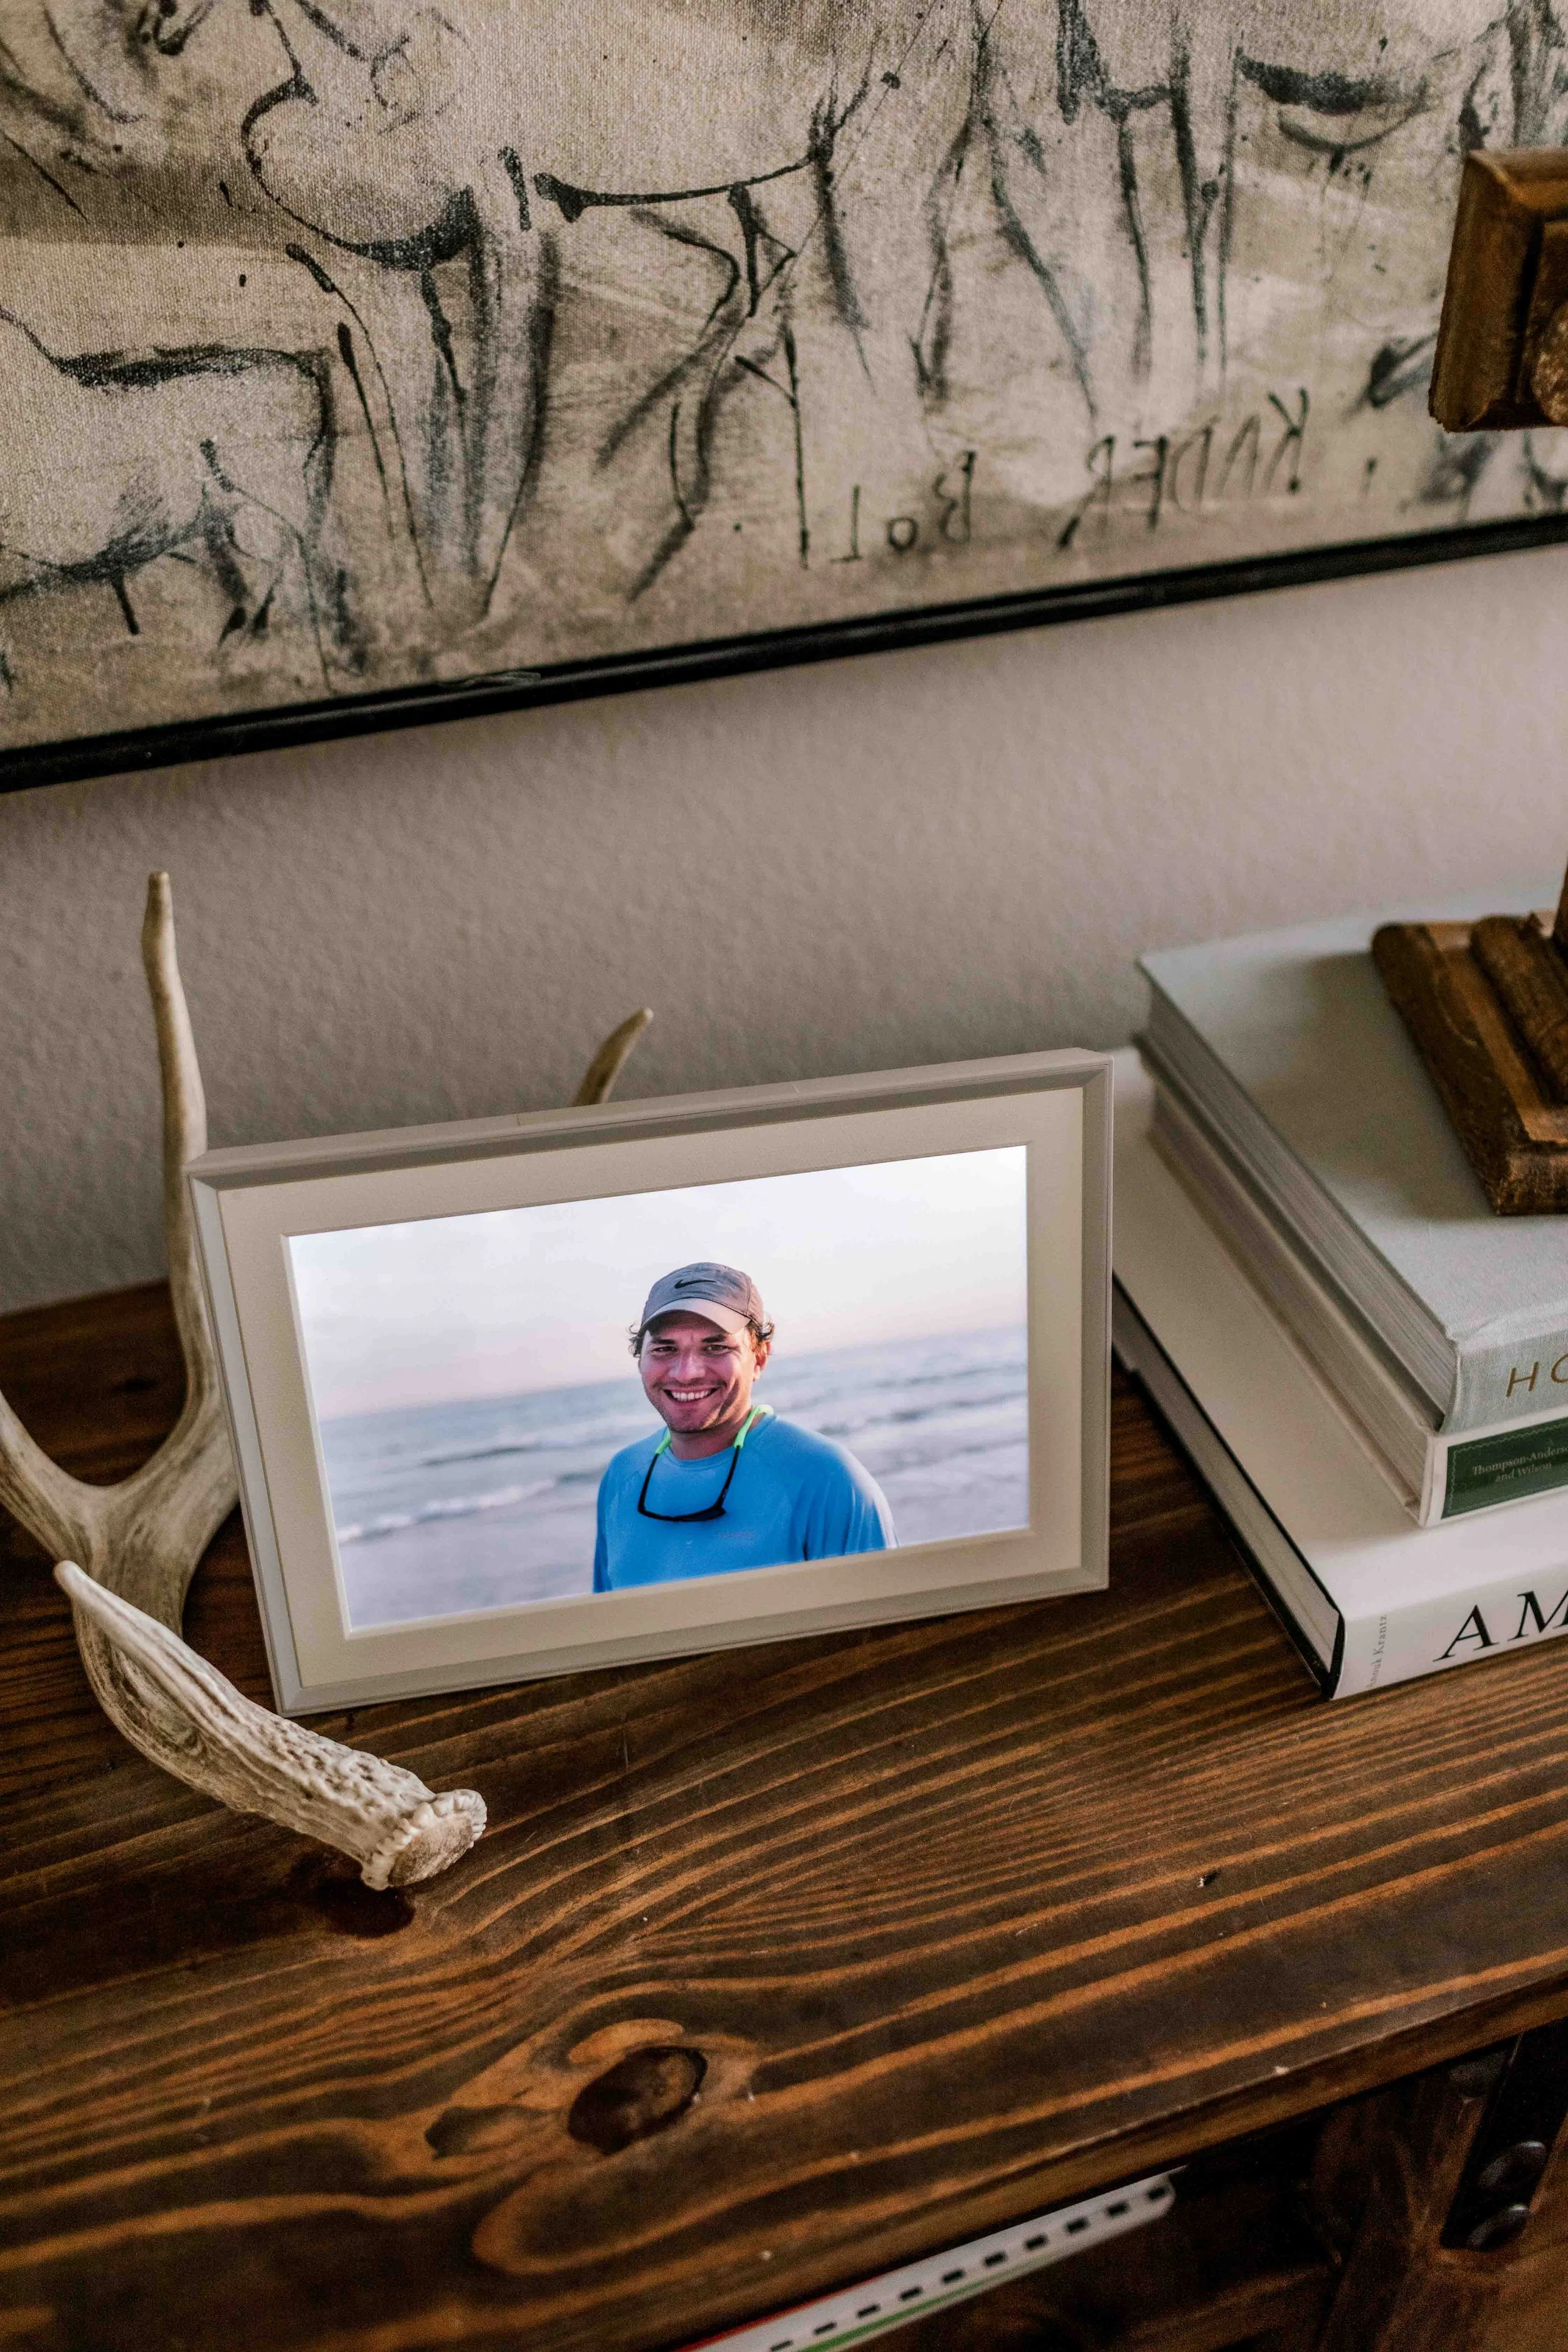
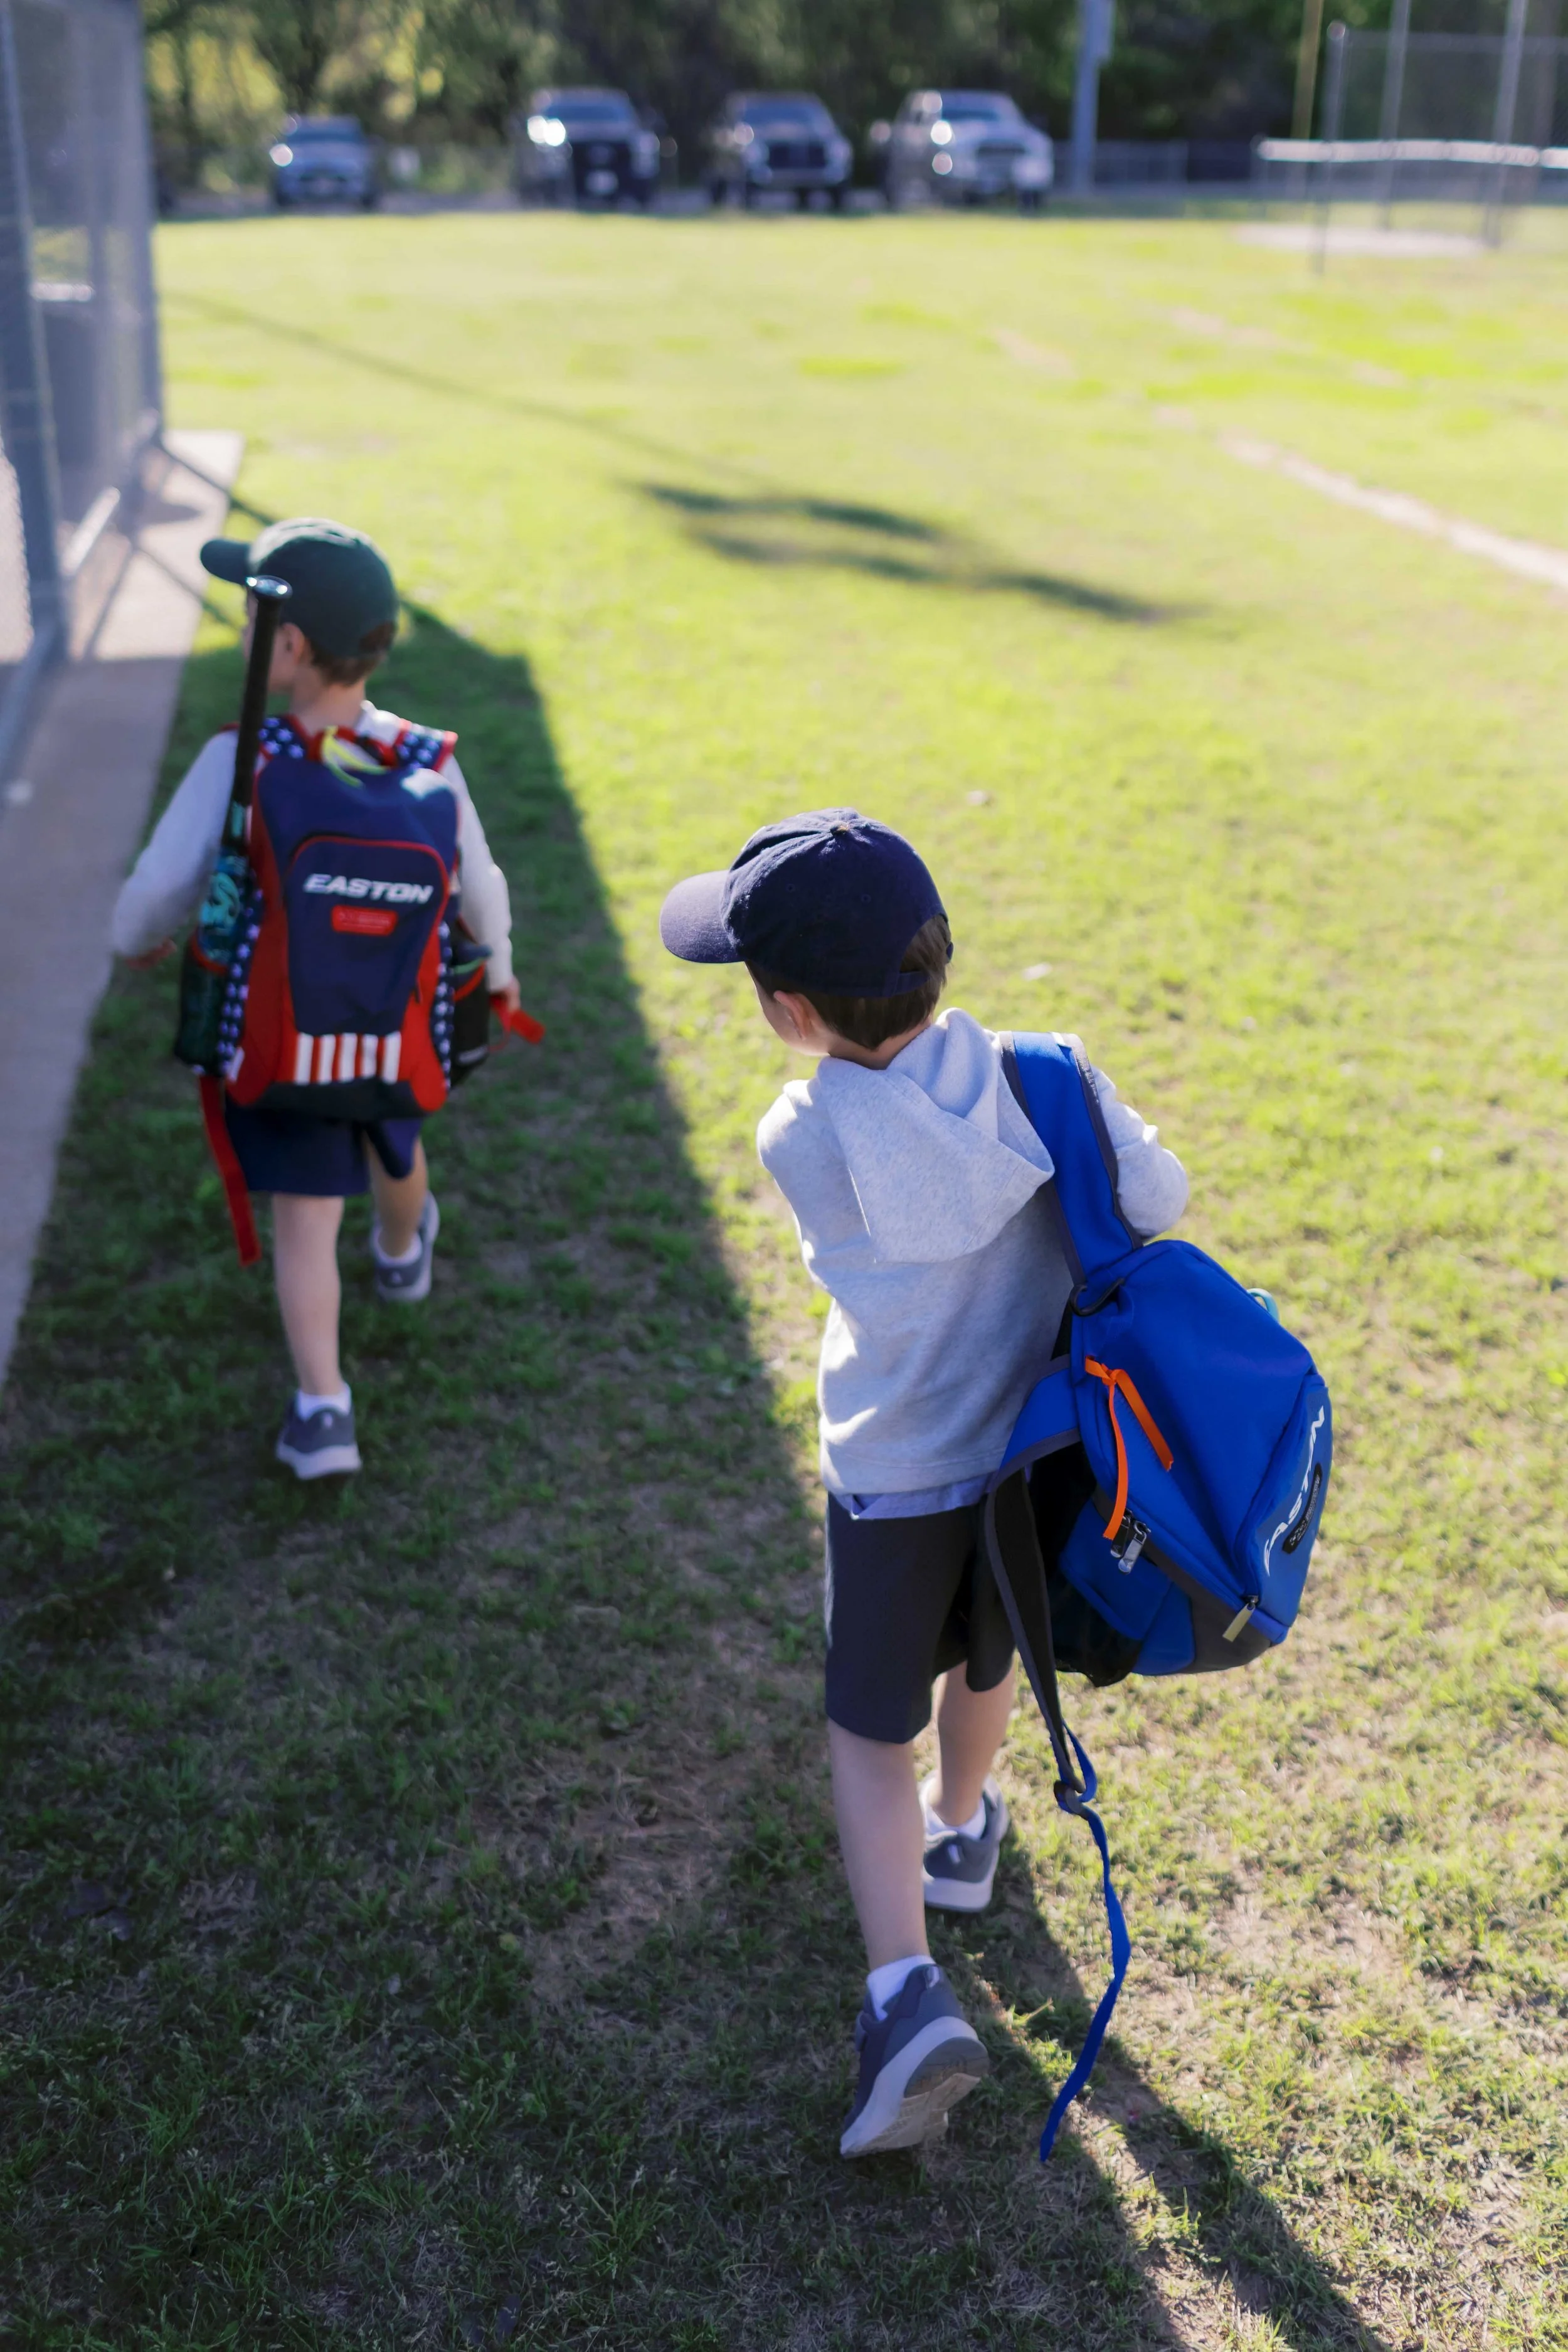
Entering my baseball mom era | I’ve looked forward to being to be a baseball mom since the day we found out it was two boys! And somehow they’re already four and a half, starting their first activity of their own after sitting on the sidelines (a.k.a. the dance studio waiting room) for most of their lives. It’s finally their turn! I had to laugh – after our first t-ball practice, Hayes saw another little boy drinking a Gatorade and said “Hey, what’s that?” Ohhh, sweet boy. Many Gatorades are in your future!

LEARNING
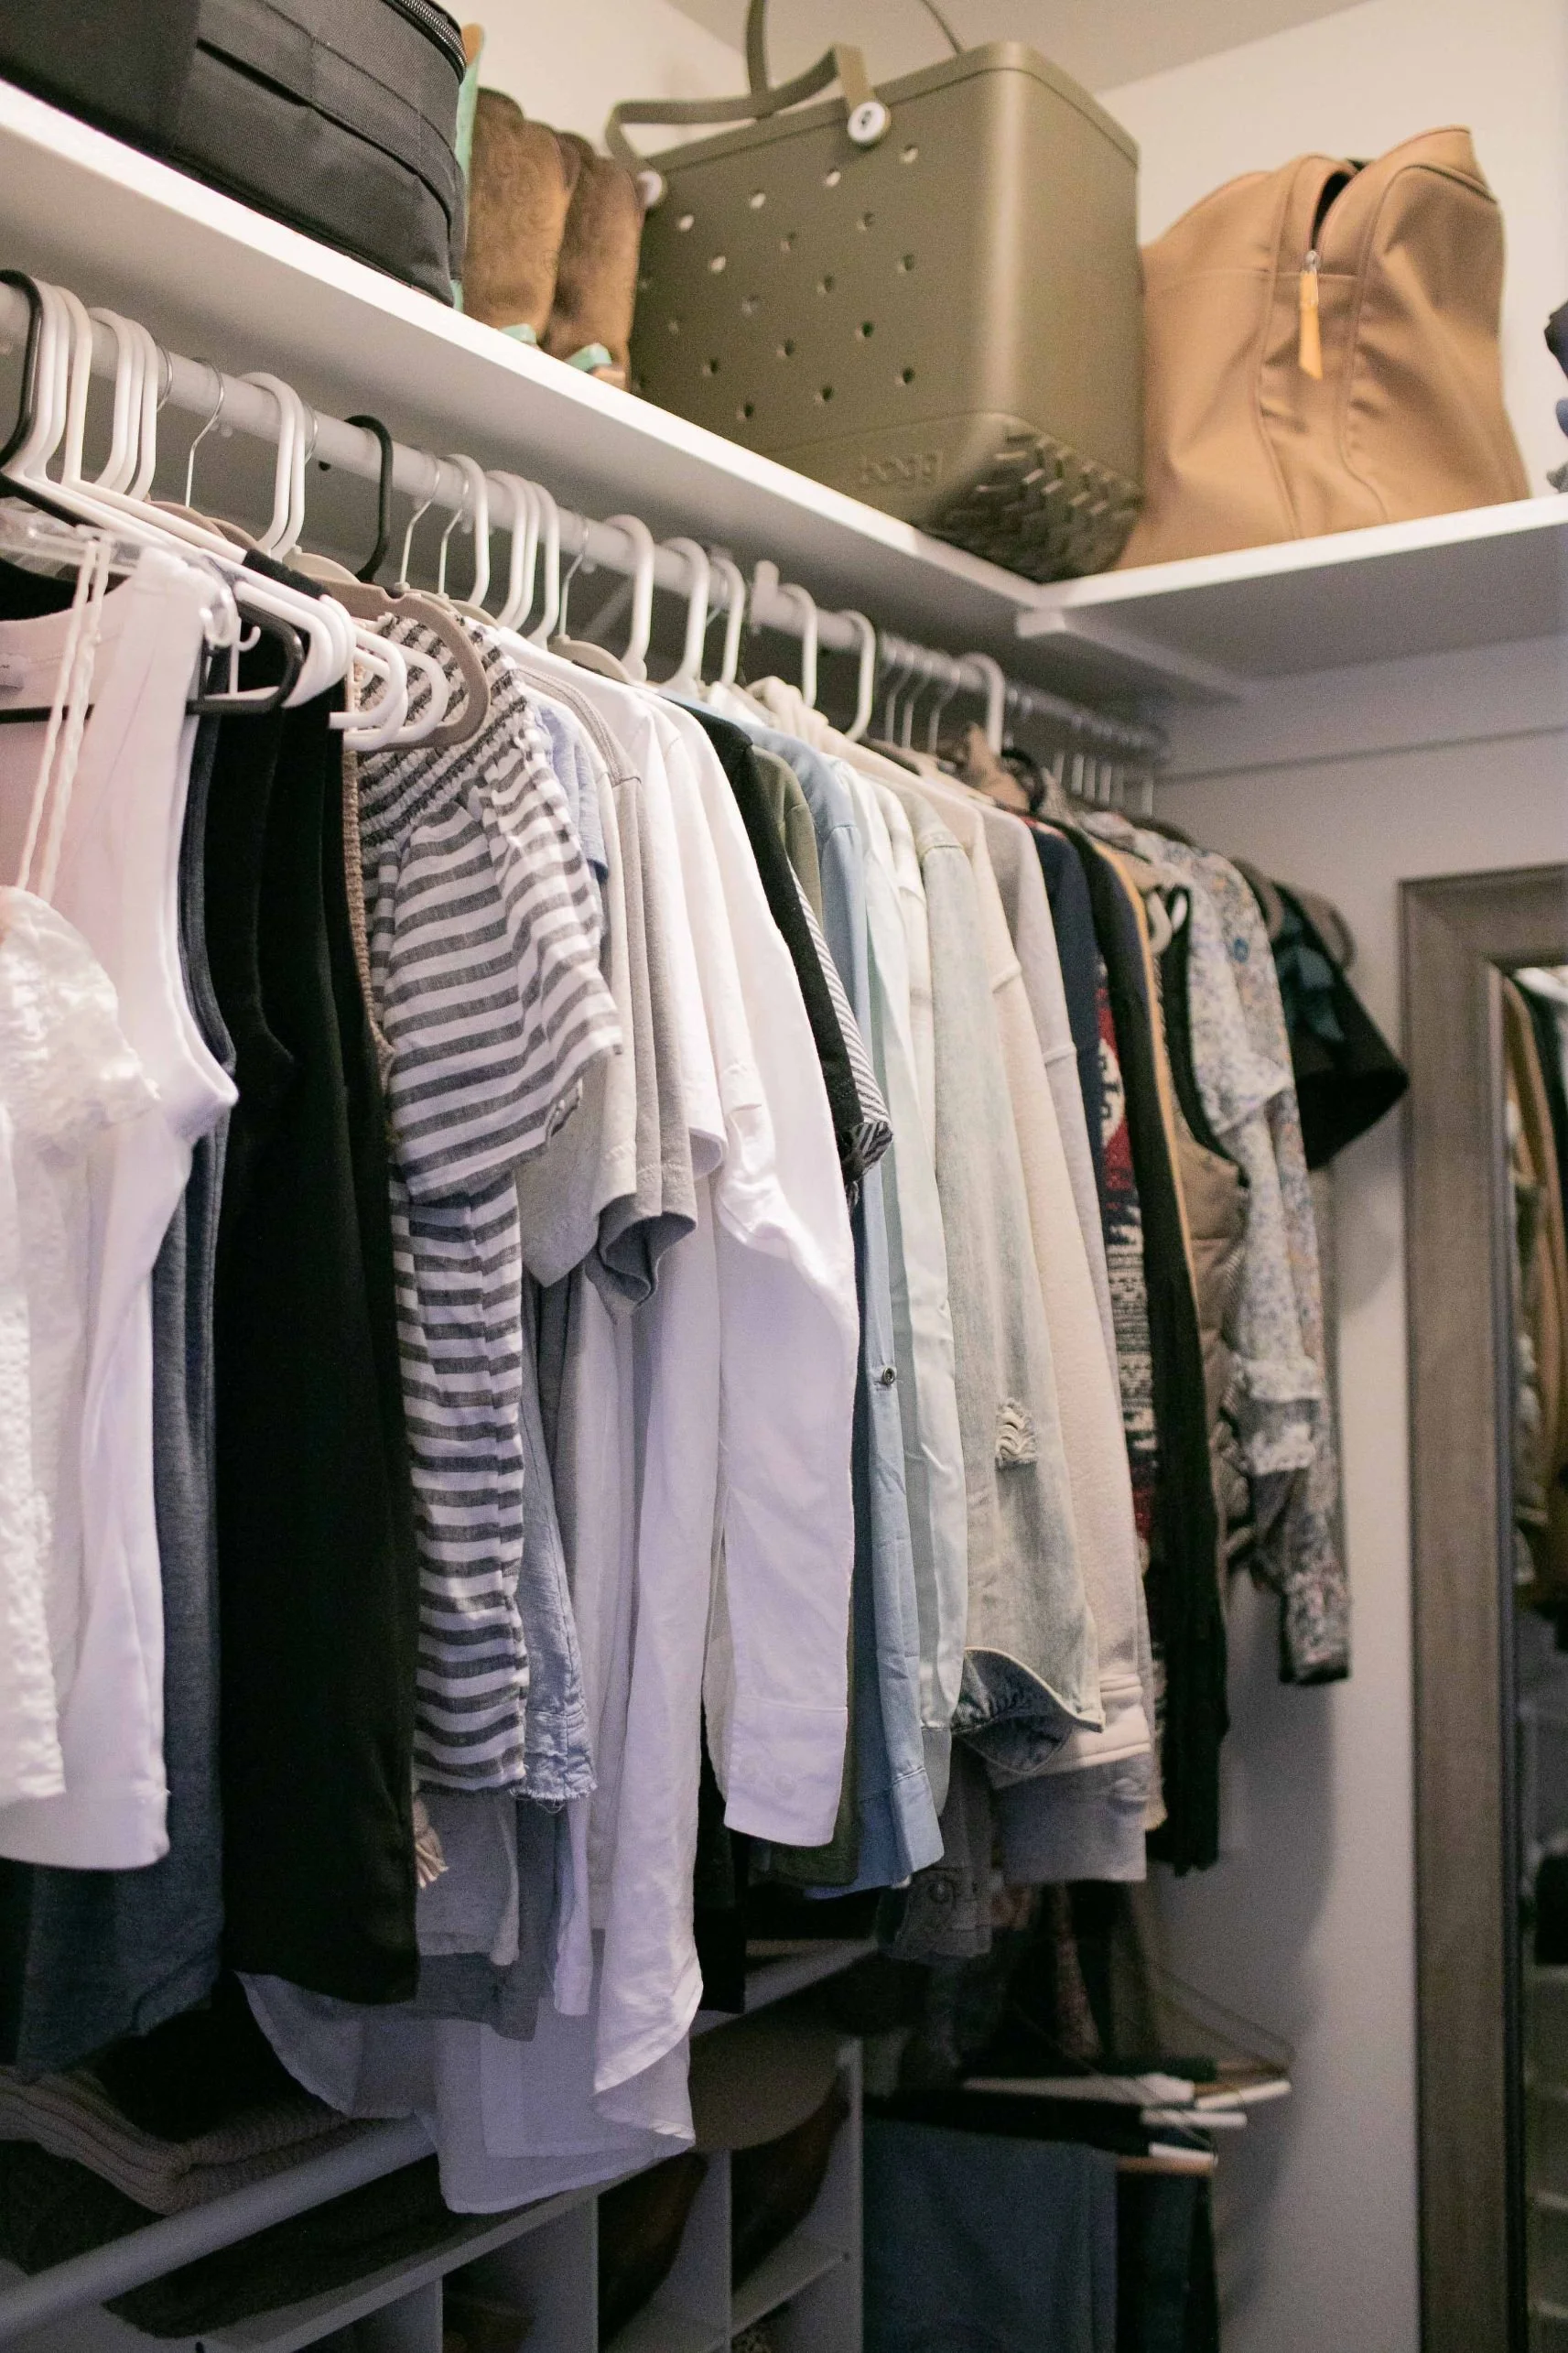
How helpful it is to only keep half of my closet in sight at a time | I recently swapped the fall/winter clothes in my closet for my spring/summer wardrobe, packing up the cold weather things and leaving only warm weather things hanging up. Keeping my out-of-season clothes packed away, out of sight/out of mind, has been more helpful than I ever realized it would be when I started doing this a few years ago. Obviously for visual clutter purposes – it’s easier to see my options when clothes aren’t crowded and bunched together– but there were times as I was grabbing things from my spring/summer bin to hang up again that I thought “Oh, I forgot I even had that and I'm not that excited about it” (to the donate pile it goes) AND there were things that I thought “Oh I'm so excited to wear this again this spring!” Not seeing things for a while really changes your perspective. Same thing as I was putting my fall/winter clothes away– as I folded up each piece I thought “Did I even wear this at all this season?” Seasonal swapping really forces you to edit your wardrobe and be intentional, and it’s helped me keep my closet so much more manageable!
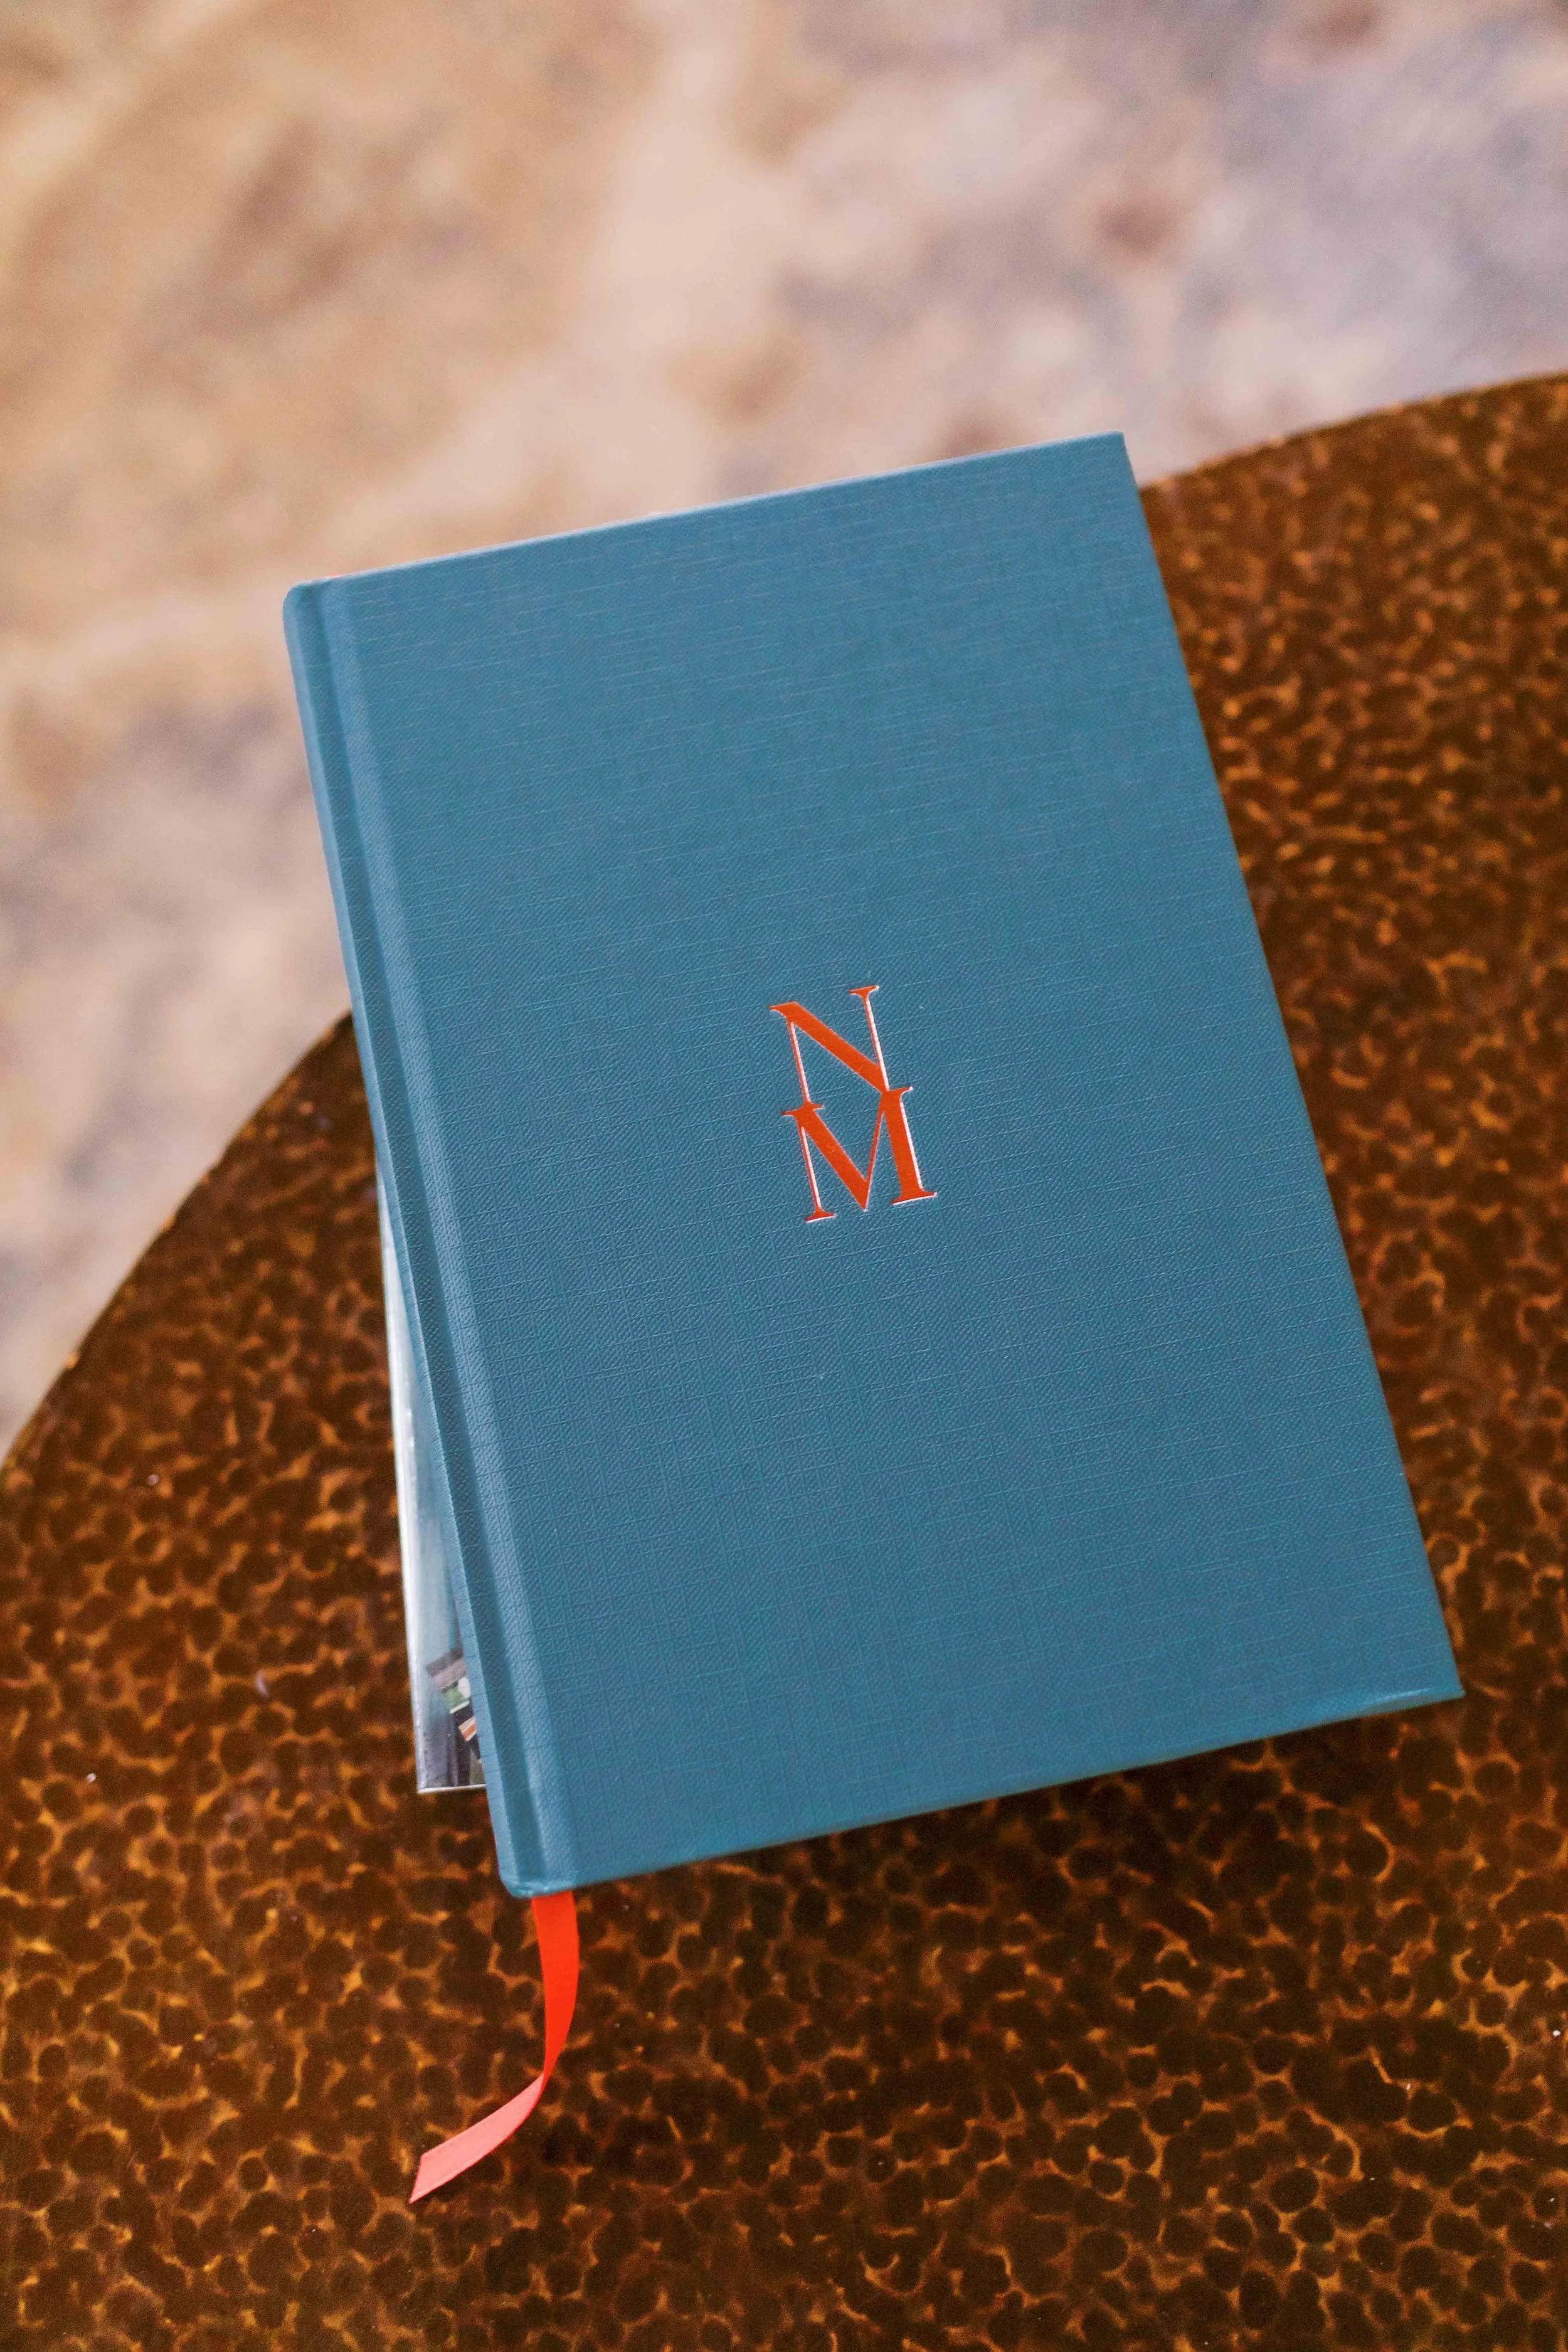
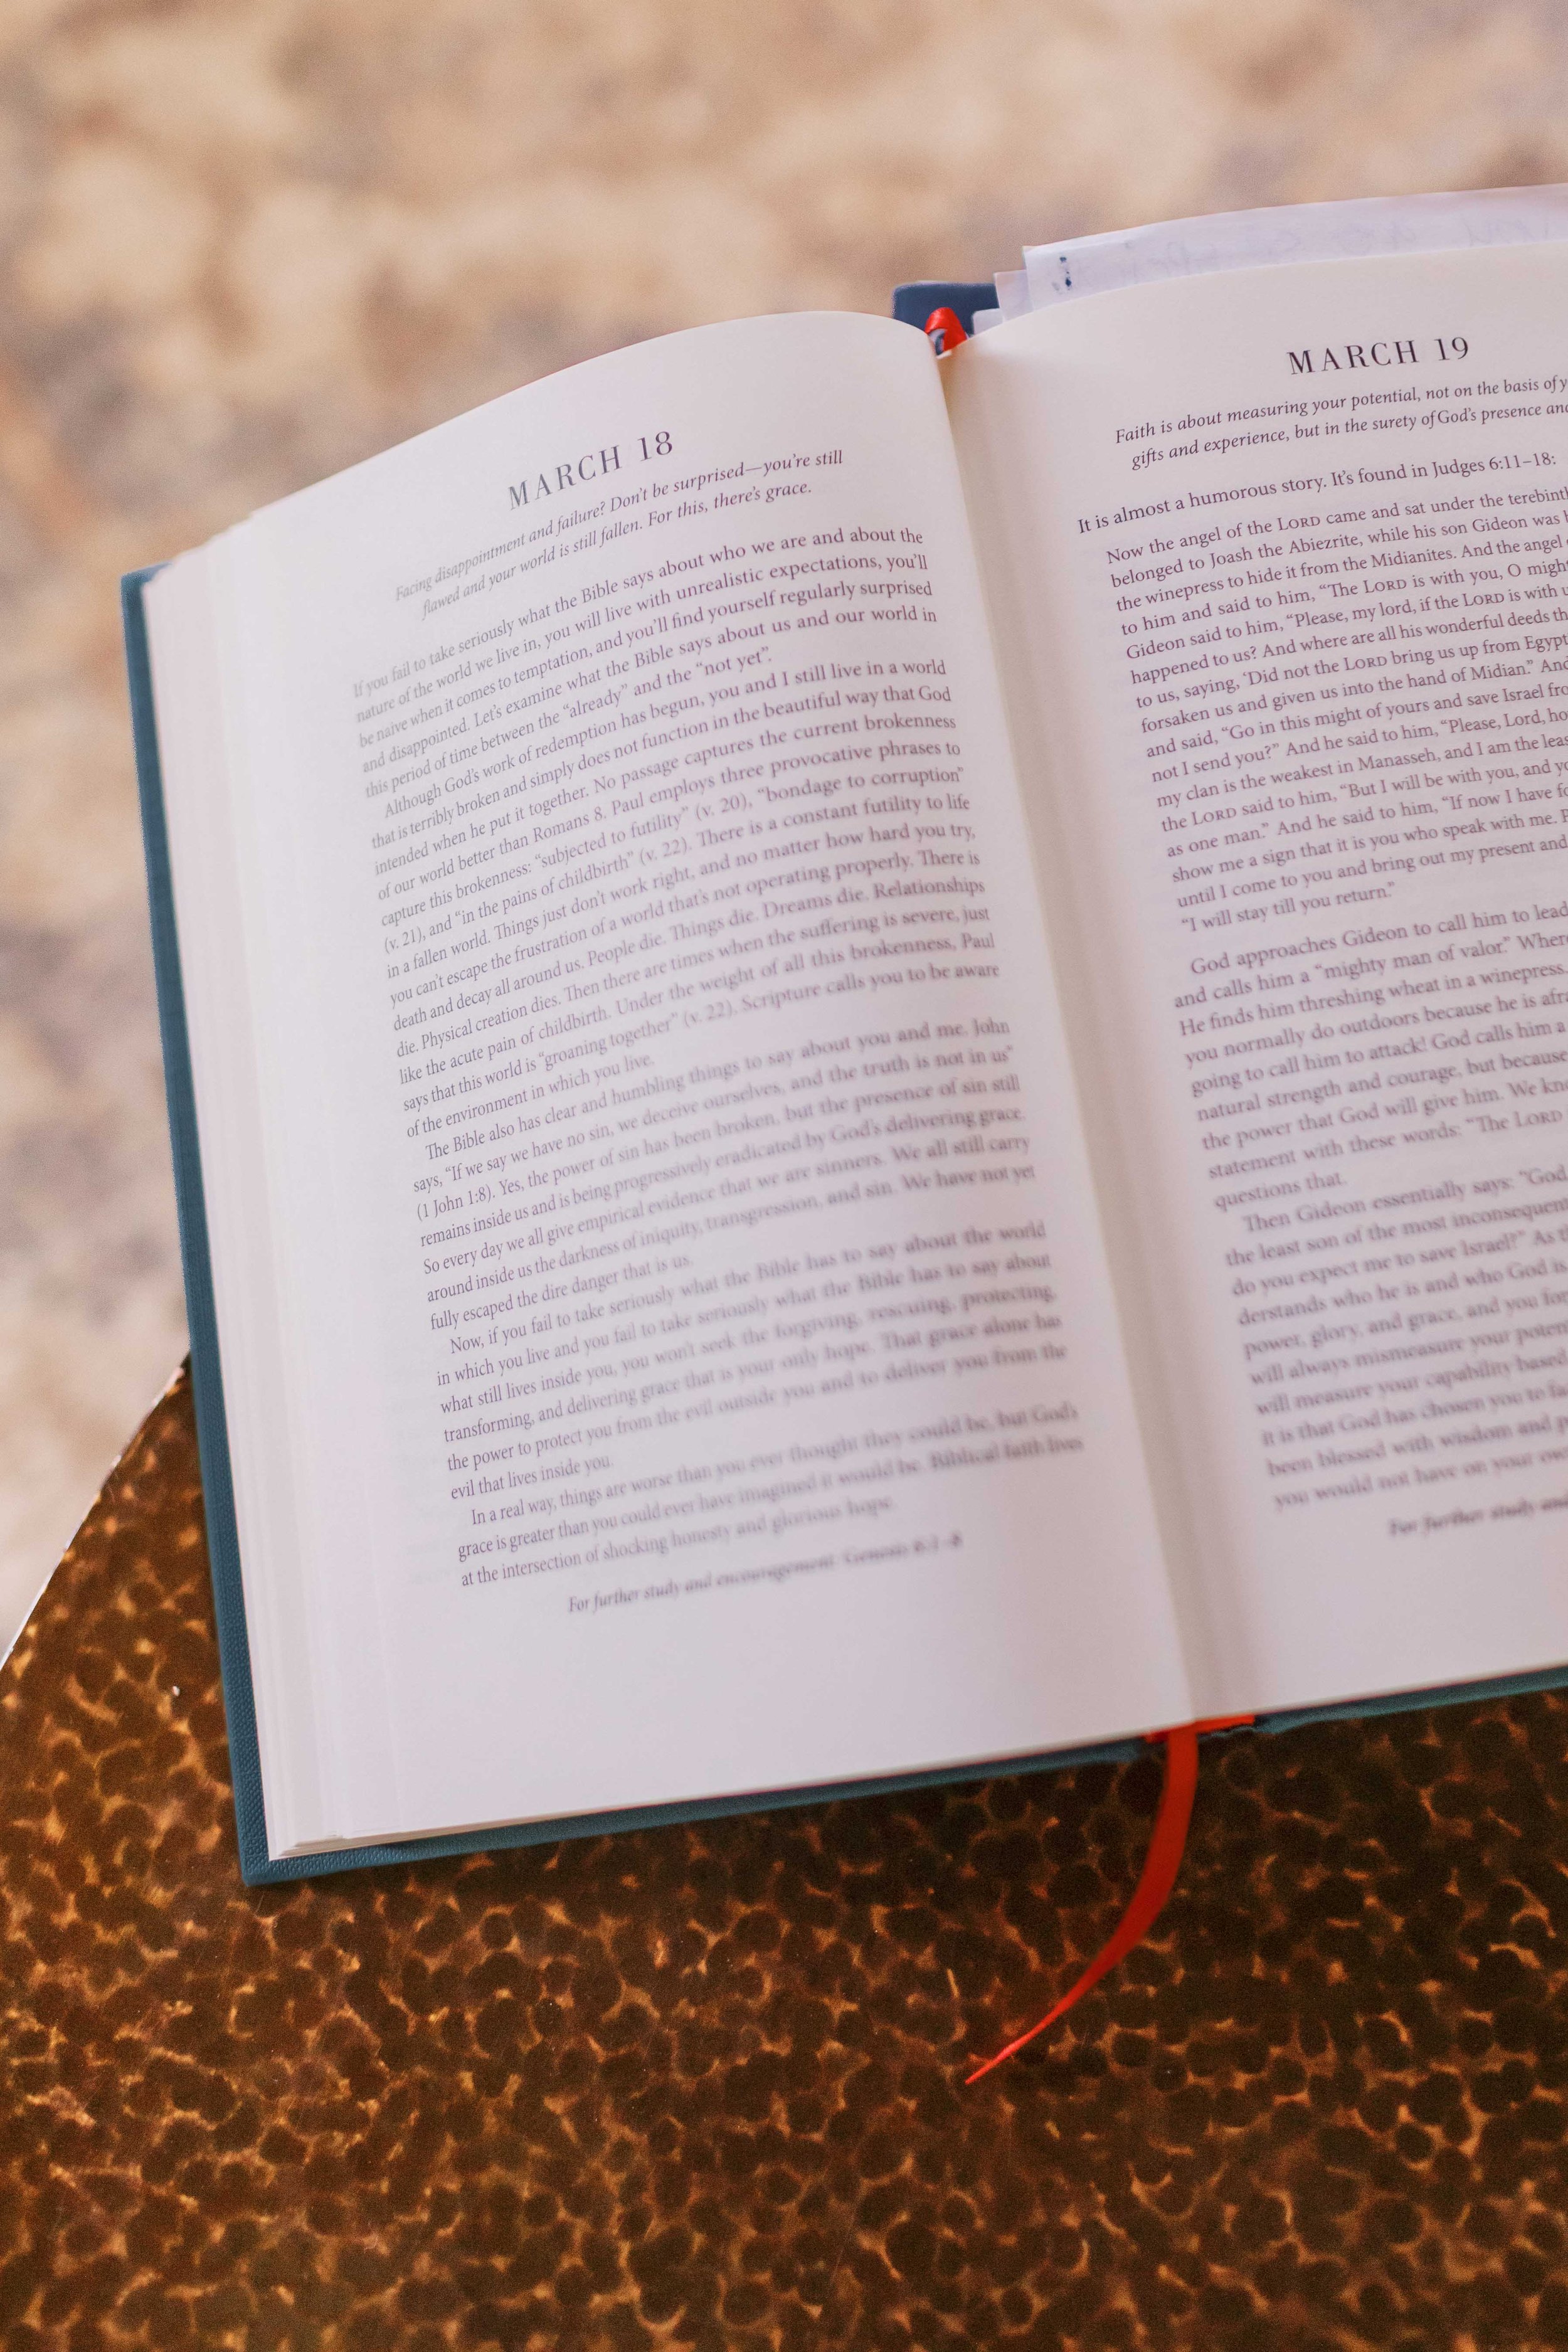
How much I need His mercy | I started Paul David Tripp’s New Morning Mercies devotional last year and have really been enjoying the simple, straight-to-the-point, way he reflects on God’s unending mercy. It’s just one page a day, with an accompany Bible chapter that goes along with each devotional, but his words have helped me look at the gospel from different angles and what it means for my life in new ways. I recently heard a clip from a podcast with Lauren Akins and she was asked “What is God teaching you right now?” I considered the same question for myself and in this season, I think it’s that He’s helping me to realize that I need the good news and mercy of the gospel more than I thought I did.
Growing up in church, I remember many sermons and discussions about grace, but I don’t really remember the flipside of that conversation. There was a whole lot of grace and goodness talk, but not a lot of sin and inadequacy talk. The gospel was framed as more of a nice thing than a necessary one. It was more just “God loves you so much and He loves you exactly the way you are.” Which sounds great, and He does love us endlessly. But it leaves out an important part of the equation – the depravity that we cannot overcome and the fact that we are not, in fact, good enough for Him, exactly as we are, because He is a just and fair God. If we were good enough on our own, if we were adequate, Jesus wouldn’t have needed to die. The gospel wouldn’t be the gospel.
So as an adult, wrapping my mind around the innate terribleness of humans, wrestling with how that works with us being made by God in his image… it took a little while for me to get there, mentally. But realizing how much I need God’s grace because I truly don’t deserve it and cannot do a single thing to earn it anyway… it makes the gospel so much more integral and meaningful for me.
That’s a wrap for some springtime show and tell. Thanks for reading!